Einleitung
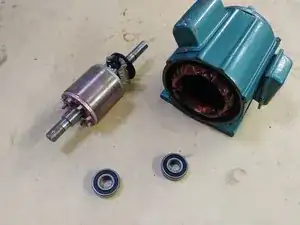
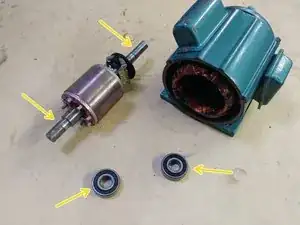
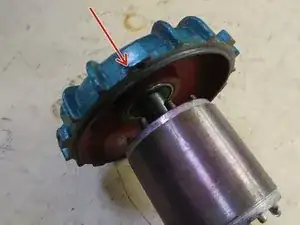
The electric motor shaft is attached to the motor housing with two bearings. During its lifetime, these bearings can wear down, leading to friction and imbalance in the motor shaft.
This guide will show you how to replace these bearings.
Werkzeuge
Ersatzteile
-
-
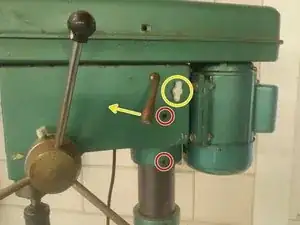
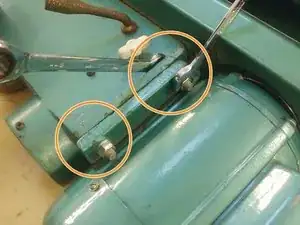
Loosen tension set screws (on both sides) and make sure tension pulling handle is pushed left.
-
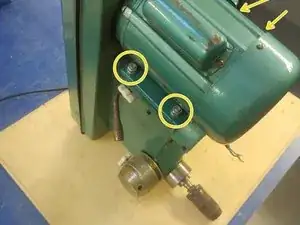
With the 4mm hex key, loosen the set screws holding the head in place on the column.
-
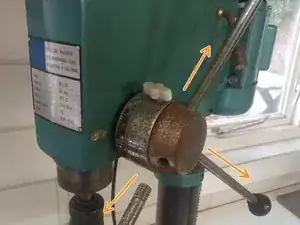
Remove the vertical adjustment handles to prevent them from damaging when removing the head.
-
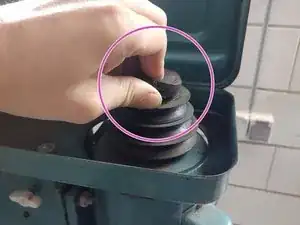
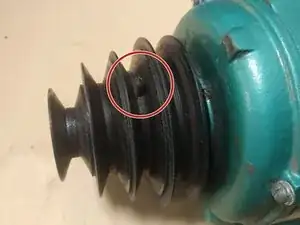
Remove the v-band from the pulley.
-
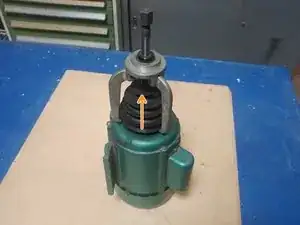
Pick up the head from the column and lay it on a table with the on/off buttons facing up.
-
-
-
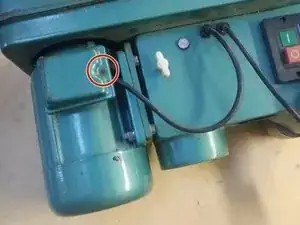
With the small flathead, remove the screw holding the cover for the motor power cable inlet.
-
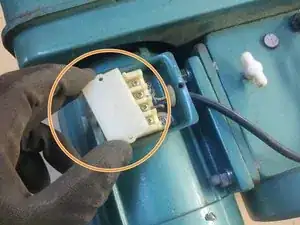
Take off the cap protecting the connectors.
-
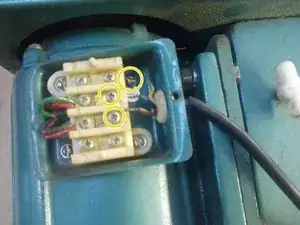
Loosen the screws holding the cable ends in place and remove the cable from the connector housing.
-
Put the cap back and attach the cover to protect the connector during the rest of this procedure.
-
-
-
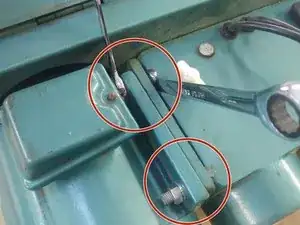
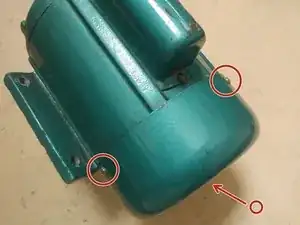
Using the 12 and 14 mm wrenches, loosen the mounting bolts.
-
Turn over the head and loosen the mounting bolts on that side as well.
-
Place the head with back facing up, remove the bolts and remove the motor from the mount.
-
-
-
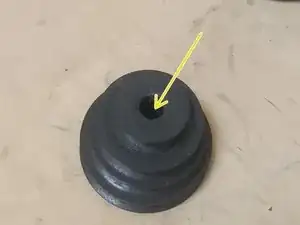
Remove the set screw from the pulley with the small flathead.
-
Remove the pulley from the shaft using a pulley removal tool.
-
Make sure the inside of the pulley is free of dirt or particles for easy reassembly.
-
-
-
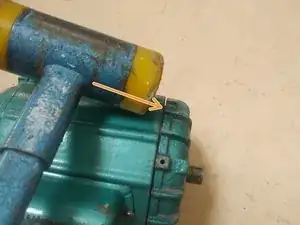
Remove the screws holding the fan cover and remove the cover. A few mallet taps might be needed to encourage the cover.
-
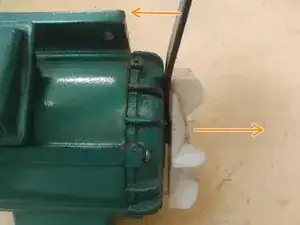
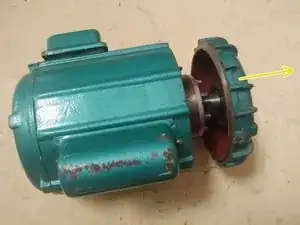
Use a small crowbar to leverage the fan from the shaft.
-
-
-
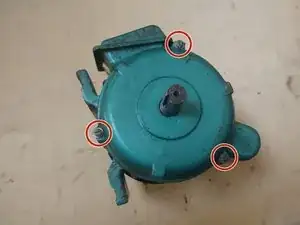
Unscrew the fan side motor housing bolts.
-
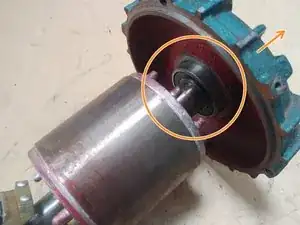
Use the mallet to tap around the cover edges and get it to loosen.
-
Once it is loose, the shaft, rotor and housing cover can be pulled from the motor housing.
-
-
-
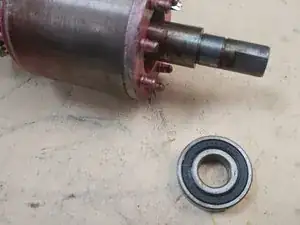
Carefully tap off the cover from the bearing with the mallet.
-
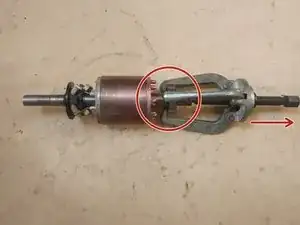
Pull the bearing from the shaft using the pulley removal tool.
-
-
-
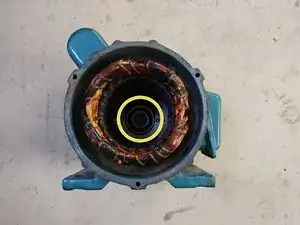
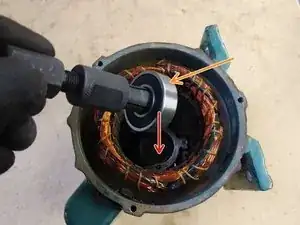
The pulley sided bearing is located in the motor housing.
-
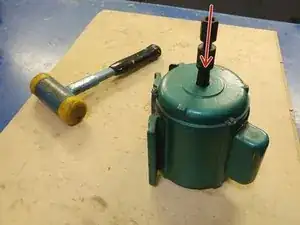
Clamp the bearing from the pulley side with the bearing removal tool, and use the mallet to hit it from its seat.
-
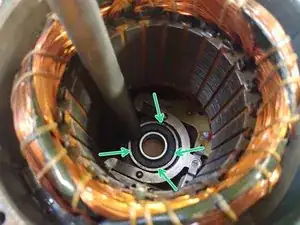
Clean the bearing seat.
-
-
-
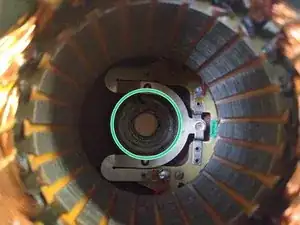
Before replacement, make sure the shafts, bearing seats, and bearings are clean and lubricated for easy reassembly.
-
Insert the new bearing into the empty seat in the motor housing.
-
Use the bearing removal tool to grip the inside.
-
While centering the bearing, tap the bearing around the outside to press it a little into the seat.
-
Remove the bearing removal tool, and keep tapping around the outside of the bearing until it is fully in.
-
-
-
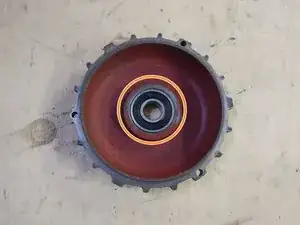
After cleaning the bearing seat and lubricating the bearing, press it in by hand, or use tapping method from the previous step.
-
Press the cover containing the bearing on the shaft.
-
To reassemble your device, follow these instructions in reverse order from step 6.
