Einleitung
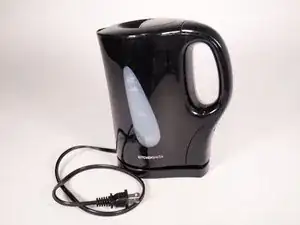
This is a guide on how to disassemble and remove the heating element from the Kitchen Smith 1.7L Electric Kettle KE01102-UL. It is an easy process and should require less than 10 minutes to complete. As with any electrical device, make sure it is unplugged as you work on it, and avoid water contact with any of the internal parts.
Werkzeuge
-
-
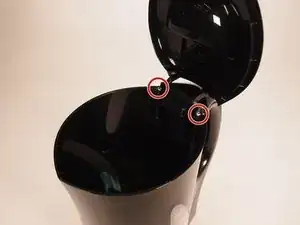
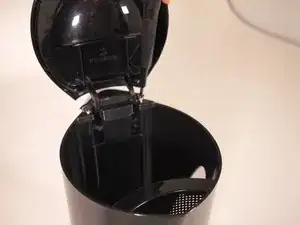
Open the lid of the kettle
-
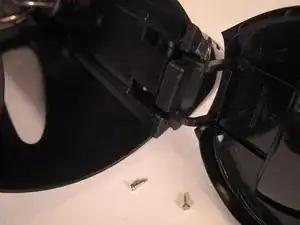
Remove two 12 mm screws at the top of the handle with a Phillips #2 screwdriver.
-
-
-
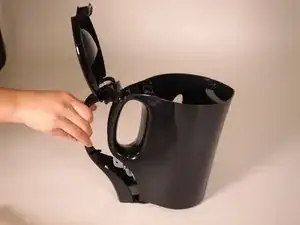
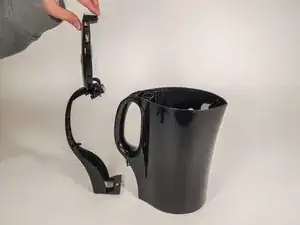
The exterior of the plastic handle and lid can now be removed from the kettle to expose the electric components.
-
-
-
Turn the kettle over to the back of the handle.
-
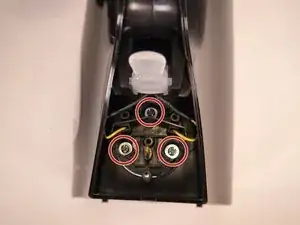
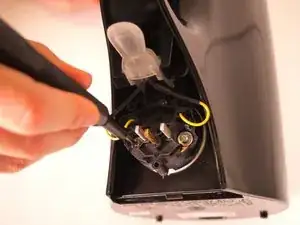
Remove three 10 mm screws connecting the switch circuit to the heating element with a Phillips #2 screwdriver.
-
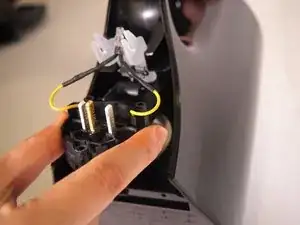
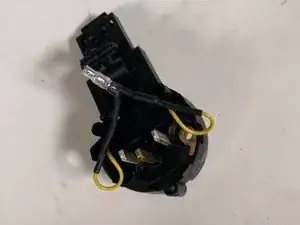
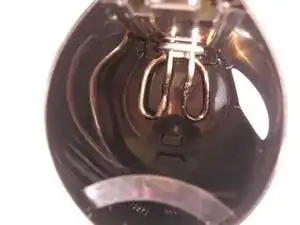
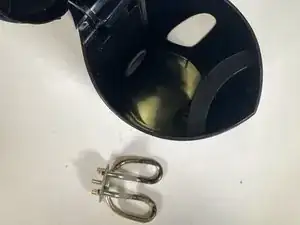
The heating element should disconnect, allowing you to remove it.
-
-
-
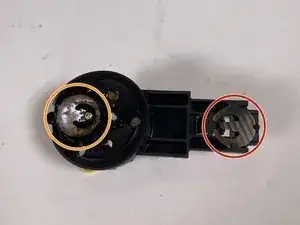
This switch turns off the kettle once steam is detected, indicating the water is boiling.
-
This is the boil dry protection switch.
-
-
-
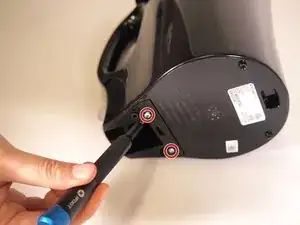
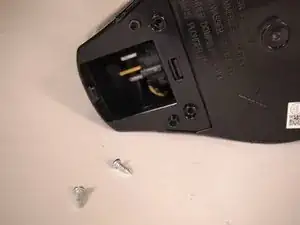
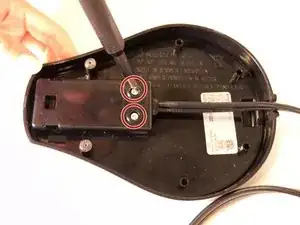
Looking at the bottom of the base, remove two 12 mm screws from the base with a Triangle #2 screwdriver.
-
You are now able to take the black plastic cover off and remove the cord.
-
To reassemble your device, follow these instructions in reverse order.
