Einleitung
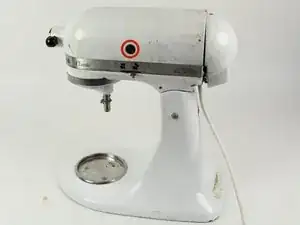
Es hört sich vielleicht bedrohlich an, die Kohlebürsten auszutauschen, aber dazu musst du noch nicht mal die Maschine auseinandernehmen. Diese Anleitung gilt für den KitchenAid Classic K45SSWH oder jedes "K5" und "K45" Modell.
Werkzeuge
Ersatzteile
-
-
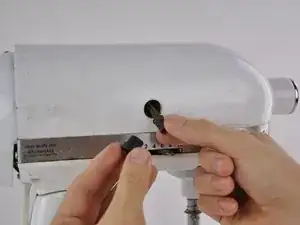
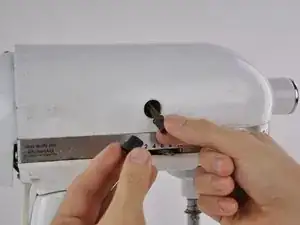
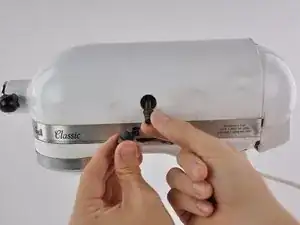
Schraube die Abdeckungen der Kohlebürsten auf jeder Seite der Motorabdeckung mit einem Flachschraubendreher heraus
-
-
-
Ziehe die Bürste am Halter auf jeder Seite heraus.
-
In diesem Fall haben wir haben wir die neue Bürste mit dem flachen Ende zur oberen linken Ecke des Bürstenhalters eingebaut.
-
Um dein Gerät wieder zusammen zu setzen folge den Schritten in umgekehrter Reihenfolge.
24 Kommentare
i looked at the brushes , they are fairly new hardly any wear ,put them back in no power , still wont start ,is there something i could have unhooked while putting in the worm gear , followed all instructions , gears turn perfect , still no power ,
Hi Dennis, it is mentioned above " Be sure to insert the new brush with that flattened corner facing the upper left corner of the brush holder." However, on my mixer only one brush must be aligned upper left; the other brush must actually be aligned down right. Look into the slots with a flashlight, you will see which corner has a small metallic piece, or "stop". That's the corner you must align your brush on. Hope this helps..
patfat -
Hello patfat, you are exactly right on those brushes. I been working on this used mixer I got off Ebay for 56 dollars. It ran but I tooK it all apart and cleaned and painted and got some new parts and it would not start. The brush thing is right, one brush upper left and the other one bottom right. I got her fired up and it looks like banana nut muffin time again. Heres one for you.....! You the boss.....
OMG OMG OMG! You are an angel! I scored this brand new looking Kitchenaid mixer at a Goodwill for $3 dollars. Said whaaat? I grabbed it but when I tried it, it would not turn on. I didn't care, I figured I would fix it myself. I followed your instructions and VOILA! It works like a BRAND NEW Baby! LOVE IT! Thank you so much for such easy instructions!


Yep! Once you understand the “Little Thingy" thing, it's quite easy to get running. I thought it was a goner but this fix it site was a huge help!
Thanks!
Glenn -
I cannot tell which direction the brushes go in my mixer. It's a very old one from 1990 I believe. I'm going to look further on YouTube to see if there's a close up of what that looks like when the brush is taken out. Better pictures would have been easier.
Christina Bruns -
Just take a toothstick and slide it along the four corners oft the hole. You can easily feel where the obstacle is.
VauWeh -
Yeah!!!! Finally it works! but now it won’t stop hahahaha! what to do now? Now to find out were to adjust it! One step at he time…
wil mulders -