Einleitung
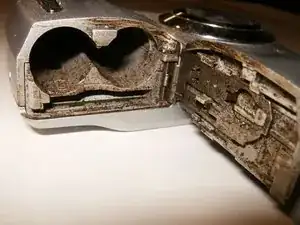
This particular camera was lost in a storm sewer for a couple of days before it was found by the owner. A brief check by the owner showed no reaction from this camera, it would not turn on or showed any other signs of functioning. Here we start with the LCD, further guides will get deeper into the repair and the cleaning. It is a relative inexpensive camera, and could easily be replaced with a new one, but we felt it would make a useful teaching tool.
Werkzeuge
Ersatzteile
-
-
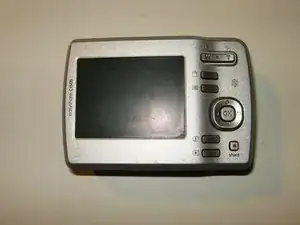
View of the back of the camera. Dirt and grime from water damage becomes instantly recognizable.
-
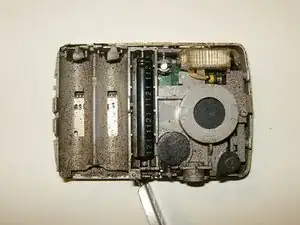
Open the battery compartment door and remove any batteries and memory card if installed.
-
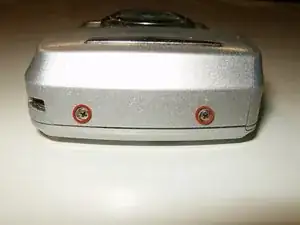
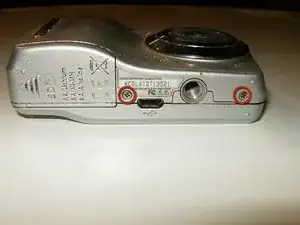
Remove the two screws on the right side.
-
-
-
Remove the two screws on the right side.
-
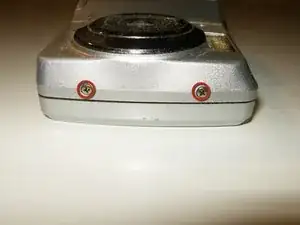
Remove two screws on the bottom of the camera.
-
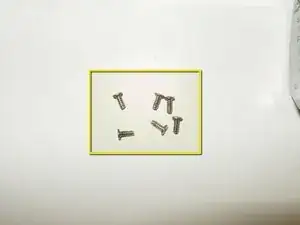
All six screws from the case are the same length. It is not necessary to keep those separated from each other.
-
-
-
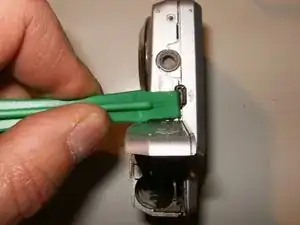
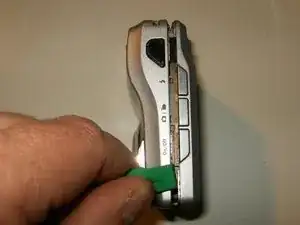
Use a plastic opening tool, or your fingernails, to separate the case. Start at the battery compartment
-
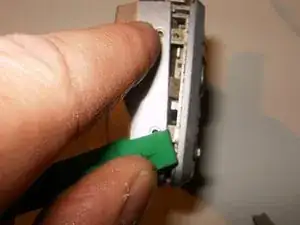
Work your way around, carefully pushing the tools slightly at an angle.
-
The case will easily separate once the opening tool goes all the way around the camera.
-
-
-
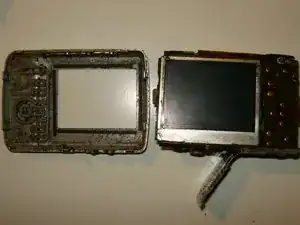
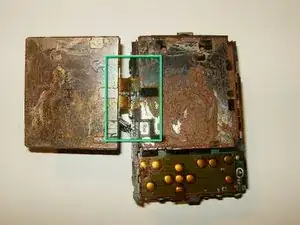
The front half of the camera is usually the first thing that comes off (notice dirt and grime from water damage)
-
Pull off the back part of the case.
-
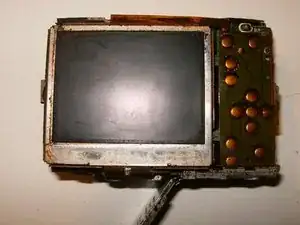
LCD is now easily visible in its small metal holder.
-
-
-
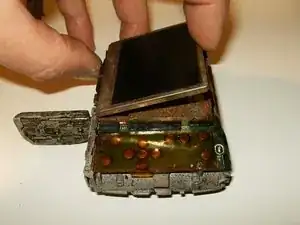
Flip the LCD out of the holder from the top to the bottom.
-
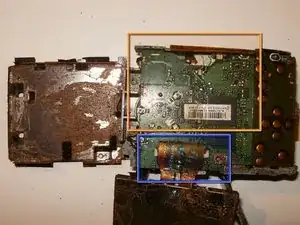
Once flipped over, the ribbon cable mounting underneath the LCD holder becomes visible. Extensive water damage is noted to the back frame of the LCD as well as corrosion on the LCD cable.
-
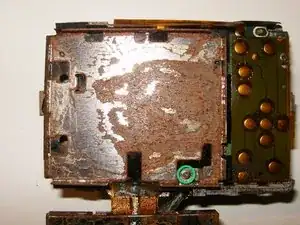
Remove the small Philips Screw on the bottom right hand side of the LCD holder.
-
-
-
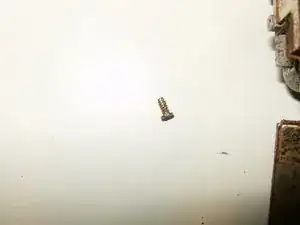
Remove the small screw.
-
This one is slightly smaller than the ones from the case. Keep it separated.
-
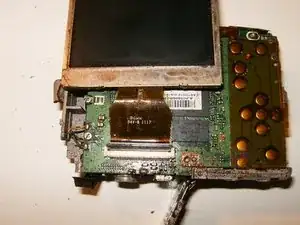
With the screw removed, separate the LCD holder from the circuit board. Note the direction of the LCD ribbon cable
-
Corrosion and contamination of the circuit board is now clearly visible
-
-
-
Flip the LCD right-side-up toward the top of the camera.
-
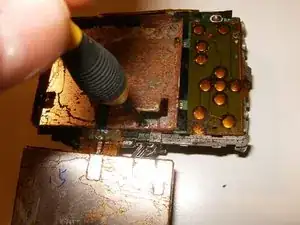
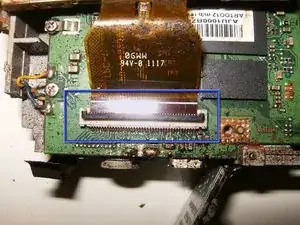
Open the clip on the connector by using your fingernails. the black clip needs to be flipped toward the bottom of the camera.
-
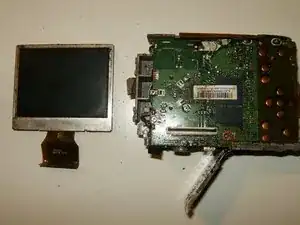
The LCD can now be removed and replaced
-
To reassemble your device, follow these instructions in reverse order.
