Einleitung
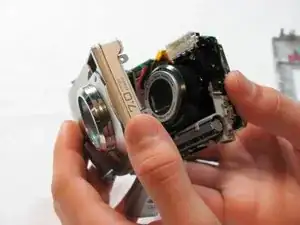
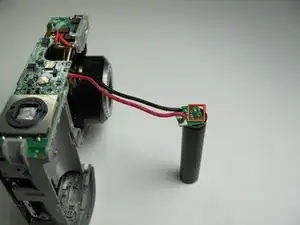
Replacing the capacitor.
Werkzeuge
-
-
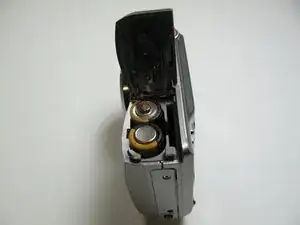
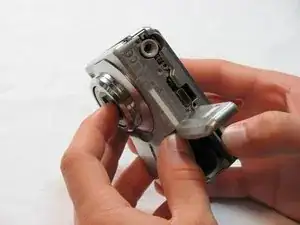
Use your finger tip to slide battery cover door away from the center of the camera.
-
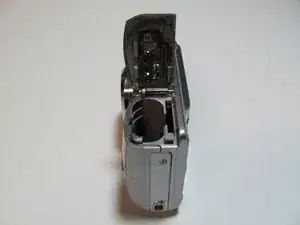
The battery door should spring open.
-
If this does not happen, gently open the door lifting from the outer bottom side of the camera.
-
-
-
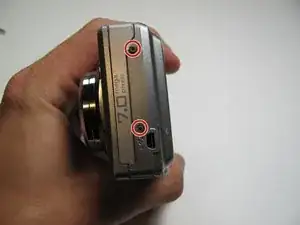
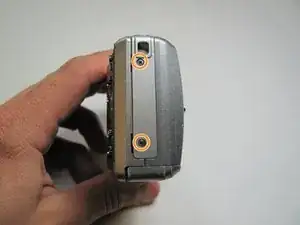
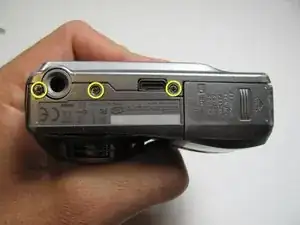
Remove the seven screws from the outer case with a Phillips #00.
-
All screws are 4.45mm.
-
There are 2 screws on the port side.
-
There are 2 screws on starboard side.
-
There are 3 screws on the bottom.
-
-
-
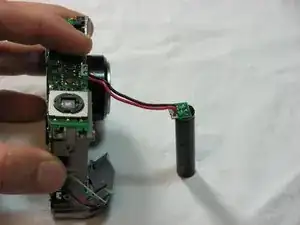
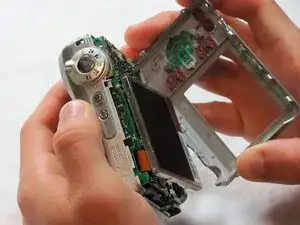
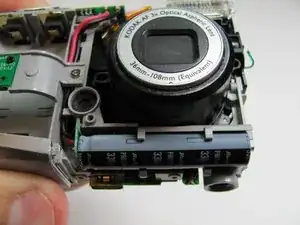
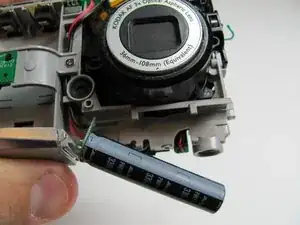
The capacitor is located underneath the lens.
-
It is held in place by 4 plastic snaps; it can be easily removed by pulling outward with your fingers.
-
Abschluss
To reassemble your device, follow these instructions in reverse order.
