Einleitung

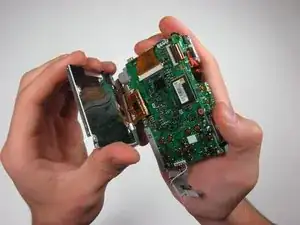
Use this guide to remove and install the LCD screen.

  1. HTMAhkS4RfXfLBgS
    HTMAhkS4RfXfLBgS
    EuF4iL5paOFigtmt
    GlpgkGRXcwJi2xun
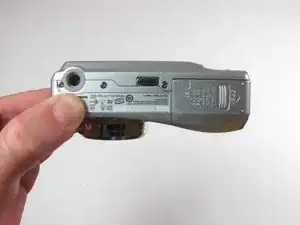
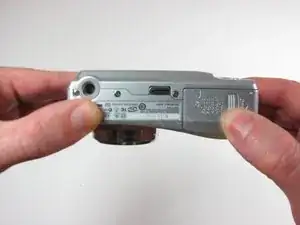
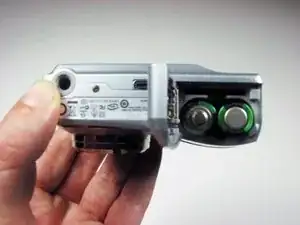
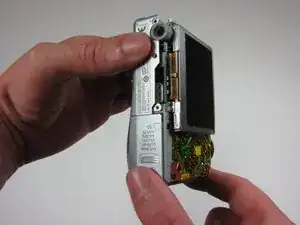
    • Position the camera with the bottom facing up.

    • With your finger, slide the battery cover in the direction of open arrow.

    • The battery cover will spring open, so be careful to lift it up gently.

  2. 6LIqgUDboJnmEo3R
    6LIqgUDboJnmEo3R
    GOMRsP1Z5NljhAbp
    IqRk3srHwcbMoPaY
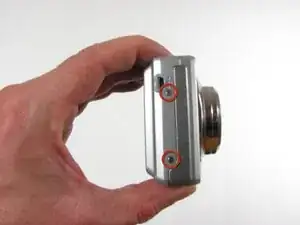
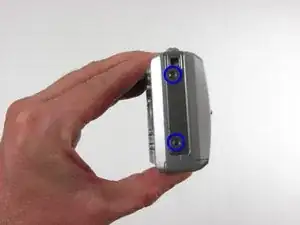
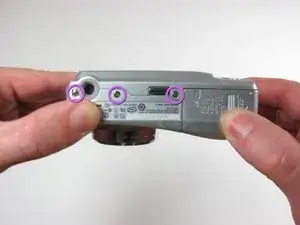
    • Use a Phillips #00 screwdriver to remove the seven 4.5mm screws.

    • There are 2 on the left

    • There are 2 on the right

    • There are 3 on the bottom

  3. SxXyAH3qX2WtCWhh
    SxXyAH3qX2WtCWhh
    IaStNm4kjUjDwxvo
    2VuA5FPQnlSRtrRp
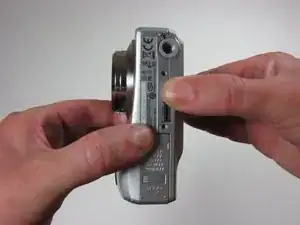
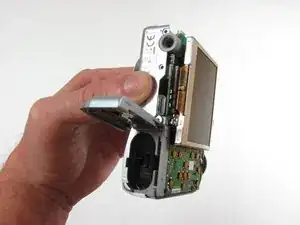
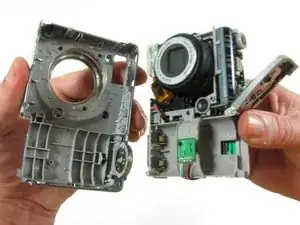
    • Firmly grasp and pull back casing off.

  4. SakkFYWG1gNxc21C
    SakkFYWG1gNxc21C
    HTE45rESN1DvUA46
    2q6cXrwYMKT5nRXJ
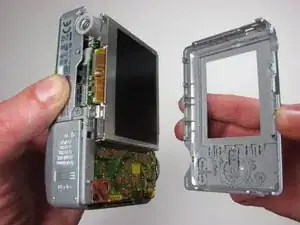
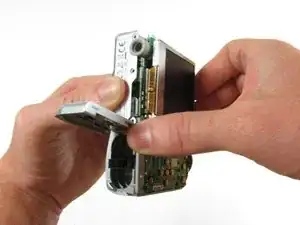
    • With battery door open, grasp the front case and remove it from the camera.

  5. fGCWhQFFvXmsqIXv
    fGCWhQFFvXmsqIXv
    2E6NhJI3mxx64En5
    E46RbAcUNIePye2J
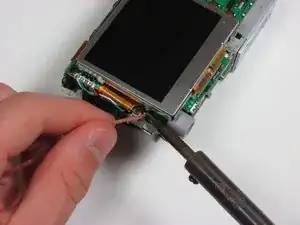
    • Locate the 2 solder joints on the LCD casing.

    • De-solder the joints.

  6. 1fYZvKLwU3ycyZDW
    1fYZvKLwU3ycyZDW
    V4cKM34WvCRhUEfv
    Uxu1HCB1WqJKAf1G
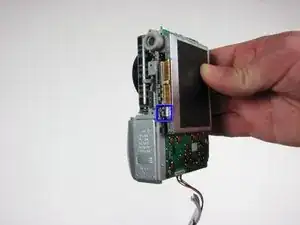
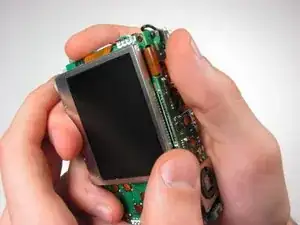
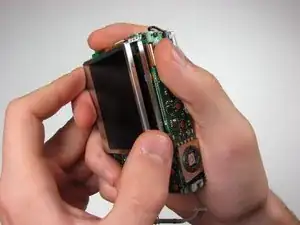
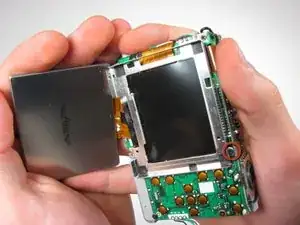
    • Grasp lower right side of LCD screen.

    • Gently lift the screen out of its casing.

    • Remove 3mm screw from LCD casing using #00 screwdriver.

  7. YMKSxfcLKsdLYX5u
    YMKSxfcLKsdLYX5u
    YcZFHRa5tMCaORsM
    HDwZe6RZRUPbW5Dr
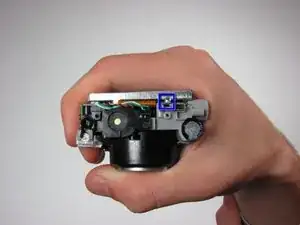
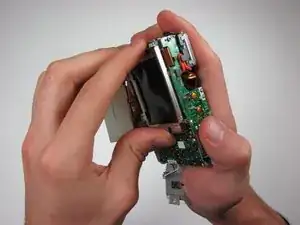
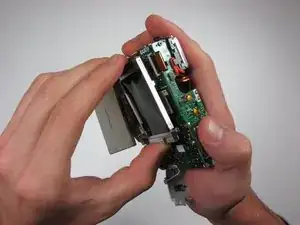
    • Grab LCD casing.

    • Remove it from camera.

  8. reeKyXmK4WbIpHnn
    reeKyXmK4WbIpHnn
    T5a4cPQT2vHOy4au
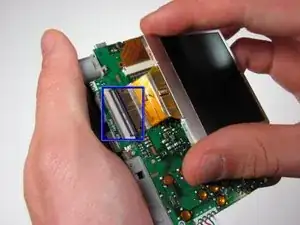
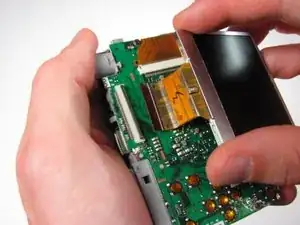
    • Locate black tab connected to LCD ribbon.

    • Lift black tab gently with one finger.

    • Remove ribbon from beneath black tab.

Abschluss

To reassemble your device, follow these instructions in reverse order.
Alan Galarza

Mitglied seit: 03/10/10

72 Reputation

0 Kommentare