Einleitung
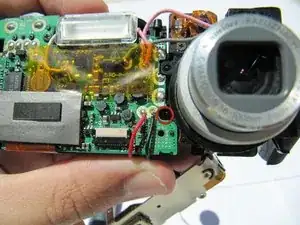
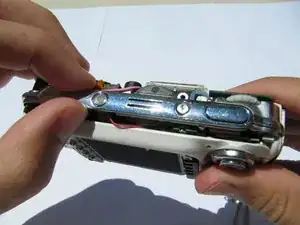
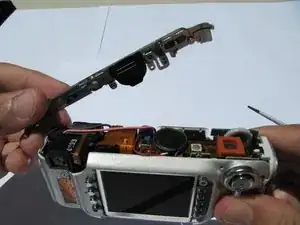
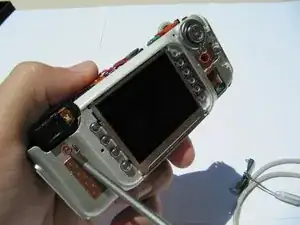
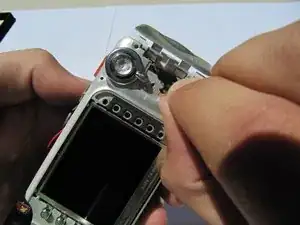
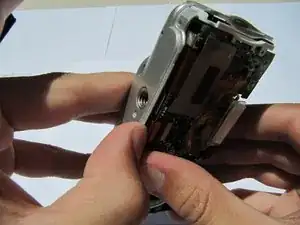
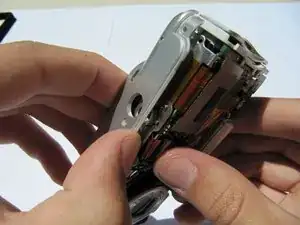
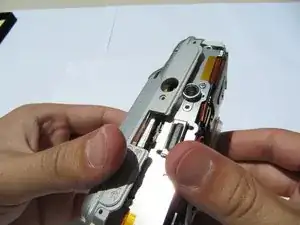
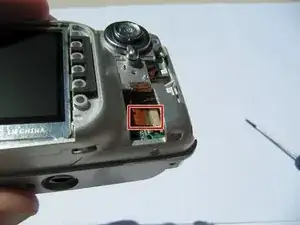
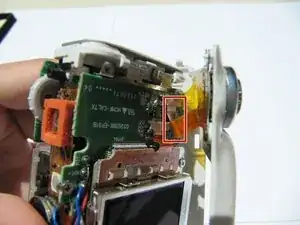
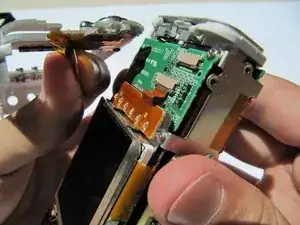
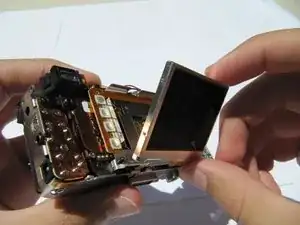
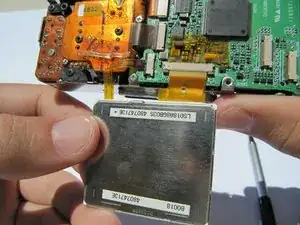
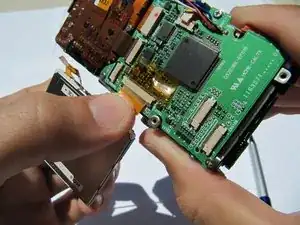
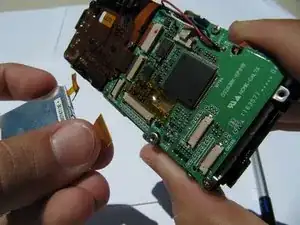
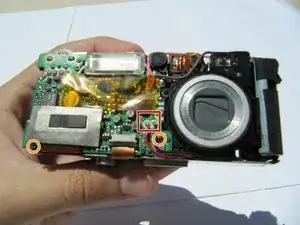
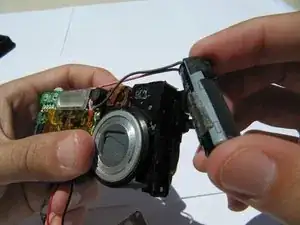
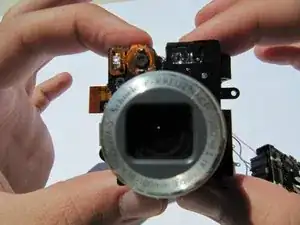
This will teach you how to remove the lens.
Werkzeuge
-
-
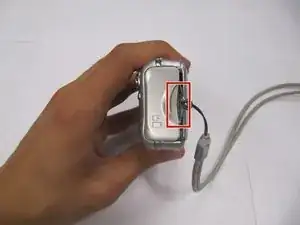
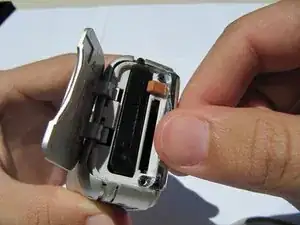
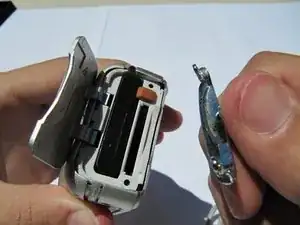
Slide the orange latch sideways to eject the battery.
-
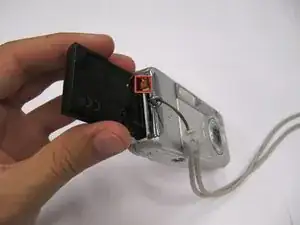
Remove the battery from the battery slot.
-
-
-
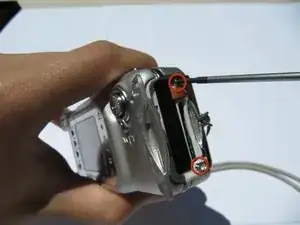
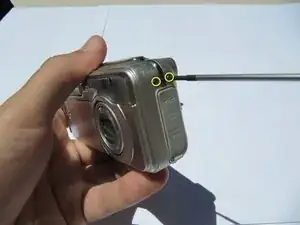
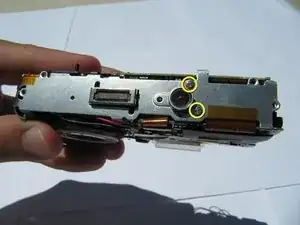
Using a Phillips #00 screwdriver, remove two 5.39 mm screws next to the battery slot.
-
Remove the metal piece holding down the lanyard, then remove the lanyard.
-
-
-
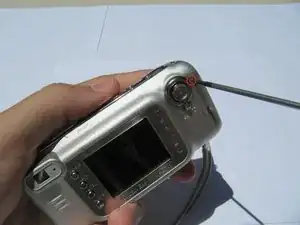
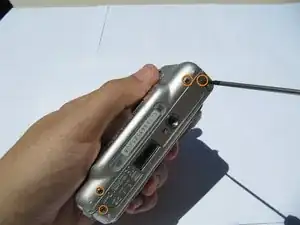
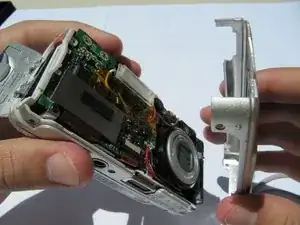
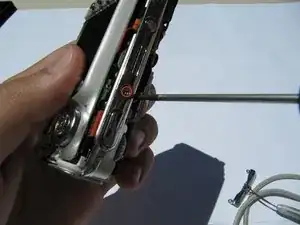
Using a Phillips #00 screwdriver, remove seven screws located on the outside case of the camera.
-
One 6.25 mm screw is located on the top right corner, right to the "OK" button.
-
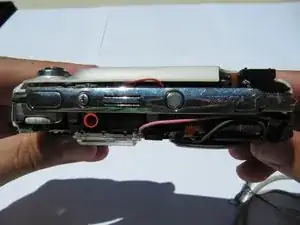
Four 4.45 mm screws are on the bottom of the camera.
-
Two 2.95 mm screws are on the left side of the camera, above the USB port.
-
-
-
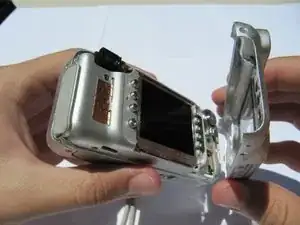
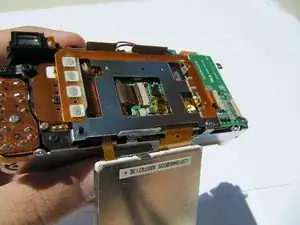
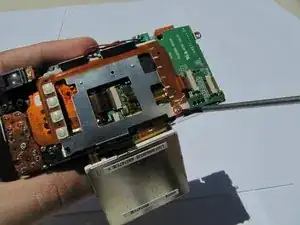
Flip up the LCD screen to reveal the two orange ribbon cables.
-
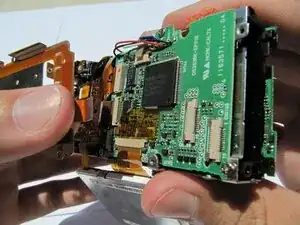
Disconnect the two ribbons cables from their sockets on the motherboard.
-
-
-
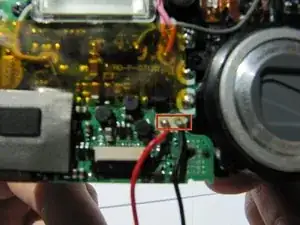
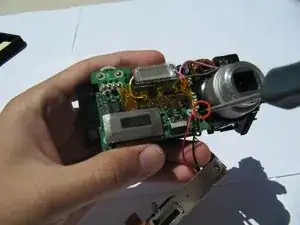
Connect the two capacitor wires briefly with a pair of metal tweezers to discharge the capacitor. You may see a small spark.
-
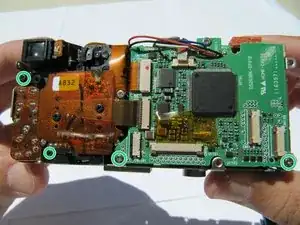
Remove eight screws using a Phillips #00 screwdriver.
-
Two (4.31 mm) screws are in the front of the camera.
-
Two (3.30 mm) screws are located in the bottom of the camera.
-
Four (3 x 3.33 mm and 1 x 4.34 mm) screws are in the back of the camera.
-
-
-
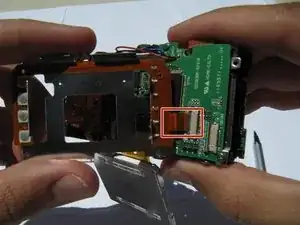
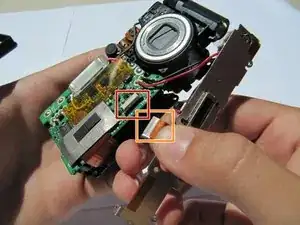
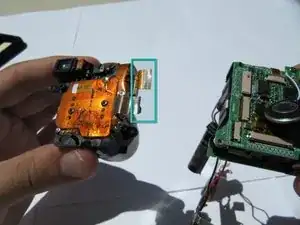
Pull the black latch outward slightly to release the orange flex cable.
-
Carefully disconnect the orange flex cable.
-
-
-
Hold the camera firmly and gently remove the capacitor (attached by adhesive) by wiggling it loose.
-
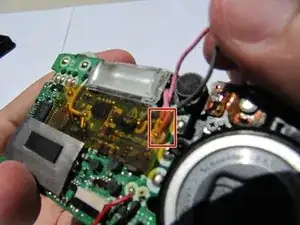
Desolder the pink and black wire and remove both of them.
-
To reassemble your device, follow these instructions in reverse order.
