Einleitung

  1. pGaQBnD1oJWN1c1P
    pGaQBnD1oJWN1c1P
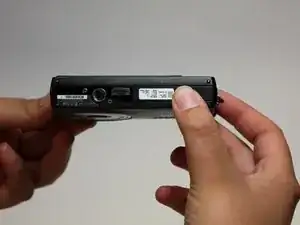
    OvWfZAcGKjp2lBTD
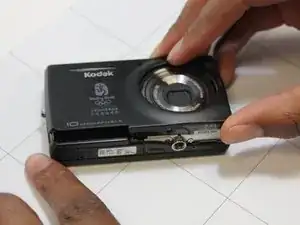
    • Place thumb firmly on battery cover.

    • Slide thumb right, the cover should follow and pop up.

  2. dNXTBrmScmjIuyyp
    dNXTBrmScmjIuyyp
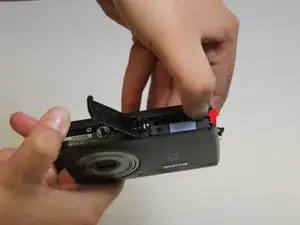
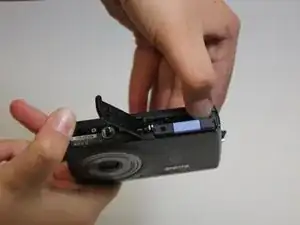
    cdqyFUE4xluqGoLk
    • Place thumb on orange tab and pull back towards screen.

    • The battery should pop up.

    • Gently lift battery out.

  3. lODeyTKFJLnXTsFZ
    lODeyTKFJLnXTsFZ
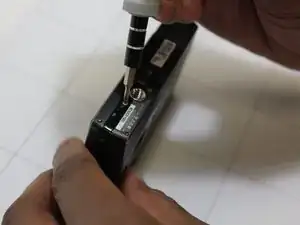
    eelLeVsYPneWZq4B
    cQSDJTOIs2eiKGLJ
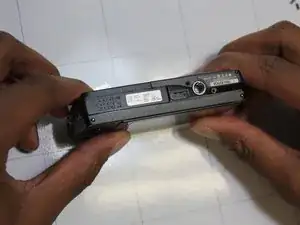
    • Remove screws from along outer edge of casing.

    • There are 6 screws in total.

    • Righty tighty, lefty loosey!

  4. DsG2LCfoRWfXdNHl
    DsG2LCfoRWfXdNHl
    NLMjZxghanRiRqYF
    ZRYeIeHndCKRJseo
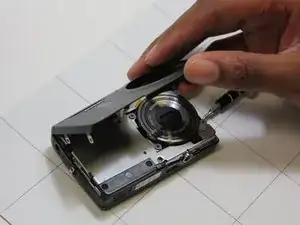
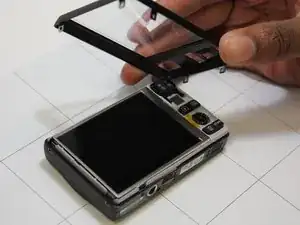
    • Gently lift off front and back casing.

  5. oJ6mbLgVIFaGNuoJ
    oJ6mbLgVIFaGNuoJ
    ZiAFylNpGUKehfdN
    e1wiVykvvMuGwjlx
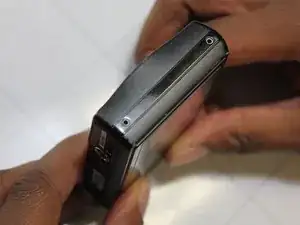
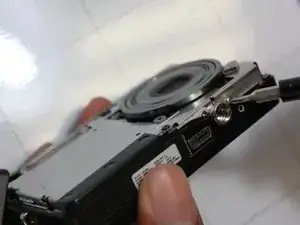
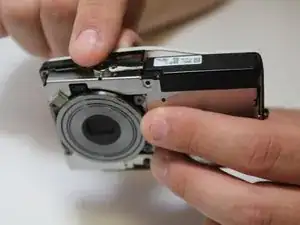
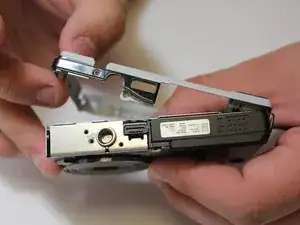
    • Remove screws along side.

    • Gently peel off side casing.

  6. mu2KNAudNrd1hVRN
    mu2KNAudNrd1hVRN
    qBBRLDGAUMxnWGNV
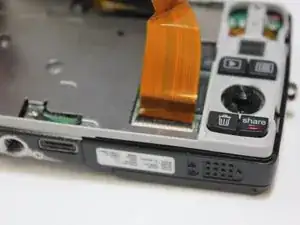
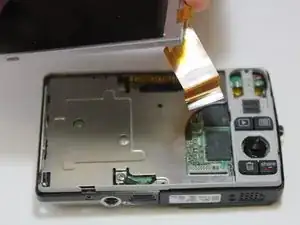
    • Gently lift up the LCD screen after removing back casing.

    • Find the point where the orange ribbon cable attaches to mother board.

  7. XyfkrwahViC5gP3B
    XyfkrwahViC5gP3B
    idiFQ3P5Q31urJOj
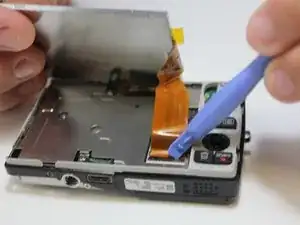
    • Use plastic opening tool to gently lift up on the ribbon cable fastener.

    • Note: It does not take much pressure to release fastener.

  8. gIPBTwYMMcByl5Xp
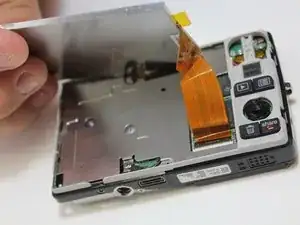
    • Lift LCD Screen off of device.

Abschluss

To reassemble your device, follow these instructions in reverse order.
Brian

Mitglied seit: 13/03/14

252 Reputation

0 Kommentare