Einleitung
The battery latch can often crack, making the battery connection very weak. This guide will outline how to remove and replace it.
-
-
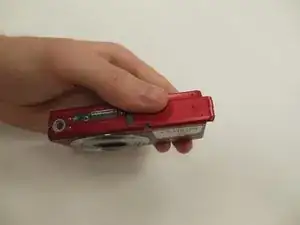
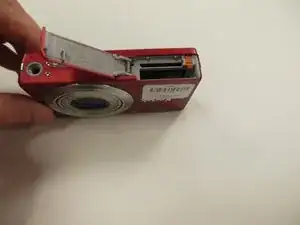
Press down on battery until you hear a click and release it. Battery should easily slide out.
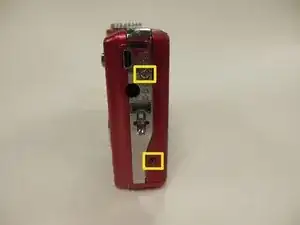
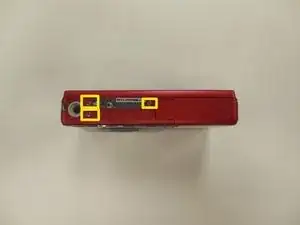
-
-
-
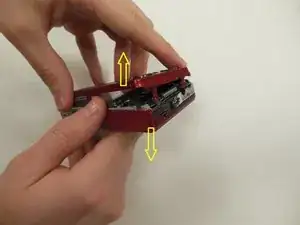
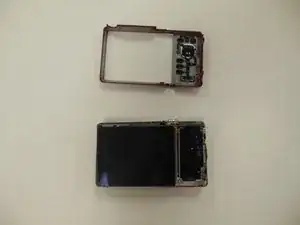
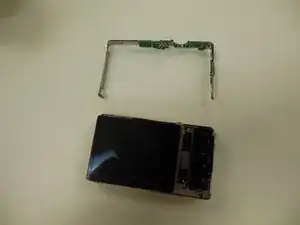
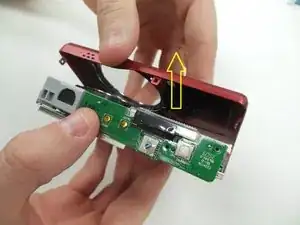
After screws are removed, using both hands, carefully pull the frame apart from the camera as indicated.
-
-
-
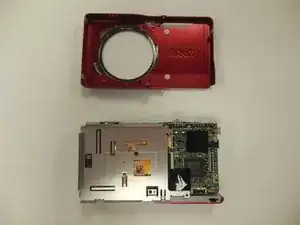
Carefully lift the motherboard panel up, pulling towards the left. Make sure you do not rip the blue ribbon.
-
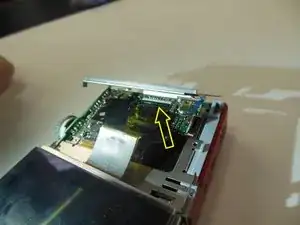
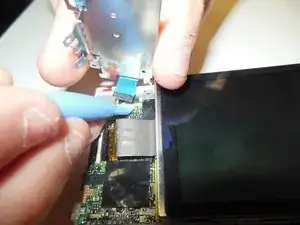
Using a plastic opening tool, gently lift up on the ribbon fastener until it is in an upright position.
-
Slide panel away from camera.
-
-
-
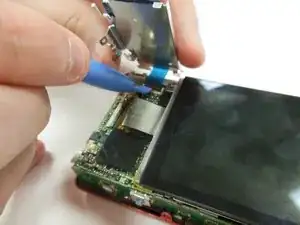
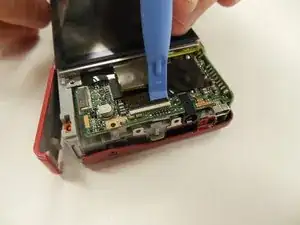
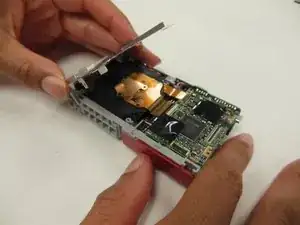
Using a plastic opening tool, gently lift ribbon clamp as indicated to remove the screen ribbon from the motherboard.
-
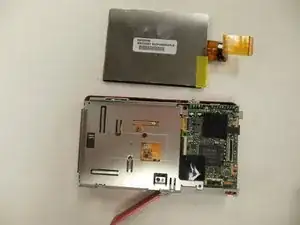
Screen should now be detached. Gently lift it away from the base of the camera.
-
-
-
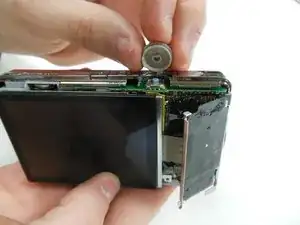
Locate and remove selector dial on the top of the camera.
-
This should free the chrome mid-frame that encompasses the camera. Carefully lift and remove it as well.
-
-
-
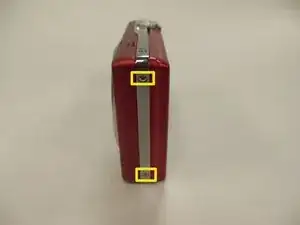
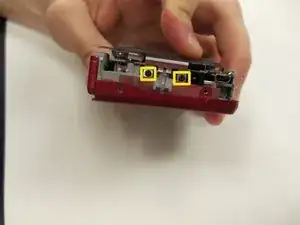
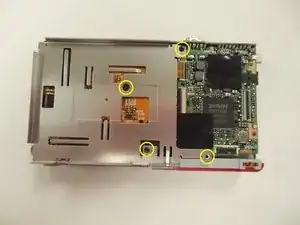
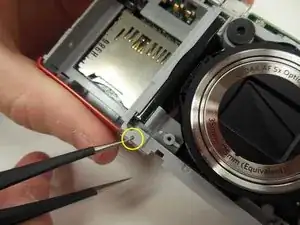
Locate the four 3.25 mm screws holding the metal lens panel in place, and remove them.
-
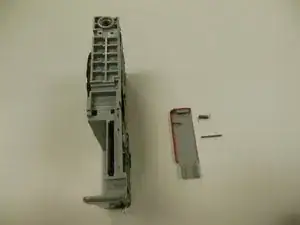
You should then be able to lift and remove the metal paneling. This will now expose the pin holding the battery latch in place as indicated.
-
-
-
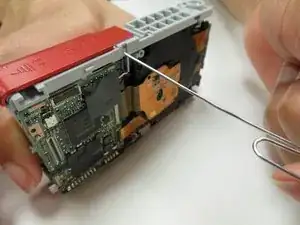
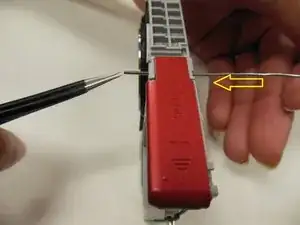
Keeping the battery latch panel closed and in place, use a straightened paper clip (or similar tool) to push the pin out of the hole.
-
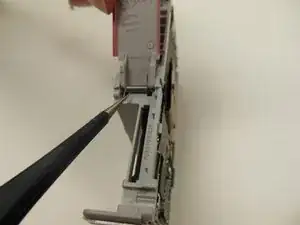
Use tweezers to securely remove pin.
-


To reassemble your device, follow these instructions in reverse order.