Einleitung
This guide demonstrates how to install a LCD.
Werkzeuge
-
-
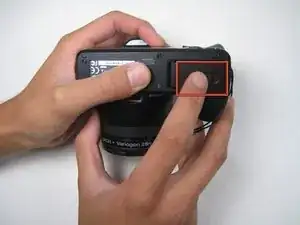
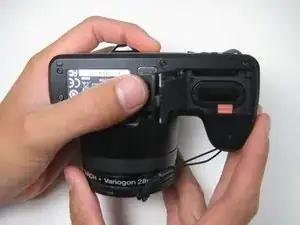
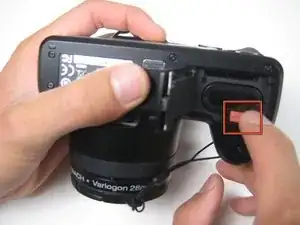
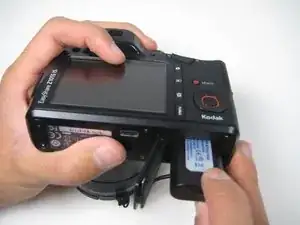
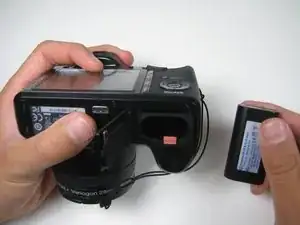
Begin by sliding the switch towards the open symbol. Release your finger from the switch and the battery case will pop open.
-
-
-
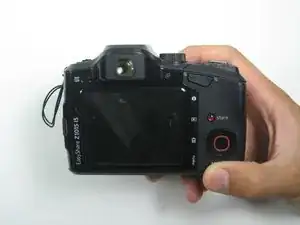
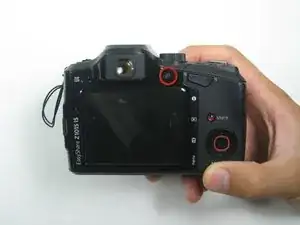
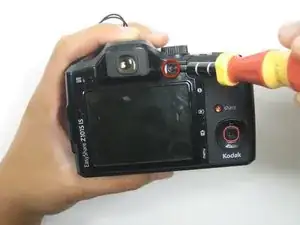
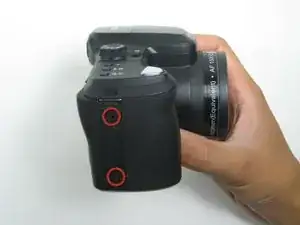
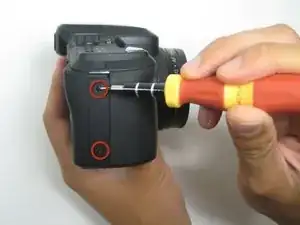
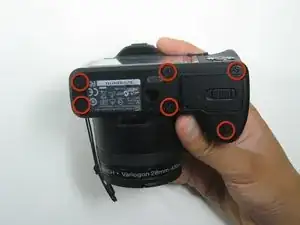
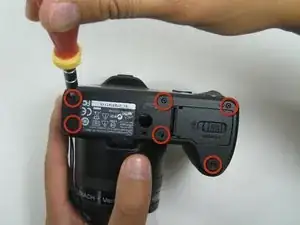
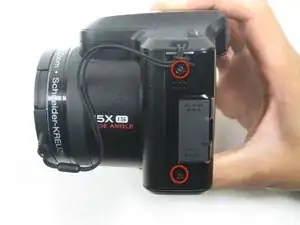
After removing the screws located on the right side, remove the six screws located on the bottom of the camera.
-
-
-
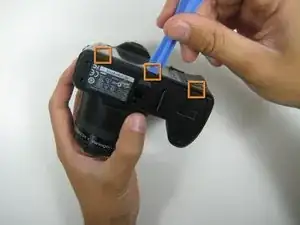
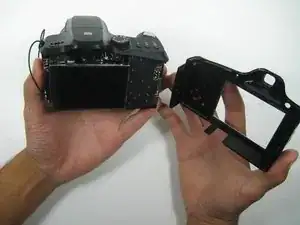
Once all eleven screws have been removed, use Plastic Opening Tools to take off the back cover.
-
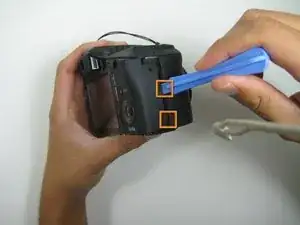
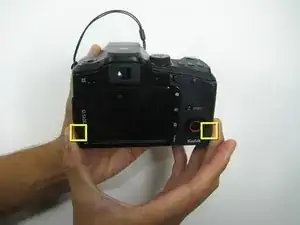
Insert the plastic opening tool and apply leverage on each side of the camera. The recommended spots to apply leverage are shown in these pictures.
-
-
-
Apply pressure on the left and right side of the camera and pull the back cover away from the device.
-
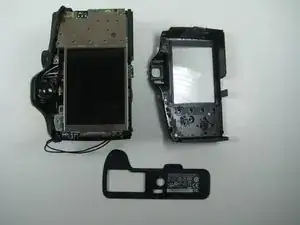
Once the back cover has been successfully removed, you should have a total of eleven screws as well as the bottom cover separated from the camera.
-
-
-
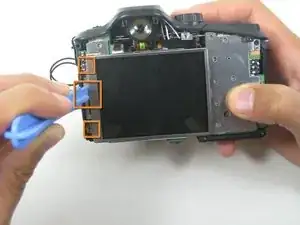
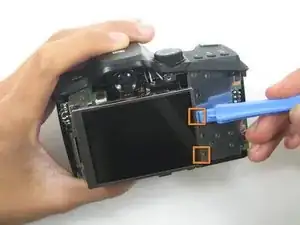
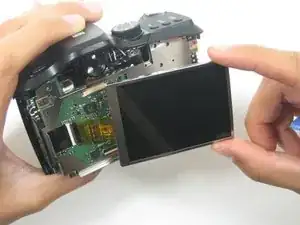
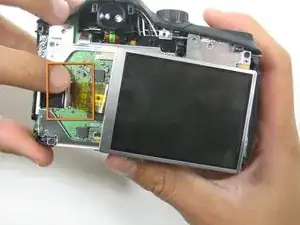
Begin by using Plastic Opening Tools to remove the LCD Screen from it's interior casing. To do this, place the opening tool in between the screen and casing and apply leverage to remove the screen. Do this around the rim of the casing, especially where orange squares appear in the pictures.
-
-
-
Gently remove the LCD screen from it's interior casing by lifting and pulling from the right side.
-
-
-
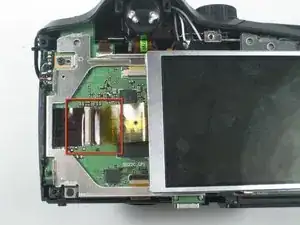
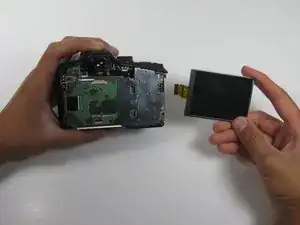
To completely remove the LCD screen from the interior of the camera, you must unhook the ribbon from the logic board.
-
To do this, simply lift up the tab connecting the ribbon to the logic board and pull gently on the LCD screen.
-
To reassemble your device, follow these instructions in reverse order.

