Einleitung

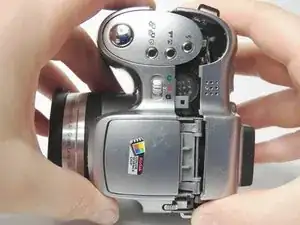
The LCD screen displays the photos on the camera, making it one of the more important parts for functionality. If your screen breaks or gets scratched, follow this guide to replace the LCD screen.

  1. DcLGLpMQaKEAorDY
    DcLGLpMQaKEAorDY
    UHolGGwKBDhE5lVa
    YVsXioutNI2coD4o
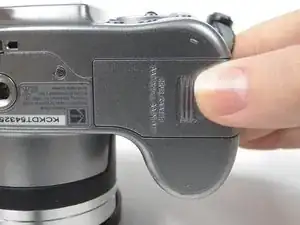
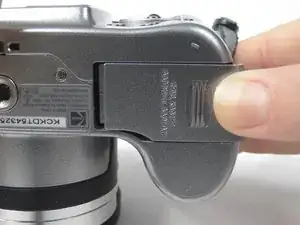
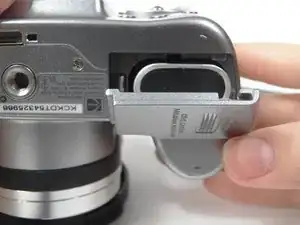
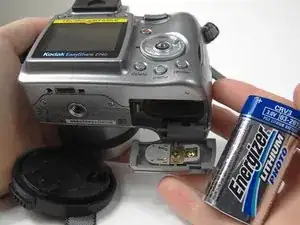
    • Slide the door on the bottom of the camera in the direction of the open symbol with your finger.

    • Release and the door will pop open.

  2. xm2aXBYFXlwAFGXm
    xm2aXBYFXlwAFGXm
    MSl5FVDp114HndCd
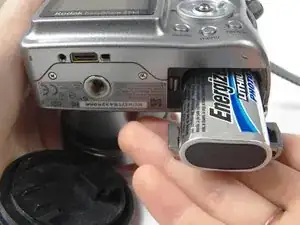
    • Slide the battery out.

  3. h6PTX6VPXHVLO5LN
    h6PTX6VPXHVLO5LN
    GUxYDIqvAXAj6BEY
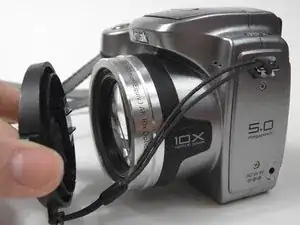
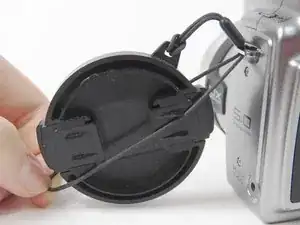
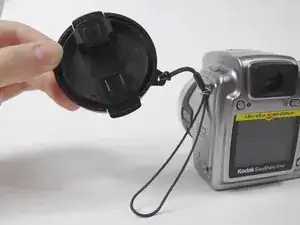
    • Remove lens cover from the camera by squeezing the protruding button on each side of the cover and pulling.

  4. lXywEBVLfsYZZdQv
    lXywEBVLfsYZZdQv
    hVOearQSCnbZaILa
    RvMIPMpnMGc4IL1Y
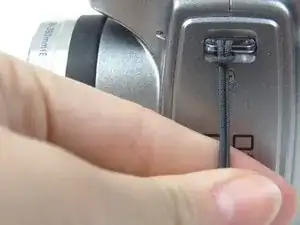
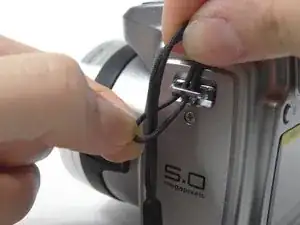
    • Pull the lens cover string toward the ground so that the loop underneath the metal slab is on top of the cover string.

    • Push up so that the string starts to come out of the top of the loop.

    • Grab the string from above the loop and pull.

  5. XmlUqOUXPxpDLSCF
    XmlUqOUXPxpDLSCF
    gZBgVkAxVNtBE3Zq
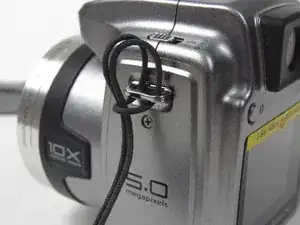
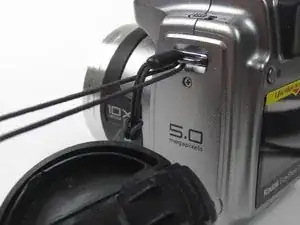
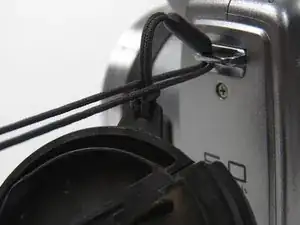
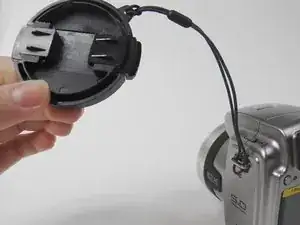
    • Feed the string on top into the metal slab while pulling the loop toward you until the plastic piece stops you from pulling any further.

  6. ClFtlPkoYI4eNiRH
    ClFtlPkoYI4eNiRH
    kfS6kjOPmtVJyAL4
    YRVKSGpBNyvNcLgJ
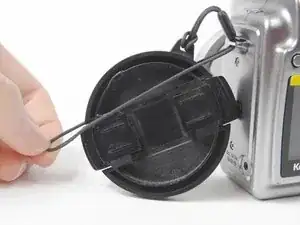
    • Separate the two pieces of the loop and pull the lens cover up in between them.

  7. fDU5PSSknqe2PAmO
    fDU5PSSknqe2PAmO
    EsXjqrJXiHvMxNZO
    41rwJhSMKuUVYDka
    • Pull the lens cover and the sting will come out of the metal slab.

  8. l4u6QEBX2KZxndTR
    l4u6QEBX2KZxndTR
    UgAbD2NEAFgHygFP
    jmskUmyuWDwBLCKV
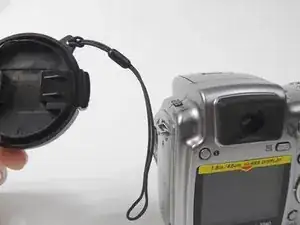
    • Place lens cover back on the lens to prevent scratches or debris but leave string detached.

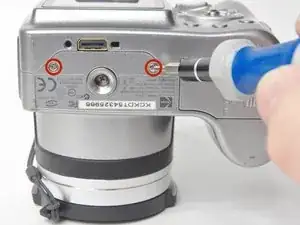
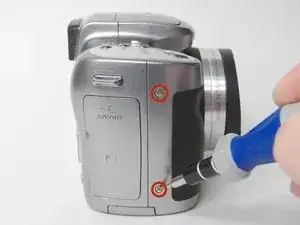
    • Remove a total of six 3.968mm Phillips #00 screws. Two each from the left side, bottom, and right side.

  9. todsvNQeENu5RMSO
    todsvNQeENu5RMSO
    GlHN2ArfrJHvlkKD
    LFGZtCv63M5xAGDO
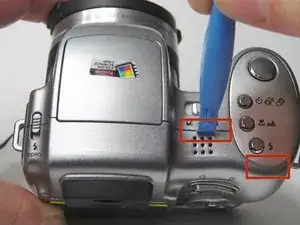
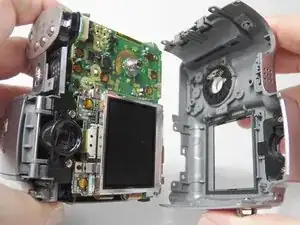
    • Pull the back cover away from the front cover.

    • You may need to use a plastic opening tool as a wedge if it does not come apart by easily.

  10. U5Ki3qAgVqCWjSKk
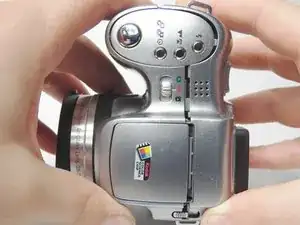
    • Separate the back cover from the front cover.

  11. ejix1lJmuKXC5BWW
    ejix1lJmuKXC5BWW
    bNdYMRKLB2p5SLC3
    WpYPoqmPHXsmm1CN
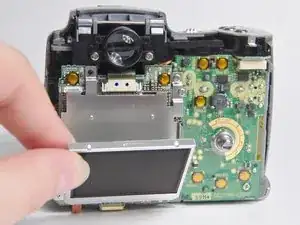
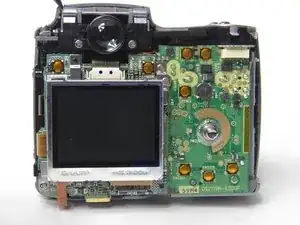
    • Flip the LCD screen down.

  12. tZuXXuIxtUZuLnlG
    tZuXXuIxtUZuLnlG
    VWdARIljUF5wnPQi
    RvI2QEVb1WQlrnHJ
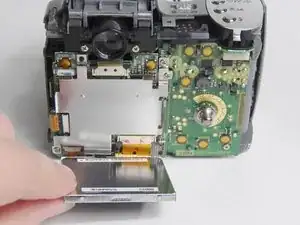
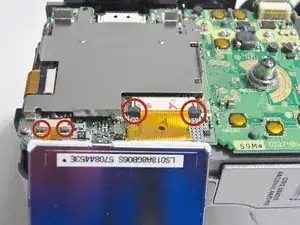
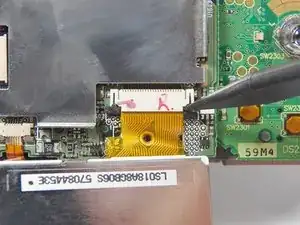
    • Locate the two sets of black tabs connecting the flat orange cables to the motherboard.

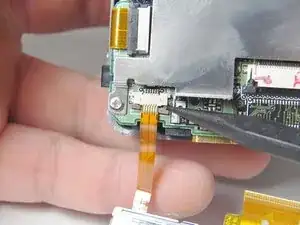
    • Slide the 2 sets of tabs down with a tool or your finger to release the cables.

  13. xZwmOGfqOnnyaVZ2
    xZwmOGfqOnnyaVZ2
    4uXYBIUYpxQTGMpq
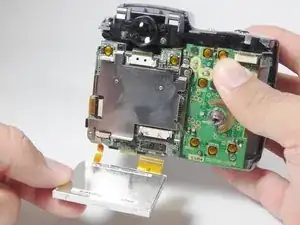
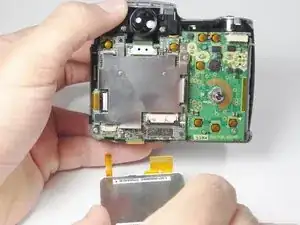
    • Gently pull the LCD screen down until the orange cables separate from the motherboard.

Abschluss

To reassemble your device, follow these instructions in reverse order.
Kirsten Price

Mitglied seit: 17/09/14

406 Reputation

0 Kommentare