Einleitung
This guide shows how to replace a broken LCD on a C183. It is not a difficult job, however, most cameras open from the back case first, this one opens from the front first.
Werkzeuge
Ersatzteile
-
-
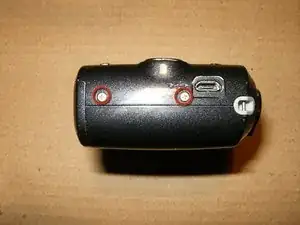
Remove the two screws from the right hand side
-
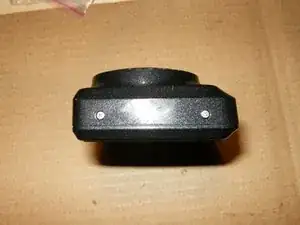
Remove the two screws from the left hand side
-
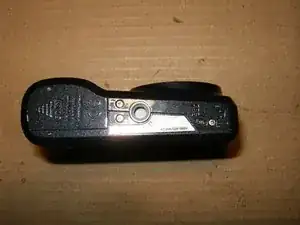
Remove the three screws from the bottom.
-
-
-
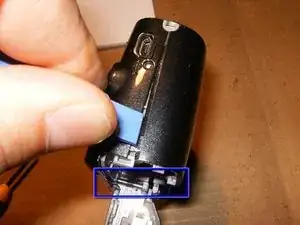
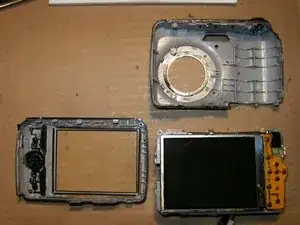
Open the battery compartment and start carefully to separate the front and back half of the camera. On this camera the front half will come of first.
-
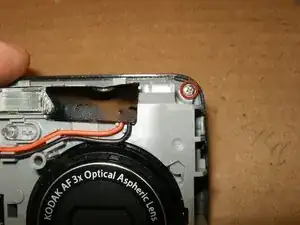
In the top left corner is one screw that will have to be removed. It holds the back cover to the body of the camera.
-
Once that screw is removed, the camera separates easy.
-
-
-
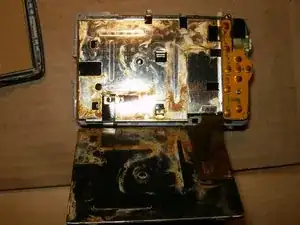
Fold the LCD from the top downward. DO NOT try to remove the LCD, it is still attached. Obviously this camera has had water damage.
-
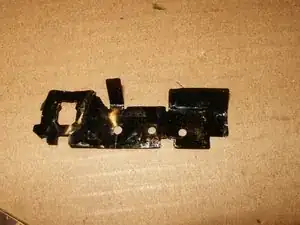
Remove the Kapton tape from the top of the camera.
-
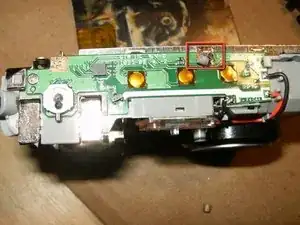
you will have to de-solder the battery frame on one point.
-
-
-
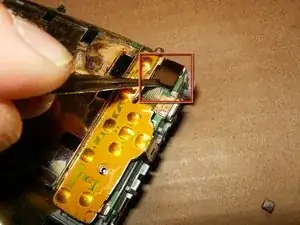
Remove the tape
-
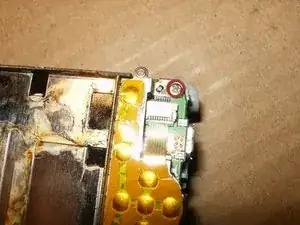
Remove the single screw.
-
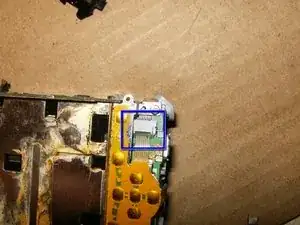
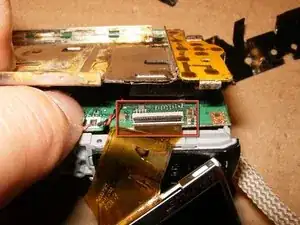
You can disconnect the ribbon cable, by carefully pulling on the end. I opted to leave it connected to minimize the risk of tearing the fragile cable. It is possible to just move the frame out of the way.
-
-
-
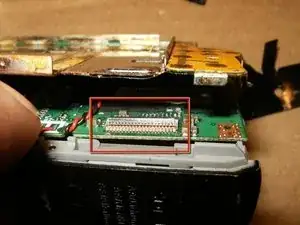
Lift the LCD frame slightly up and fold the black clip gently to the back.
-
This will loosen the ribbon cable and lets your remove the LCD.
-
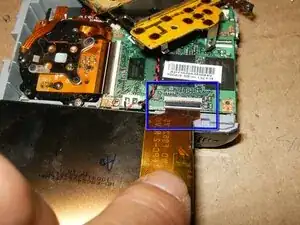
Insert the ribbon cable of the new LCD. there will be a solid white stripe on the cable. Insert the cable as shown, close the connector.
-
To reassemble your device, follow these instructions in reverse order.
