Einleitung

Removing the back cover of your Kodak PixPro AZ251 gives you access to the camera's LCD screen and motherboard. This guide will instruct you on how to remove the back cover of your Kodak PixPro AZ251.

  1. W1kmoSo2CFRauKtg
    W1kmoSo2CFRauKtg
    HSvixSUSNWUock6e
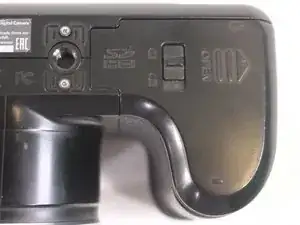
    • Slide switch to open lock position.

  2. MWlabhKwFUPtDoEA
    MWlabhKwFUPtDoEA
    rTWSxQPCXfXgwwff
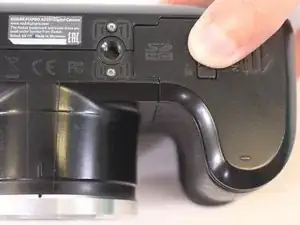
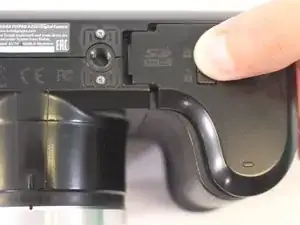
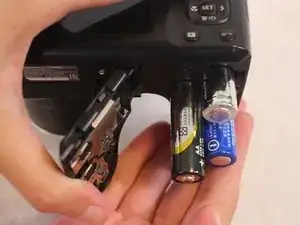
    • Press down on the battery cover and slide outwards to open.

  3. oVkvnSZvtkesDqdt
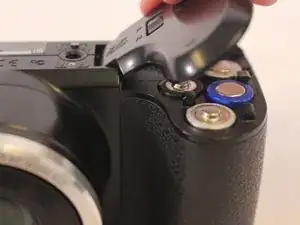
    • Remove the batteries.

  4. GlcE4UsnZyRuXdU3
    GlcE4UsnZyRuXdU3
    GUQ53eVAviPEdtNj
    Ho6TUfiMovbuCtvB
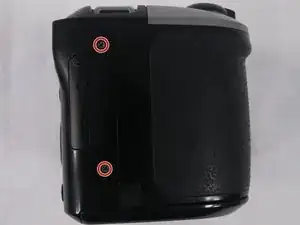
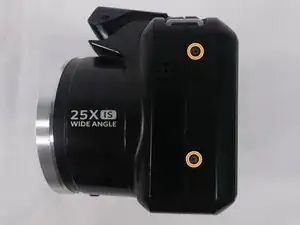
    • Remove a total of four 5mm JIS #000 screws from around the camera:

    • Two screws from the right side.

    • Two screws from the left side.

  5. HJUVNCaNevmXROPY
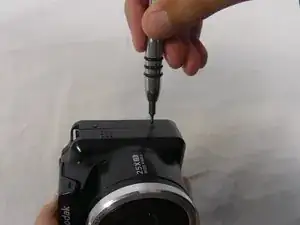
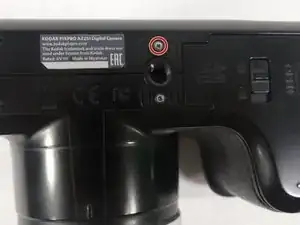
    • Remove the single 5mm Phillips #00 screw from the bottom.

  6. 52kBqpvLjhsdwGUw
    52kBqpvLjhsdwGUw
    V5EAt3iVMF4ATGFJ
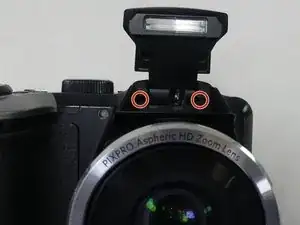
    • Open the flash module.

    • Remove the two 6mm JIS #00 screws found inside of the flash housing.

  7. HJjJfq3gYsSLa4ZL
    HJjJfq3gYsSLa4ZL
    MGK5fc6rkGkFR1GK
    GYqvRJMnX1OHalFF
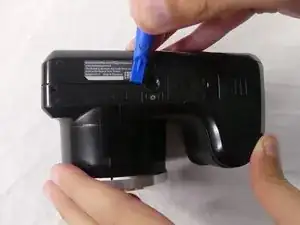
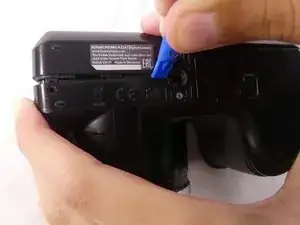
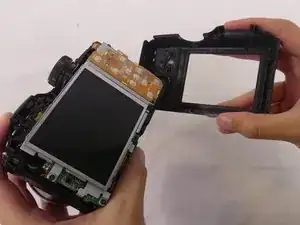
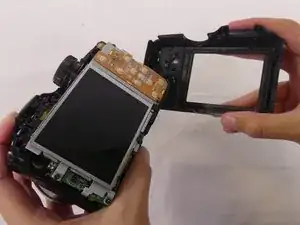
    • Use a plastic opening tool to pry apart both halves of the camera.

    • Remove the back panel.

Abschluss

To reassemble your device, follow these instructions in reverse order.
Luiza Oliveira

Mitglied seit: 23/02/18

298 Reputation

0 Kommentare