Einleitung

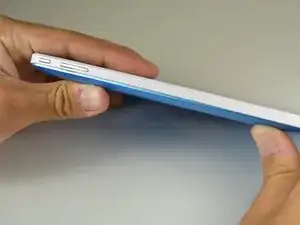
If the power/volume button is stuck, replace it by following these steps. This guide requires the removal of the screen. This takes care, but the steps are easy to carry out.

  1. XS2tmgOcOoOxITQg
    XS2tmgOcOoOxITQg
    DhX4W2c2FhQLcRvt
    iGYg5H61UlMjnYFZ
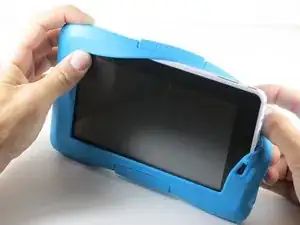
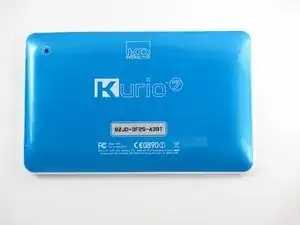
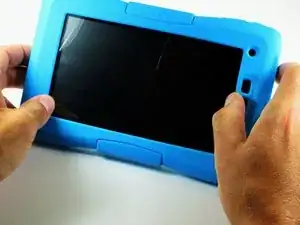
    • Begin by removing the rubber cover from the Kurio 7.

  2. gH31wiOTJnvOsALs
    gH31wiOTJnvOsALs
    ublYBRaX1ATXYNvs
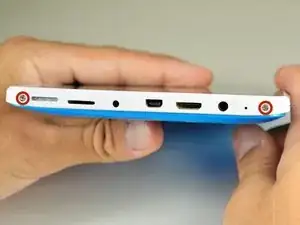
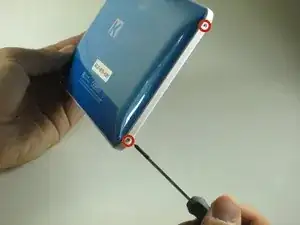
    • Remove the four 30 mm Phillips #00 screws from the outer case.

  3. HOvyilJQnqtZfIUL
    HOvyilJQnqtZfIUL
    TwPIg446ObgR4FBt
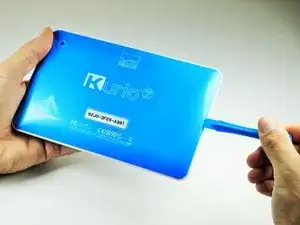
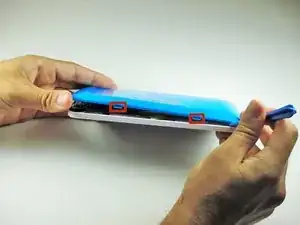
    • Insert the plastic opening tool in the gap between the front cover and the back cover of the device.

    • Slide the plastic opening tool around the edge of the device. Gently pry apart the tabs that hold the front cover and the back cover together.

    • Be careful not to break off the tabs that hold the front cover and the back cover together.

  4. GYrrDo5bqoFHFaXB
    GYrrDo5bqoFHFaXB
    Qwaf4JItbbADTgSl
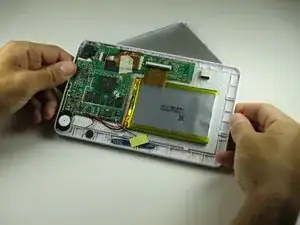
    • Once all of the tabs are removed, the back cover should come off easily.

    • Gently remove the back cover. There are wires inside that may get caught on the cover while removing it. These wires are soldered to their components and are difficult to reattach.

  5. rcJPsYWINqNE1oO1
    rcJPsYWINqNE1oO1
    52pJgGvxPCYji6kY
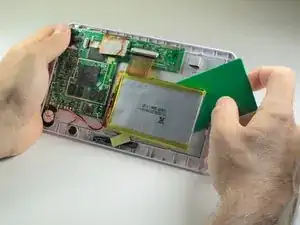
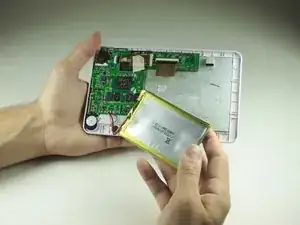
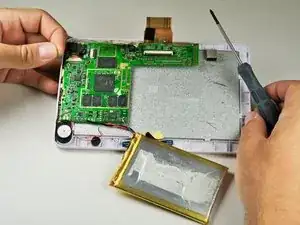
    • Use a plastic credit card, or other thin object, to separate the battery from the screen.

    • Be sure to work the card carefully and slowly around in order to not damage, break, or deform the battery.

    • Carefully set the battery aside.

  6. tdcCAuQnsNraUaDD
    tdcCAuQnsNraUaDD
    wClUBZgXQPMCygUr
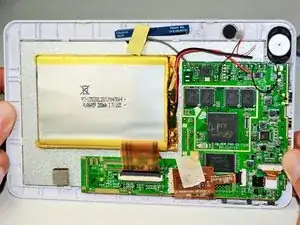
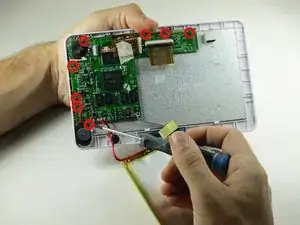
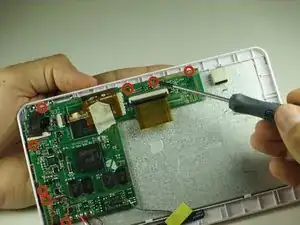
    • Use a Phillips #00 screwdriver to remove the eight 40mm screws holding the motherboard in place.

  7. ErwCmyl4lTMMwTPW
    ErwCmyl4lTMMwTPW
    vFPPf1McGFypKZCD
    sZO6iGX5lZm3XbTA
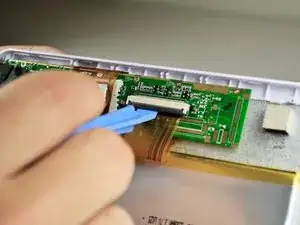
    • Place the plastic opening tool on the base of the black ribbon clip and pull up, like a lever, to release the mount. This should release the clip holding the ribbon to the mount.

    • Pull the ribbon out of the mount.

  8. Pg23fiCDQOgGxQMJ
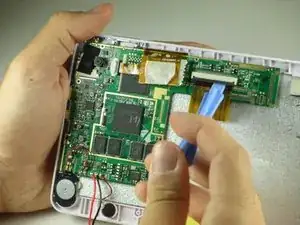
    • There should be masking tape on the yellow ribbon. Pull the tape off of the motherboard and wrap it around the yellow ribbon.

    • Do not pull the tape completely off the motherboard, as it is used to protect components on the ribbon.

    • To remove the ribbon from the mount, follow the same steps in Step 3.

  9. OEOmp4DnFtZHv1VU
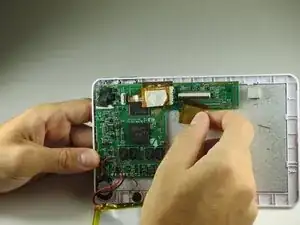
    • Pull back the ribbons and put the battery near the bottom of the Kurio.

    • The motherboard is now removed so that other components can be worked on.

  10. IChOQDeR3aL3MME6
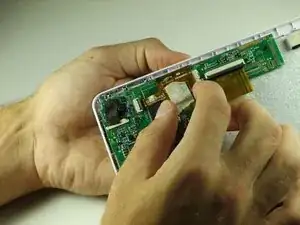
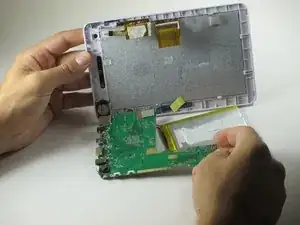
    • Flip motherboard down near base of device.

    • Be careful not to pull out any wires when moving the motherboard.

  11. QGoudXPmkt1RRov4
    QGoudXPmkt1RRov4
    bwquHXGK2oPLHJqA
    iq22fN6VTkgodNdZ
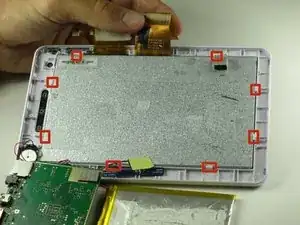
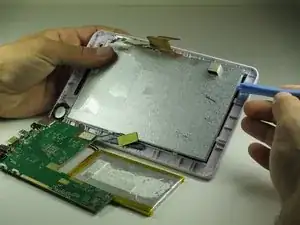
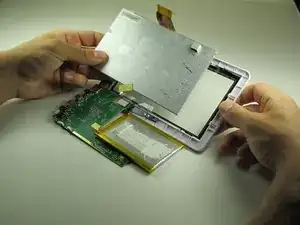
    • This is tricky, and an extra pair of hands may help. Use the opening tool to pry the screen out from underneath the tabs holding it in place.

    • Once you have created some space between the screen and the cover, slide the opening tool under the screen.

    • Slide the opening tool around the outside of the screen, releasing the tabs as you go along.

    • Be careful not to pull too hard on the motherboard while doing this, as there are still many wires attached to the body of the device.

  12. lnCrsiDkQQScJnLG
    lnCrsiDkQQScJnLG
    XSt6e6NfVsMHNCgJ
    ab6sup6sPkXtyKyc
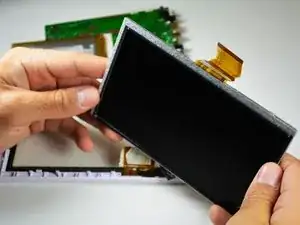
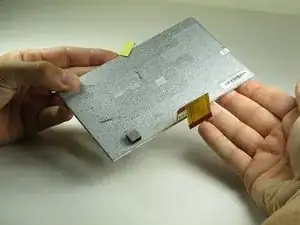
    • Pull the screen out from the casing.

    • You have successfully removed the screen!

  13. o1ciCnrtCZVuULZj
    o1ciCnrtCZVuULZj
    qDBFcZF3YY6FnDgl
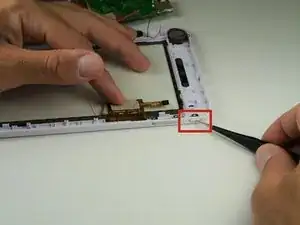
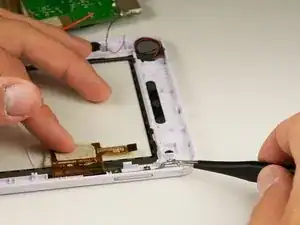
    • Locate the volume button. It will be located at the corner adjacent to the speaker.

    • Pull out the detached power key.

  14. oiiN1xYOWJQQqjUR
    oiiN1xYOWJQQqjUR
    JgakDWAVGNNiFELx
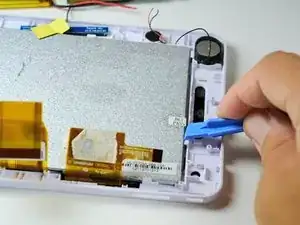
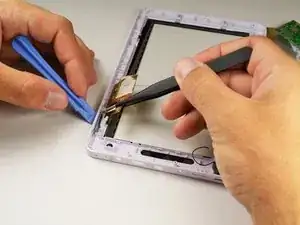
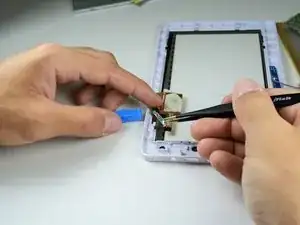
    • Remove volume button by using the opening tool to push inward from the outside while pulling on it from the inside using the tweezers.

    • Don't be afraid to press hard with the opening tool. Extra force may be needed to remove the volume button.

Abschluss

Inserting the replacement part may be tricky. Do not force the new part in, as it may break. To reassemble your device, follow these instructions in reverse order.
Omri Nissan

Mitglied seit: 16/04/14

321 Reputation

0 Kommentare