Einleitung
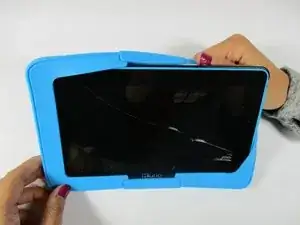
If the touch screen on your Kurio Xtreme is cracked or broken, follow this guide to replace it.
Werkzeuge
-
-
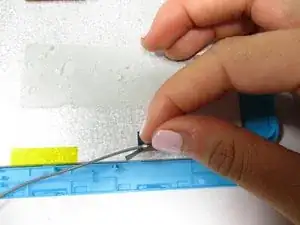
Remove the rubber case by beginning to peel from one of the top corners and continue peeling until the cover is completely removed.
-
-
-
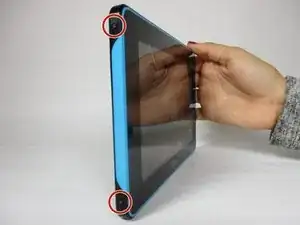
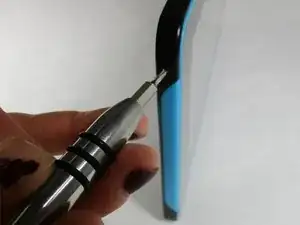
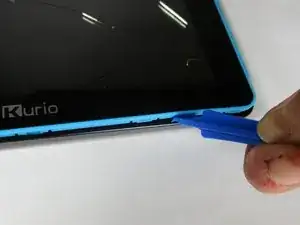
Insert the plastic opening tool in between the edges of the blue front casing and black back casing.
-
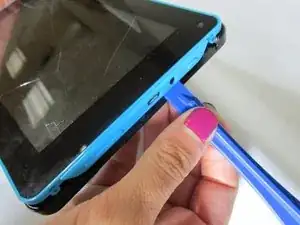
Slide the plastic opening tool around the perimeter of the device. This may require that you repeatedly run the opening tool up and down the edges of the device.
-
Carefully lift the back panel off of the rest of the device.
-
-
-
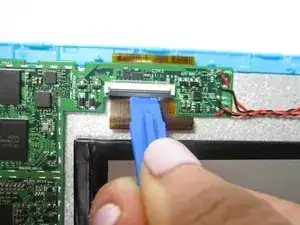
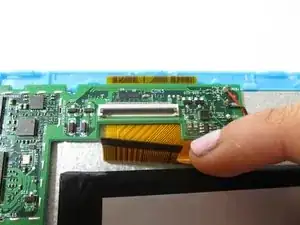
Remove the orange data display ribbon wire above the battery by prying open the ZIF connector with the plastic opening tool.
-
-
-
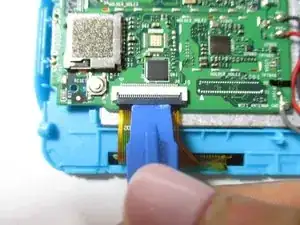
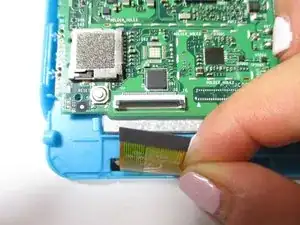
Remove the orange data display ribbon wire to the left of the battery by prying open the ZIF connector with the plastic opening tool.
-
-
-
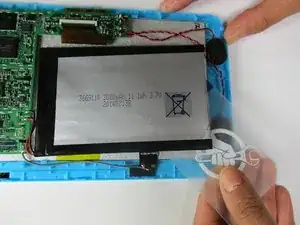
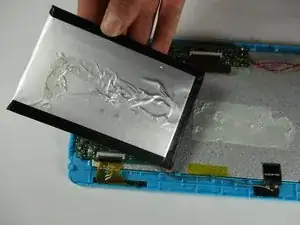
Slide iFixit's Plastic Card tool or a credit card under the battery to remove the glue that is holding it in place.
-
Carefully lift the battery out of the device and set it aside.
-
-
-
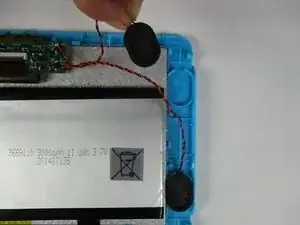
Carefully remove the speakers out of the plastic molds by lifting up the black and red wires. Set the speakers aside.
-
-
-
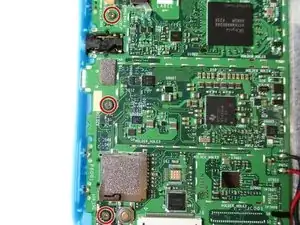
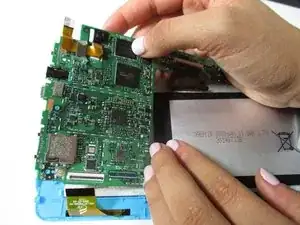
Remove the motherboard by lifting it out of the casing and set it aside along with the battery and speakers.
-
-
-
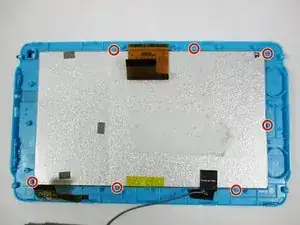
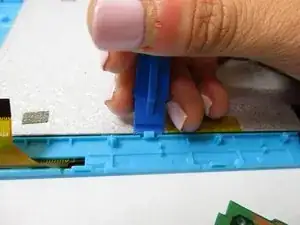
Pry open all 7 of the blue clamps by wedging the plastic opening tool under them and bending them backward.
-
-
-
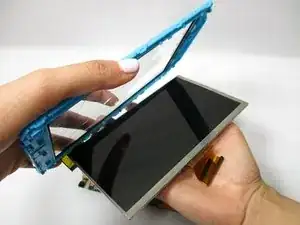
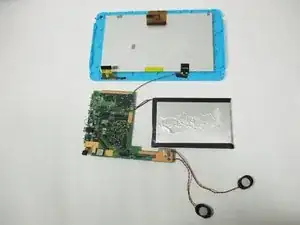
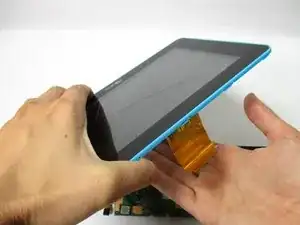
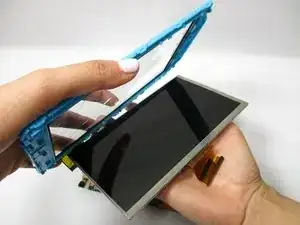
Remove the LCD display from the blue touch screen casing by gently shaking them apart in the palm of your hand.
-
This could be stuck on, so you need heat to loosen the glue.
-
Be careful when prying the digitzer from the plastic, if you bend it too much it can break the frame!
-
To reassemble your device, follow these instructions in reverse order.
2 Kommentare
Thanks - very good guide! For the investment of an iFixit toolset and less than 10 GBP for a replacement digitizer, I was able to restore my little boy's treasure!
Thank you so much for the Guide!! Helped save Christmas!!! The steps were easy to follow and my kids tablets are back to new.
tdd82 -
