Einleitung

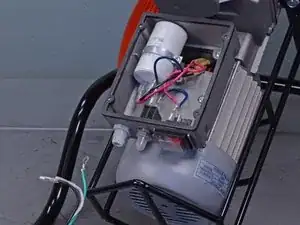
Follow this guide to replace the power components on a 2014 Kushlan cement mixer model 600DDS.

This guide is for replacing the capacitor, on/off switch, and power cord simultaneously. If only one of these components needs to be replaced, follow the respective individual guide.

To prevent electric shock, leave the device unplugged for 20 minutes to allow the capacitor to discharge before you begin.

  1. G26ESODEQHehSQN5
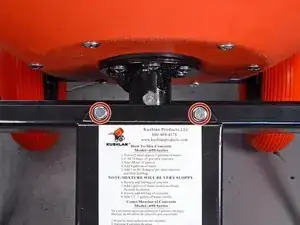
    • Before you begin, ensure the power cord is unplugged and the power switch is in the OFF position.

    • Use a 13 mm socket to remove the two bolts securing the motor cover to the frame.

  2. trmcLQj3BQZYPWA2
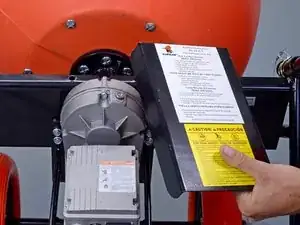
    • Remove the motor cover.

  3. 1ESNsJKRiL6D4SxP
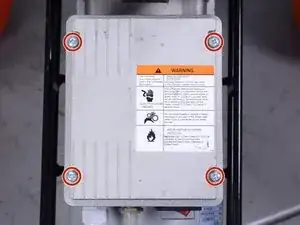
    • Use a Phillips screwdriver to remove the four screws securing the electrical panel.

  4. BbDERoKKdZhPThAN
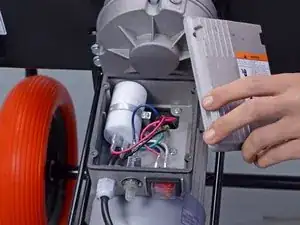
    • Remove the electrical panel.

  5. sG4ybUmdThot6GUI
    sG4ybUmdThot6GUI
    tTfEiS3xbjAWgFHK
    EQBaCDOWaxBKjX4P
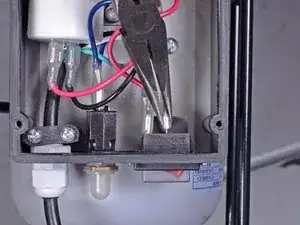
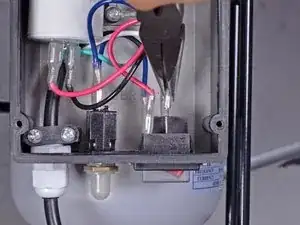
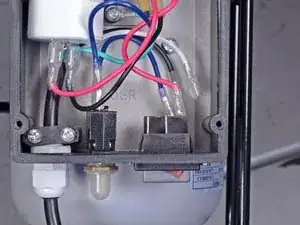
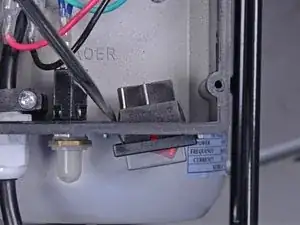
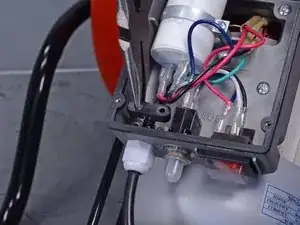
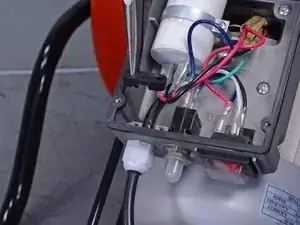
    • Use a pair of needle-nose pliers to disconnect the four wires from the back of the on/off switch.

    • During reassembly, ensure the wires are connected back into their original locations and the on/off switch is not upside-down.

  6. FJQcQyIG1UpL2FXl
    FJQcQyIG1UpL2FXl
    fwhoK3ixWuobjTQd
    MLcOOgf6GOsrEYQV
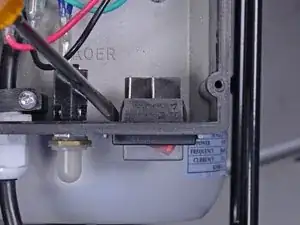
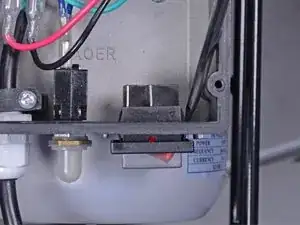
    • Use a flathead screwdriver to press the sides of the on/off switch through the opening in the electrical box.

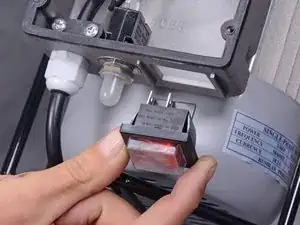
  7. hS2Rc4gceQLVOBO5
    • Remove the on/off switch.

  8. AHmasKRETvwD1sbL
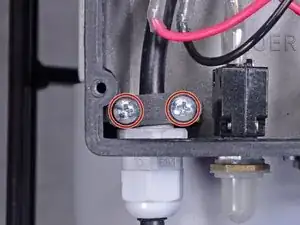
    • Use a Phillips screwdriver to remove the two screws securing the fastener behind the strain relief fitting.

  9. 5fOptReytUUYOFQP
    5fOptReytUUYOFQP
    pbJHRnLVNRxZJWJ3
    • Remove the fastener.

  10. KnSCMWM1Uo4MJ6jX
    • Use a Phillips screwdriver to remove the screw securing the green ground wire to the bottom of the electrical box.

  11. KhJFSmmLbThGdhYw
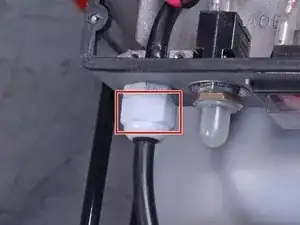
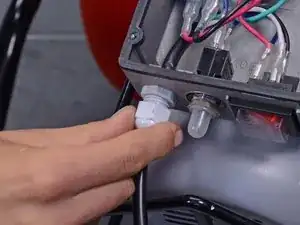
    • Use an adjustable wrench to remove the power cord's strain relief fitting cap.

  12. fiDpBqVhKXvp6CLe
    fiDpBqVhKXvp6CLe
    YiqosHAJjqQaLEjj
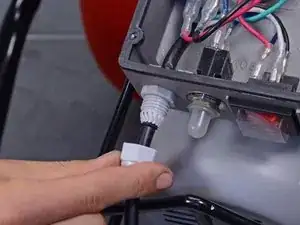
    • Slide the cap off of the strain relief fitting.

  13. Zn41KMrchqneMYNF
    Zn41KMrchqneMYNF
    HdqGriuSxoOFANY2
    WHrCeY6CSHPMjOgD
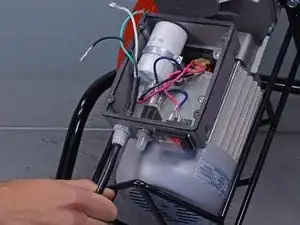
    • Feed the power cord and its black, white, and green wires out through the strain relief fitting.

    • Transfer the strain relief fitting cap onto the new power cord.

  14. AaUcvZMsOfNgv2Si
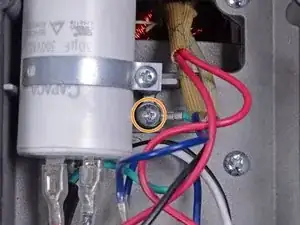
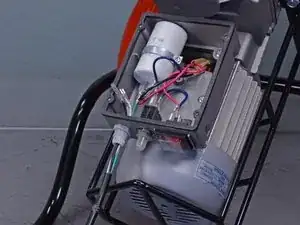
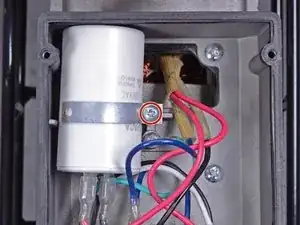
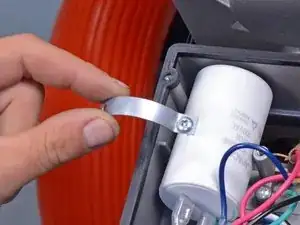
    • Use a Phillips screwdriver to remove the screw securing the capacitor support.

  15. aqZDZxSdTugyEZJv
    • Remove the capacitor support.

    FYI: i always assume that the capacitor is still charged: i use a screw driver and touch the screw driver across the terminals to make sure the capacitor is discharged. or sometimes i connect a jumper wire to the metal part of the screw driver & the other end of the jumper wire to the ground to make sure that the capacitor is discharged. first method i use for smaller capacitors and the other method i use for larger capacitors. this way you won’t be “overcharged” for this repair.

    NEAL -

  16. JK44kc1LwM6vD4cW
    JK44kc1LwM6vD4cW
    WuAtlHSENUbJrBDx
    BWXmefefxjRaxgZt
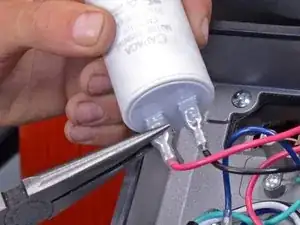
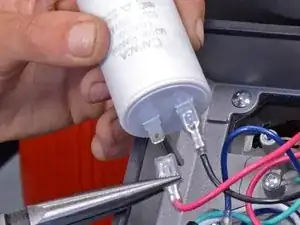
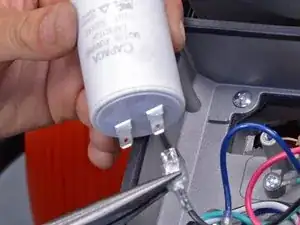
    • Use a pair of needle nose pliers to disconnect the red and black wires from the capacitor.

    • Remove the capacitor.

    • Use tape or a zip tie to differentiate this set of red and white wires from the other set of red and white wires running to the on/off switch to ensure proper reinstallation.

Abschluss

To reassemble your device, follow these instructions in reverse order.

Sam Omiotek

Mitglied seit: 25/02/19

59342 Reputation

0 Kommentare