Einleitung
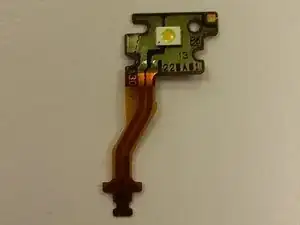
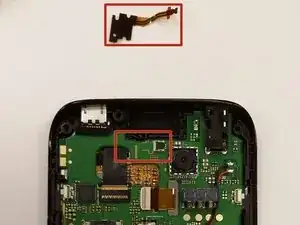
This guide describes the step by step process involved in removing the flash chip of the Kyocera Event phone.
Werkzeuge
-
-
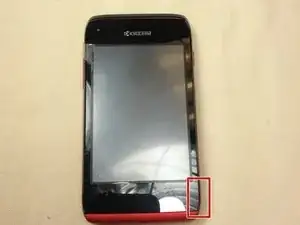
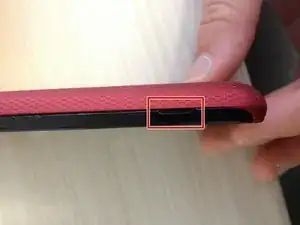
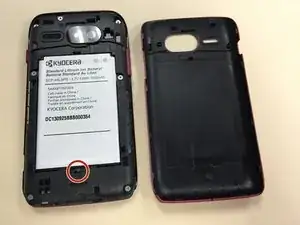
Locate the small notch on the bottom right side of the phone.
-
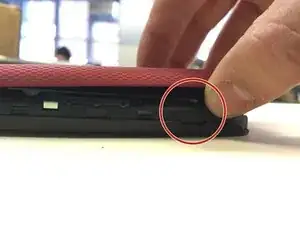
To remove the cover, hook your thumb or fingernail into the slot. Then, gently lift the cover up and off.
-
-
-
Locate the small notch below the battery. You may see a white plastic notch sticking out of this space; if so, grasp that tab to pull the battery out of its compartment. If you do not see a white plastic tab, then place your fingernail in the notch and pull upward to release the battery from its compartment.
-
-
-
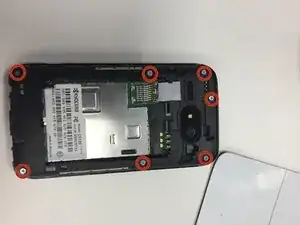
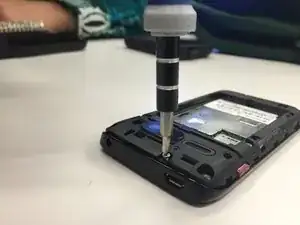
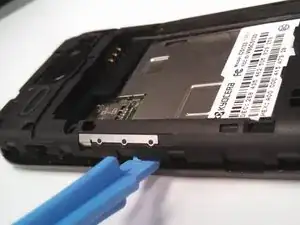
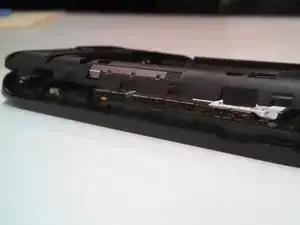
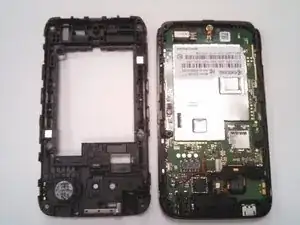
Pry the back assembly away from the body on all four sides of the phone.
-
Start prying at the top and work around.
-
Remove the buttons for the volume and power-this will allow for easier disassembly.
-
-
-
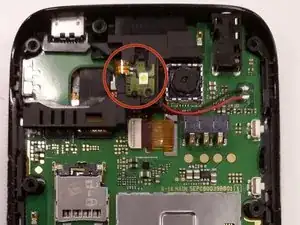
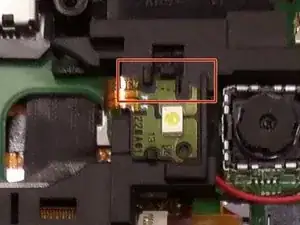
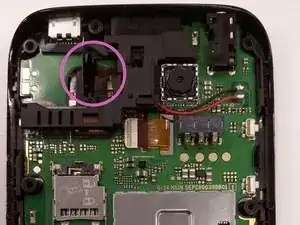
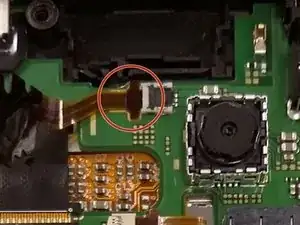
Detach the Flash Chip from its housing using tweezers.
-
Once loosened, slide the Flash Chip upward and out of its housing.
-
-
-
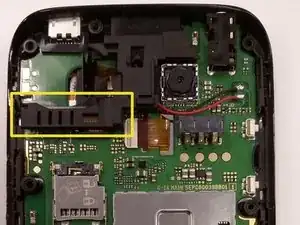
Grab the housing on the bottom left side with fingers and pull outwards and towards the bottom of the phone.
-
-
-
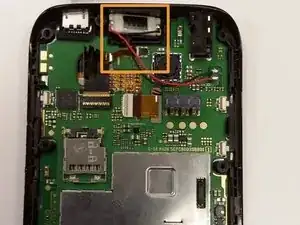
Grab the speaker by its black and red wires with tweezers. Pull the wires down and to the right side of the phone.
-
The speaker wires tend to move back to their original position - you may find it helpful to secure the wires behind the battery terminals to keep your work area clear.
-
-
-
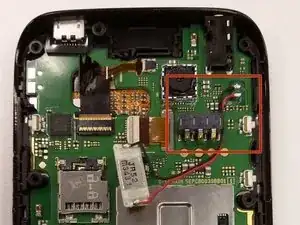
The Flash Chip attaches to the phone using a small, flat brown cord (a "ribbon"). Using tweezers, grab the ribbon as close to its attachment point as possible and pull forcefully to the left.
-
To reassemble your device, follow these instructions in reverse order.
