Einleitung
Werkzeuge
-
-
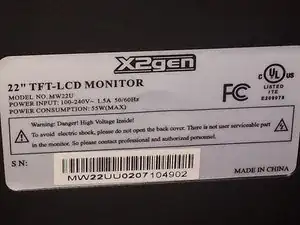
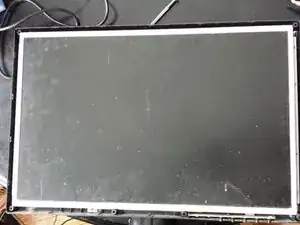
Display viewed laying face down on the working table (my dining table)
-
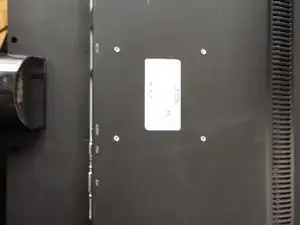
Remove the 6 screws. 4 on the corners and 2 middle bottom.
-
-
-
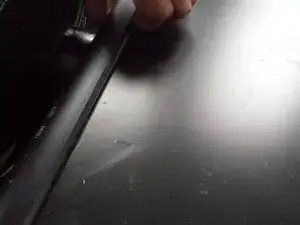
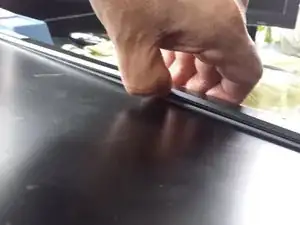
Remove front bezel by lifting softly starting from the middle and moving out to the corners.
-
-
-
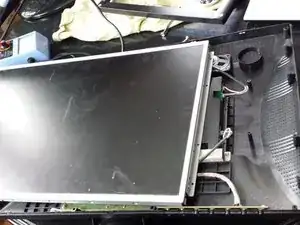
Front bezel removed.
-
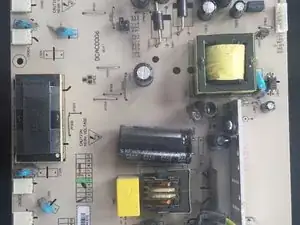
Observe: the control board, bottom right.
-
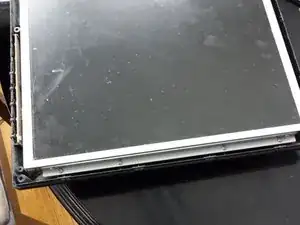
exposed screws on both sides (4 left, 4 right) holding the LCD to the back cover.
-
-
-
Prepare to remove the 4 screws on each side to lift the LCD. Do not try to remove it after unscrewing the 8 screws. There are cables connected on the back.
-
This pic shows the right side
-
-
-
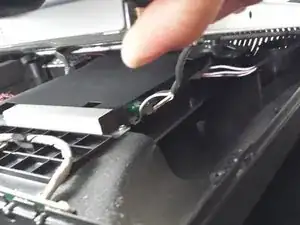
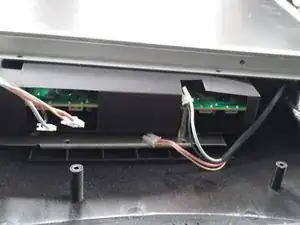
Lift carefully about 2 inch to expose the back light connections, 2 pink and 2 white.
-
Slide the monitor to the left about 3-4 inch. to have access to the connections.
-
-
-
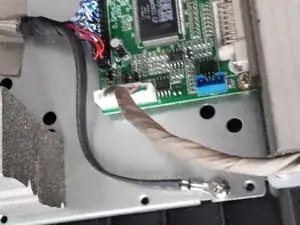
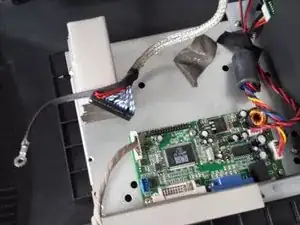
After removing the connectors, slide it about 3-5 inches to the right to have access to the data connector and ground
-


To reassemble your device, follow these instructions in reverse order.