Einleitung

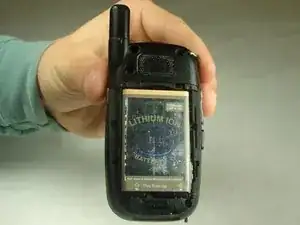
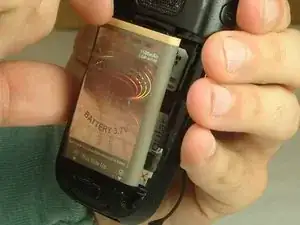
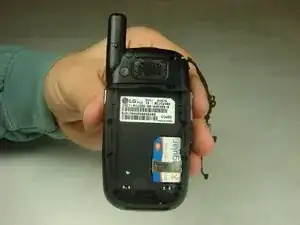
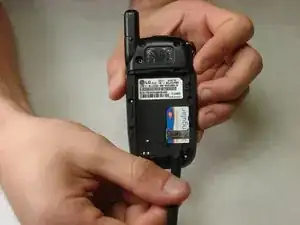
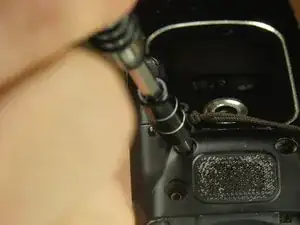
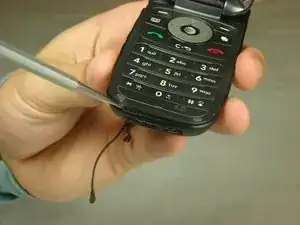
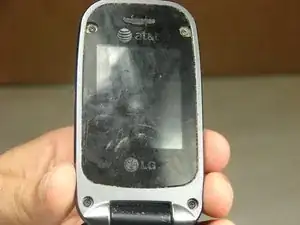
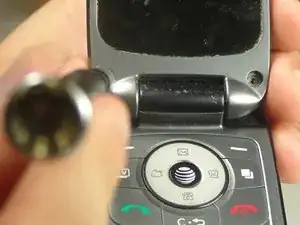
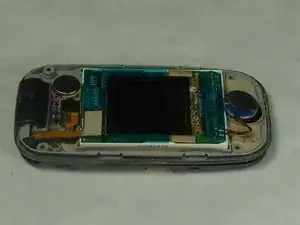
This guide will show you how to remove and replace the flex cable with a new one. You would only need to replace the flex cable when the screen is white or not displaying properly. This occurs when there is wear and tear on the flex cable.

  1. rcpwesYaXA4JI4fG
    rcpwesYaXA4JI4fG
    eUXRl4UdYoEVwUHF
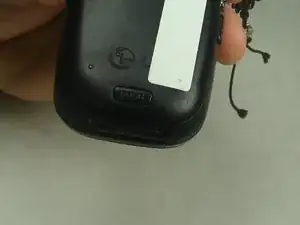
    • Push the button labeled 'PUSH' on the rear cover.

  2. FFxNrJUtImouuUDl
    FFxNrJUtImouuUDl
    V4bSKYfGTXZxIZmo
    R1YDX42wWxoFu3vG
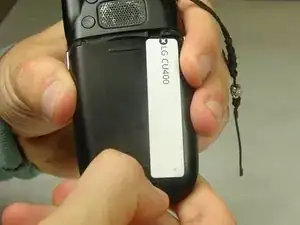
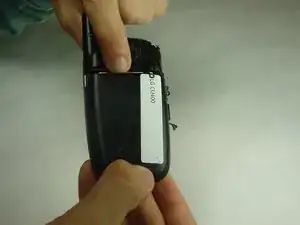
    • Slide the rear cover towards you.

  3. IelUIeVeFcqF4E3M
    IelUIeVeFcqF4E3M
    Br5h3ZZdboixvwj6
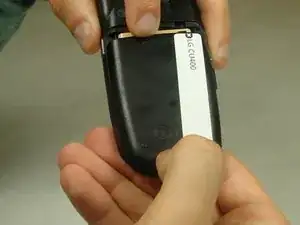
    • To remove the battery, grasp the top front edge of the battery and pull the battery away from the phone.

    • When installing the new battery, have the metal contacts of the phone match up with the metal contacts of the battery.

  4. yLcoBFfCxYkVYWYw
    yLcoBFfCxYkVYWYw
    ZhIpTuXHGXTI1Pvb
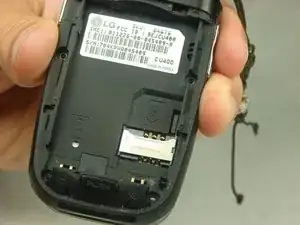
    • Remove the sim card by sliding the card out from under the retainer using either your fingers or a spudger.

  5. SRjIyHokE5UoLwDy
    SRjIyHokE5UoLwDy
    UBPY5bAnOAeEZWIC
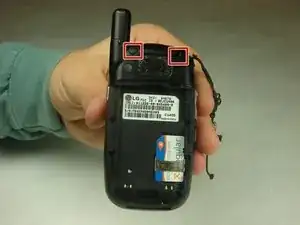
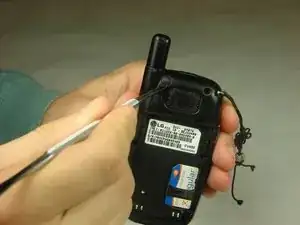
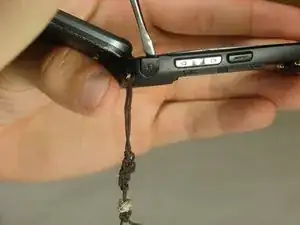
    • Remove the rubber covers in the highlighted locations using a metal spudger.

  6. A1GljnZEUefEHRas
    A1GljnZEUefEHRas
    HVDZYoytqeFNA3CL
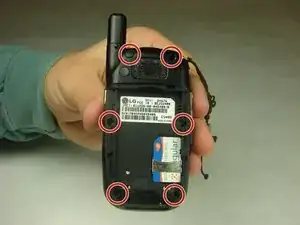
    • Remove the six 3mm #000 flat Phillips head screws from the back of the phone using a Phillips #000 Screwdriver.

  7. u1OZj5OrPWB4SdYJ
    u1OZj5OrPWB4SdYJ
    Hd52lGrBaee2MT6k
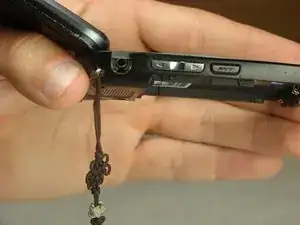
    • Remove the headphone jack cover with your finger or metal spudger.

  8. IWyrMNrFnLXqNJBC
    IWyrMNrFnLXqNJBC
    rlIwUHjcfqECsDZi
    5hhjxVYyrih3YeQh
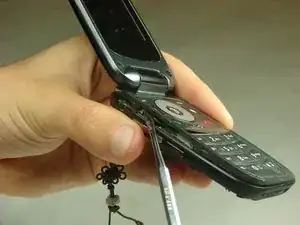
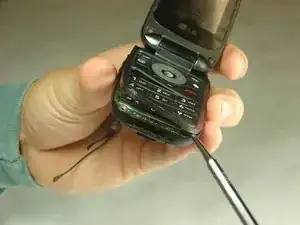
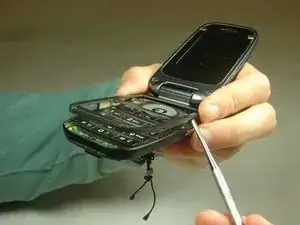
    • Insert the metal spudger between the keypad assembly and back cover assembly and pry the two assemblies apart.

    • Pry gently as to not break the plastic clips that hold the two assemblies together.

    • Work your way around the perimeter of the phone with the metal spudger to separate the two assemblies.

  9. ZOxRuq1VZHdIKJaO
    ZOxRuq1VZHdIKJaO
    IYtAQVQKHhijQJfq
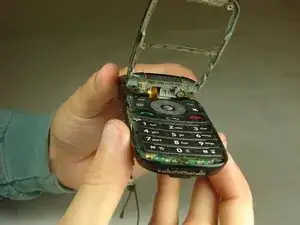
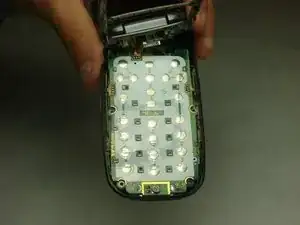
    • Once you have worked your way around the perimeter of the phone, you will have access to the components in the bottom half assembly.

  10. r1kEDciuvqKJmDRR
    r1kEDciuvqKJmDRR
    4DT2cRMpJQeElZoc
    q4XvRmqxEtQMZkoq
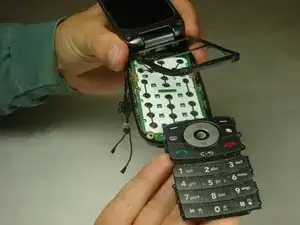
    • You should notice that the number pad is loose and can simply be taken out of the open phone casing.

  11. hkHqNQbcqOW3kNPs
    hkHqNQbcqOW3kNPs
    RIcEYdDEq4Wmfg4h
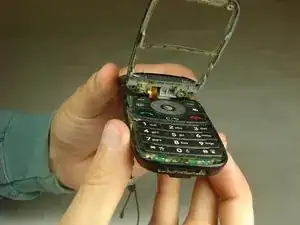
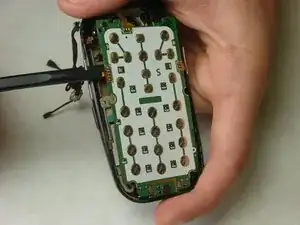
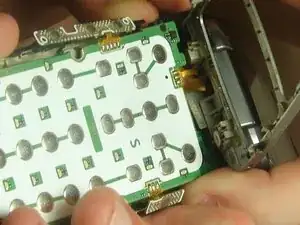
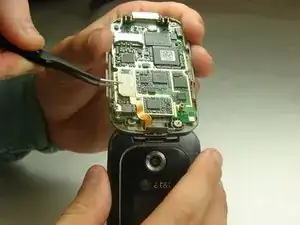
    • Using the spudger, start to gently pry the motherboard from the back of the phone and work your way around the perimeter of the motherboard.

    • There are copper ribbon cables connected to each side of the motherboard leading to the buttons for volume control and the camera that need slid out of the phone casing as the motherboard is being removed.

    • There are three in total, but do not remove the top one from the phone casing yet.

  12. xIXdrWcnqRjAg5fr
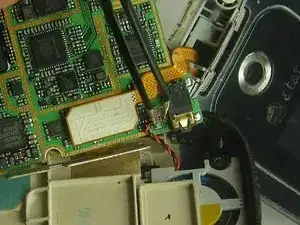
    • Once the motherboard is not locked in place it will still be attached to the back phone casing by two wires, red and black, twisted together.

    • Use tweezers to grab the black piece that these wires are attached to and simply pull it off the motherboard.

    • You may need to flip the phone over so that the screen is facing down. Feel free to move the keypad assembly to the closed position for this step.

  13. mnVxrZaqLRQbeQWB
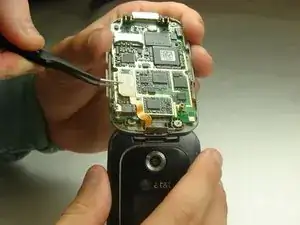
    • Remove the display ribbon cable from the back of the motherboard using tweezers.

    • Make sure to lift it so that you are pulling the entire thing off at once and not pulling off the flat piece at an angle.

  14. k1R3osLxkWXeBlGN
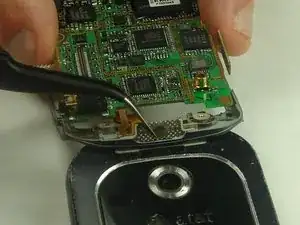
    • Use tweezers to remove the top ribbon cable, mentioned in step 11, from the hinge area.

  15. T1ylWQrnuNg2dtbb
    T1ylWQrnuNg2dtbb
    aEcq4MAEL1SXIblK
    rhiyCyfLUlcHoR11
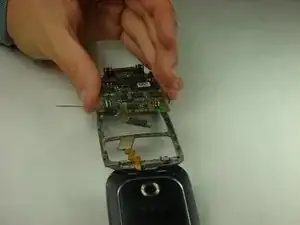
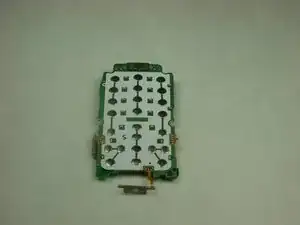
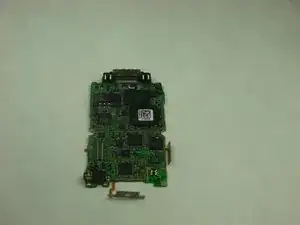
    • Grasp either side of the motherboard and gently lift it away from the phone casing.

    • The motherboard should be completely free of the phone casing, and you should have what is shown in the pictures.

  16. Rq1ESjTvheZhO6rd
    • Remove the four rubber covers from the front screen using a metal spudger.

  17. Qo2cbpRtHDnATUjc
    Qo2cbpRtHDnATUjc
    OdUQMEI3Fad1E1Uw
    • Remove the four 3mm #000 flat Phillips head screws from the front screen using a Phillips #000 Screwdriver.

  18. ej2eIgaLNZCSeHvD
    ej2eIgaLNZCSeHvD
    UqjRcRMkAnA2VQqA
    mhuIHxlIBCR5J6gX
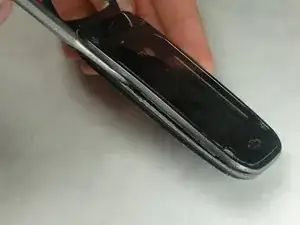
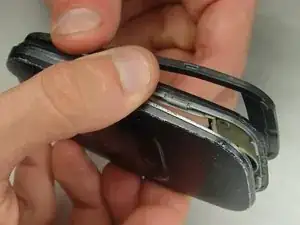
    • Insert the metal spudger in the seam on the top assembly. This will pry the two pieces apart from each other.

    • Continue to work around the perimeter of the phone with the metal spudger.

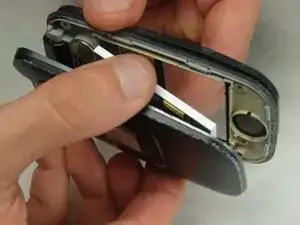
    • Once you have worked around the perimeter of the phone you should have two halves to the top assembly, the screen assembly and the cover.

  19. RFCFQRiGUBwRMjBt
    RFCFQRiGUBwRMjBt
    hJB1yQWSOrIjudc1
    HF5goCZ3t6nsp5SF
    • Set aside the cover half.

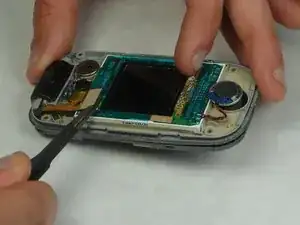
    • Using tweezers, carefully disconnect the display ribbon cable from the screen assembly and phone by lifting up on both connections.

    • The display ribbon cable will still be attached to the phone via the hinge. The disconnection of the display ribbon cable in this step is to remove the screen from the screen assembly.

  20. IGSXMddUoy2kUdIN
    IGSXMddUoy2kUdIN
    iponu2WseDMttINH
    • Grip the screen and ear speaker connected to the screen via red and black wires, and carefully pull the screen away from the screen assembly.

  21. TrTaLMbfDJUDkBMq
    TrTaLMbfDJUDkBMq
    kd1UymaH1m6cgH2m
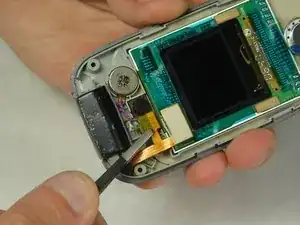
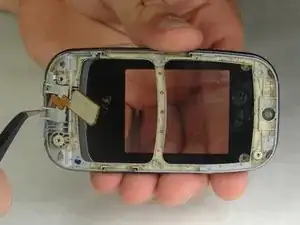
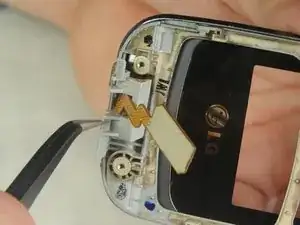
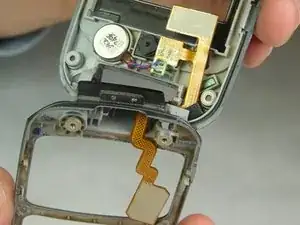
    • Using tweezers, pull the gray plastic piece that is going around the flex cable out of the hinge area.

  22. JX6pyucQXbAZ3ior
    JX6pyucQXbAZ3ior
    vlL4iMWH1fkHDKJK
    • Using the tweezers, slide the metal piece along the center line of the hinge until it clicks into place.

    • This piece will not be completely removed.

  23. nZqLcLMOGT6DZPGZ
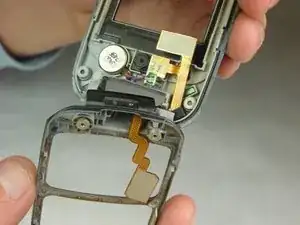
    • You can now carefully pull apart the phone casing at the hinge by separating them at the left side of the hinge.

  24. DeScK1kh5UHiqERM
    DeScK1kh5UHiqERM
    QXpqS4lFOyJwECiD
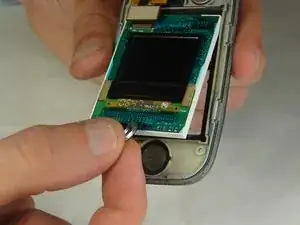
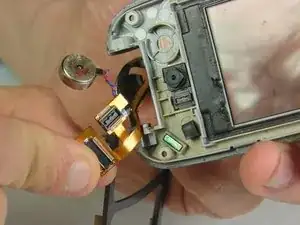
    • Remove the silver disk from the containment area.

    • The silver disk is connected to the display cable with red and blue wires.

  25. hCdGhWOUe3SLmQts
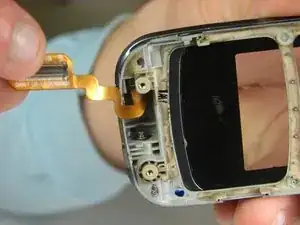
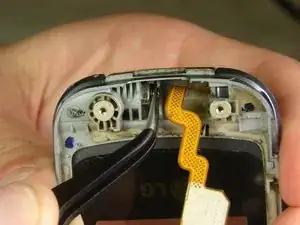
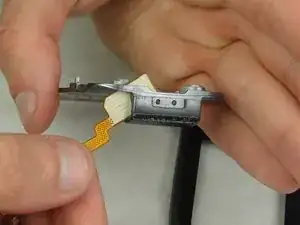
    • Carefully slide the display flex cable out.

Abschluss

To reassemble your device, follow these instructions in reverse order.
Ibrahim Momoh

Mitglied seit: 03/10/16

107 Reputation

0 Kommentare