Einleitung

  1. 6ehJtLWCBchrKZhM
    6ehJtLWCBchrKZhM
    dbFkMdeIcysABIQu
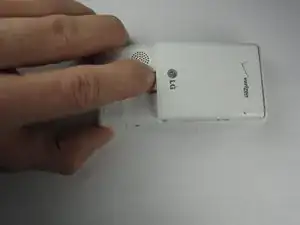
    • Find a sliding button on the lower back side of the device and with your finger, slide it to the left firmly.

    • The battery should pop out fairly easily. If not, slide the button further or grab and pull it while sliding the button.

  2. YegA2PyPqEWSOHXV
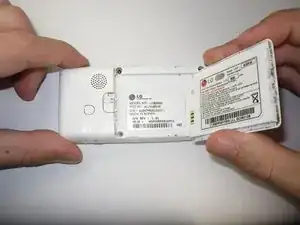
    • Unscrew the four Phillips 00 screws on the four corners under the battery to unfasten the back case from the phone.

  3. wdgPI5aZVu2f2u6G
    wdgPI5aZVu2f2u6G
    YK2OtCYYU6rMMvUj
    4Me6iSYFb6e5QyJB
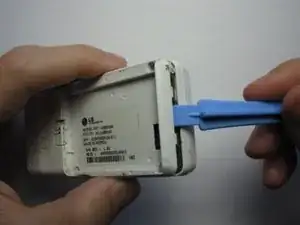
    • Pry the case off using a plastic opening tool.

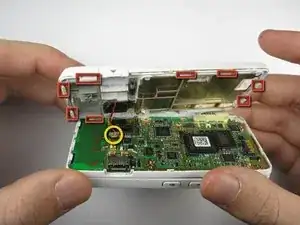
    • Continue working the plastic opening tool around the sides of the device, unhooking the eight tabs securing the back cover to the rest of the phone as shown in the second photo.

    • The back speaker will be connected to the motherboard, and must be disconnected to remove the case.

  4. TgiUVWpDuQUZ3hQM
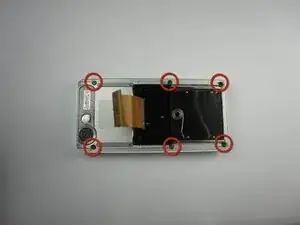
    • Unscrew the 4 Phillips 00 screws that connect the two halves of the phone together.

  5. IOt4gPXEDxc1fZUI
    IOt4gPXEDxc1fZUI
    ptMGTbdFUFg5kwwH
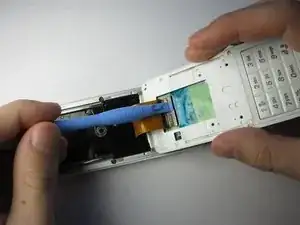
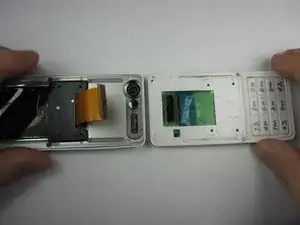
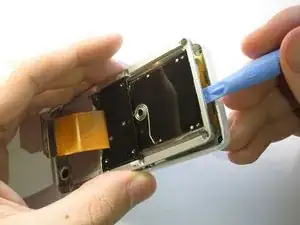
    • Between the two halves is a ribbon. Use a plastic opening tool to flip up the lock and disconnect it.

  6. pWHLFSAVIaOcUCOE
    pWHLFSAVIaOcUCOE
    Q5MQdjYdQxNQQqYJ
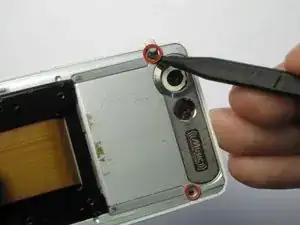
    • Pry off the plastic tabs that cover two screws, as shown in the first picture.

    • Then, remove the 6 Phillips 00 screws from the back of the case, as shown in the second picture.

  7. HAMeOnSQORTqKhBD
    • Pry off the back cover from the front of the case using a plastic opening tool.

  8. tEAx1Md31tfs2ikn
    tEAx1Md31tfs2ikn
    TMJfMwws51RJPSJD
    JQC5HXugThSiPIbI
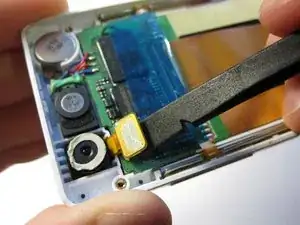
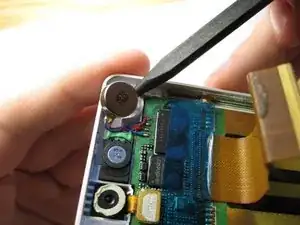
    • Pry the front speaker and wireless receiver out of the front case using a spudger.

    • They may be taped into the case, so don't be afraid to pry hard.

  9. Onip6o3FAGbowPQO
    Onip6o3FAGbowPQO
    D2TCriivjMvhwJeI
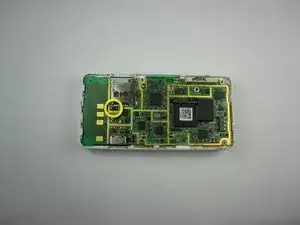
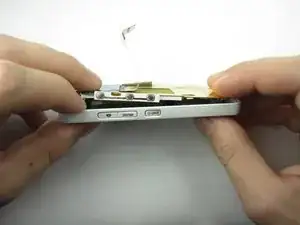
    • Starting with the side that has the speaker and receiver, carefully lift the LCD Board out of the case.

  10. mweMATTb2UrY4YgZ
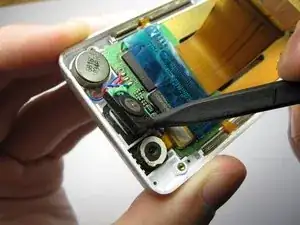
    • Unhook the ribbon cable using that flat side of a spudger.

  11. xvy5ZFrmAKXfDbkI
    • Next, carefully remove the tape from the LCD board.

  12. NqKmpDu4q5upnCBn
    NqKmpDu4q5upnCBn
    q1BKdhIJwSFjWGjO
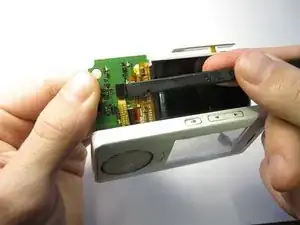
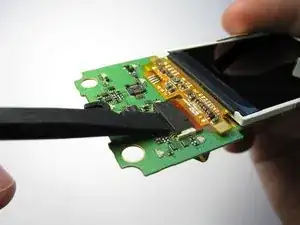
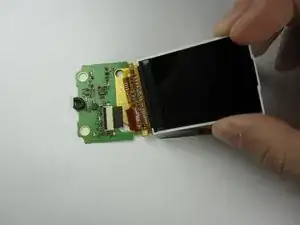
    • Finally, flip up the black switch to unhook the LCD screen from the LCD board using a spudger.

    • The LCD Board in now accessible.

  13. dYHAhOlgVIUtIofu
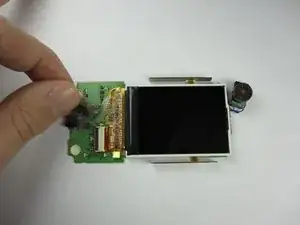
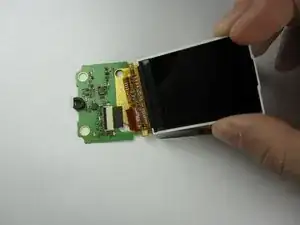
    • The LCD screen is no longer connected to the LCD board.

  14. gwxp6ktBRmbWYgw3
    • Push the keypad out from the front of the phone and remove it.

Abschluss

To reassemble your device, follow these instructions in reverse order.
Maci Miri

Mitglied seit: 18/01/13

39 Reputation

0 Kommentare