Einleitung

  1. sQDRDYEZwH5tiJWB
    sQDRDYEZwH5tiJWB
    I5OXtoYRUjAtf5rN
    OxtLVD2iVJxkJbVL
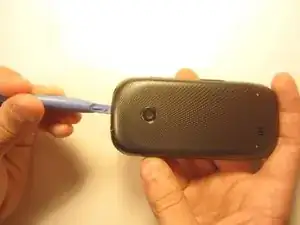
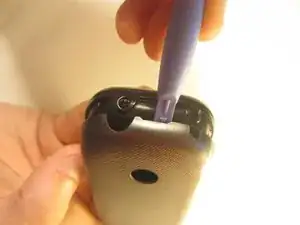
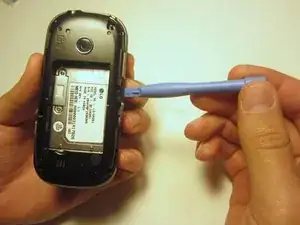
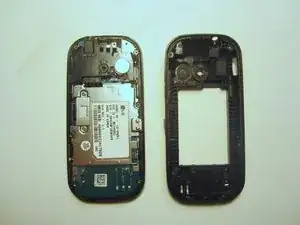
    • Insert the plastic opener into the slot at the top of the device.

    • Apply gentle pressure with the plastic tool to pop the back case off.

  2. dfjnRTFJmJogJ5NN
    dfjnRTFJmJogJ5NN
    4GwDNQGTMhAYoHHQ
    bFEMh1R5SqaaEwgV
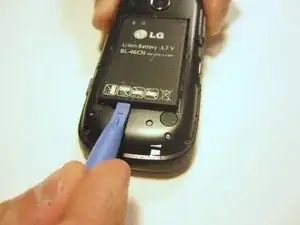
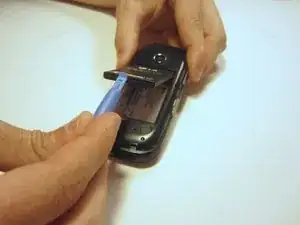
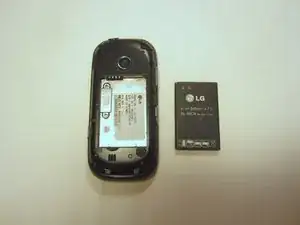
    • Use the plastic opener to lift, and remove, the device battery.

  3. Gdi1iSUJGZpvUvh5
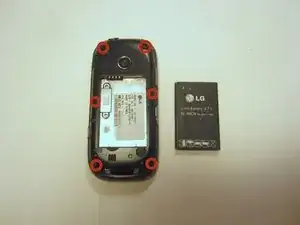
    • Use a screwdriver and corresponding bit to remove the six 2mm screws that are located along the edge of the rear case. Set the screws aside.

  4. TEocVeK5t2ErTBZl
    TEocVeK5t2ErTBZl
    haBq1rWUiEYfRvsw
    CNQpBR1tUCgwr1VO
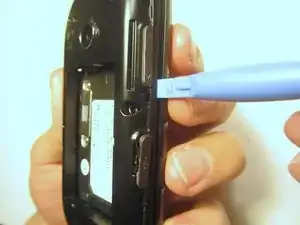
    • Use the plastic opener to pry the rear case loose.

    • This can be difficult. You will need to pry around the entire edge of the rear case, not just in one place.

  5. V5WtHHODkAX6k3uU
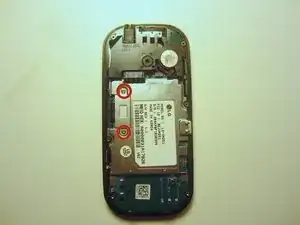
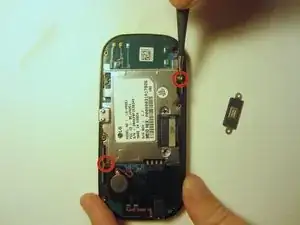
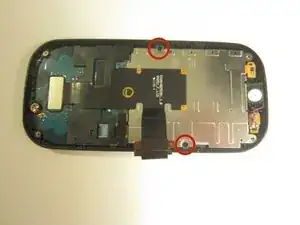
    • Use a screwdriver and corresponding bit to remove the two 3mm screws that attach the motherboard to the front case. Set the screws aside

  6. IhKKyEy4tK6LdKIB
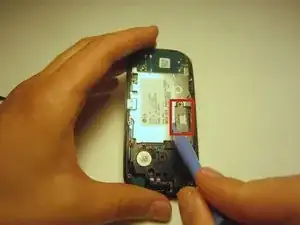
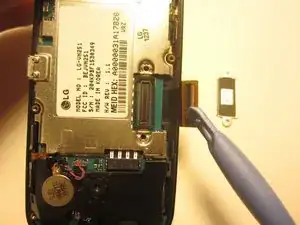
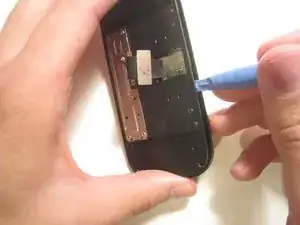
    • Rotate the phone 180 degrees and use the plastic opener to lift the metal piece that covers the ribbon cable.

  7. pRepVD5l6YPrA3aF
    pRepVD5l6YPrA3aF
    gUP1S2FTmHogwjAC
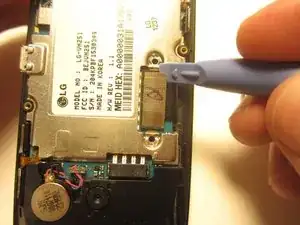
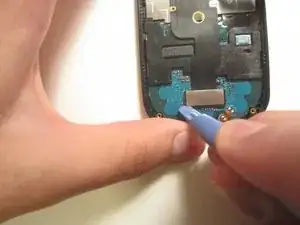
    • Use the plastic opener to disconnect the ribbon cable.

  8. eyBLfBiHQ2Q4INTG
    eyBLfBiHQ2Q4INTG
    RBVEyiIiNfTWGrtU
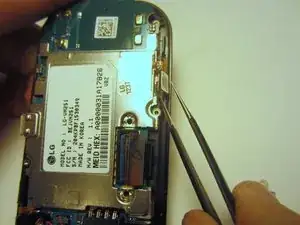
    • Use tweezers to disconnect the two cables that attach the motherboard to the case.

    • Note: Pull on the cables gently to prevent damage for future use.

  9. LQm1WBjx4MsVrA1Y
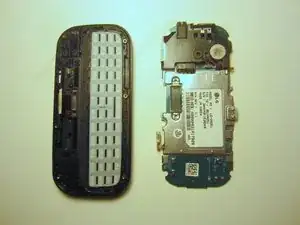
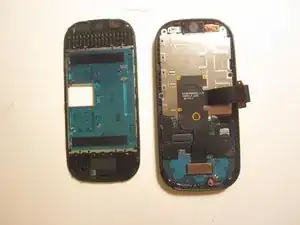
    • Remove the motherboard from the front case.

  10. I5En2DgU4bguohBO
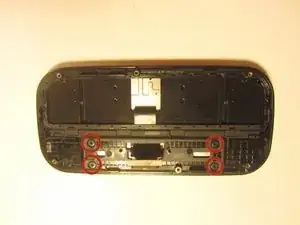
    • Use a screwdriver and corresponding bit to remove the four 1mm screws. Set the screws aside.

  11. 3XHvC5lfnnewC2Kl
    3XHvC5lfnnewC2Kl
    GitWUhOZHBOuGDid
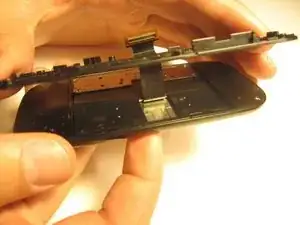
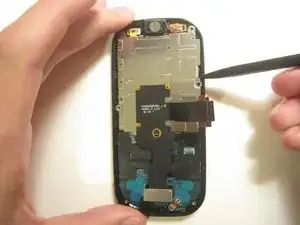
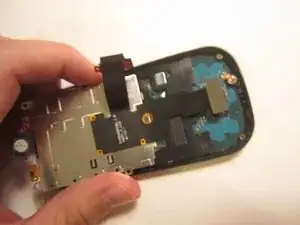
    • Pull the ribbon cable through the slit in the keyboard case to separate it from the sliding mechanism.

    There’s a tricky part not visible in this photo. The ribbon cable may be attached with a little bit of double sticky tape. Pry it up carefully with a spudger or other plastic tool.

    Jen Morris -

  12. 3OE2H3M16R1LDAgj
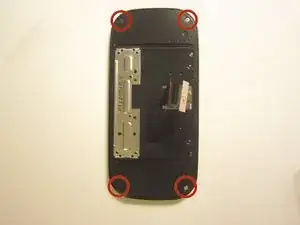
    • Use a screwdriver and corresponding bit to remove the four 3mm screws. Set the screws aside.

    • Note: Two of the screws may be hidden underneath a black rubber film. Pull off this film if necessary.

  13. HZTZTkcfPDyMwwDD
    HZTZTkcfPDyMwwDD
    OsTM6lTBYtGRQ3YX
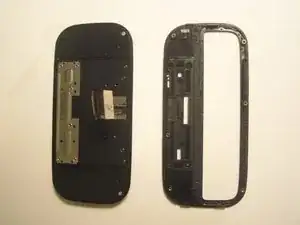
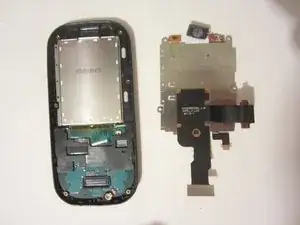
    • Use the plastic opener to pry open the front of the phone.

    • Slip the ribbon cable through the slit to fully separate the two pieces.

  14. uCefDQoU3dmOPsMZ
    • Use a screwdriver and corresponding bit to remove the two 1mm screws. Set the screws aside.

  15. fRavWXhqqiX4NwlW
    • Detach the ribbon cable with the plastic opener.

  16. 5kHKT6OKGESDEhgZ
    5kHKT6OKGESDEhgZ
    2PchPDEuth12Brbj
    CVDbxJECkEWuDj4O
    • Use the spudger to pry the metal piece loose.

    • Remove the metal piece along with the two ribbon cables.

    Seems to be missing a step here: how to remove the third ribbon cable (short one on lower right corner of photo)? Mine is under black plastic cover and blue plastic film. I had to move to Step 19 to take the black plastic piece off.

    Jen Morris -

  17. Y1QQ1JsTCBMrYrIu
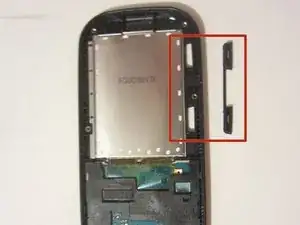
    • Flip the front of the phone over and the old option buttons will fall out.

    • Insert new option buttons.

  18. 1f1dvYHehrbvGnUc
    1f1dvYHehrbvGnUc
    qRDQSdYUGLtW3TSS
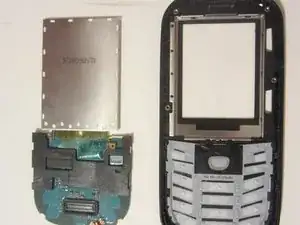
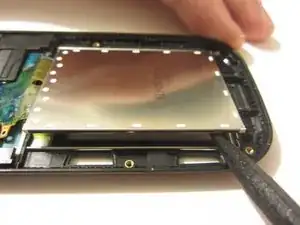
    • Use a tool to pry open the LCD display. Remove the display and the motherboard-looking device that it's connected to.

  19. buLrkSvQSwCirVWZ
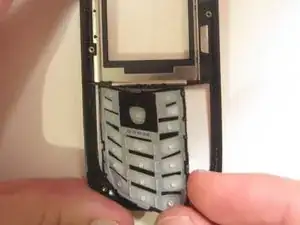
    • Rotate and remove the keypad from the front case.

Abschluss

To reassemble your device, follow these instructions in reverse order.
Nick White

Mitglied seit: 18/10/13

851 Reputation

0 Kommentare