Einleitung
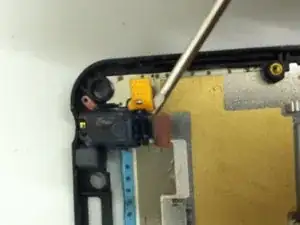
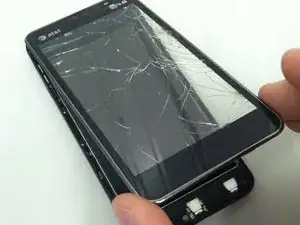
This guide will show you how to replace the headphone jack on your LG Escape (p870).
Werkzeuge
-
-
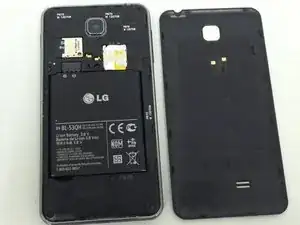
Turn the device over and pull the back plastic cover off by inserting your fingernail into the opening at the bottom of the phone and gently pulling.
-
-
-
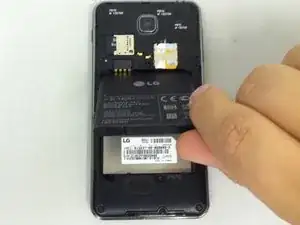
With your finger and from the bottom edge, lift the battery out of the phone and set it aside.
-
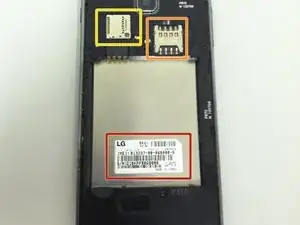
You now have access to:
-
Your SD card
-
Your SIM card
-
Your device's serial numbers
-
-
-
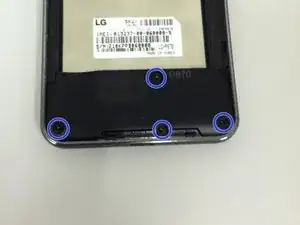
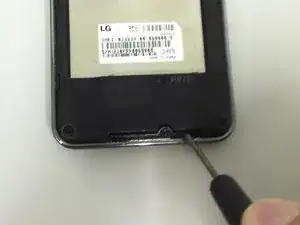
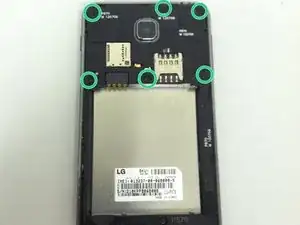
Carefully insert a small flathead screwdriver between the speaker assembly and the rear housing
-
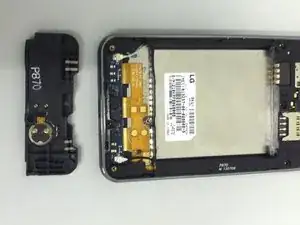
Pry the speaker assembly out of the phone and set it aside
-
-
-
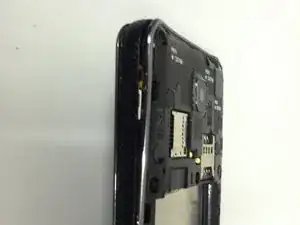
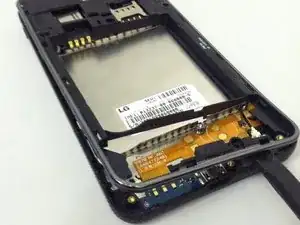
Insert a black plastic spudger or a small flathead screwdriver between the back silver bezel and the black area and begin prying the bezel away from the rest of the phone
-
Continue working your way around the phone, prying carefully with your prying tool
-
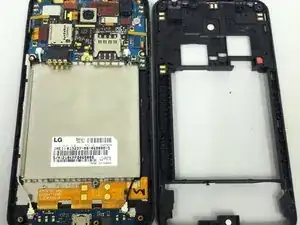
When you work the frame free, set it aside
-
-
-
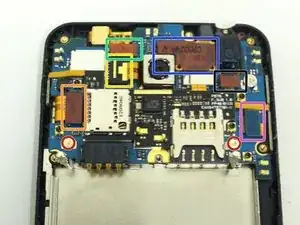
Wifi and cell service antennas
-
LCD connector
-
Back camera connector
-
Front camera connector
-
Touch screen/ digitizer connector
-
Charger port connector
-
Headphone jack connector
-
-
-
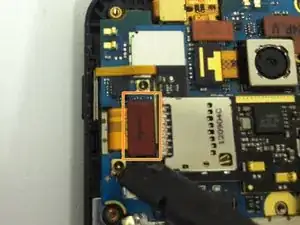
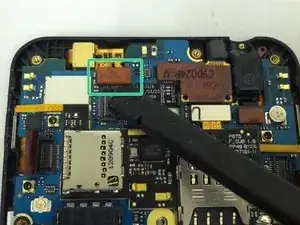
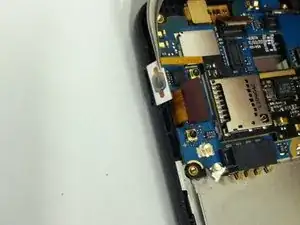
With a spudger or safe open pry tool, carefully detach the LCD flex connector
-
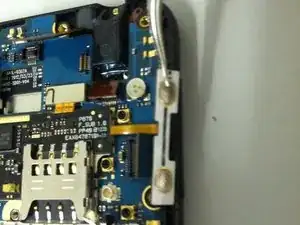
Release the two antennae from their connectors
-
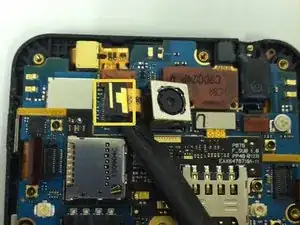
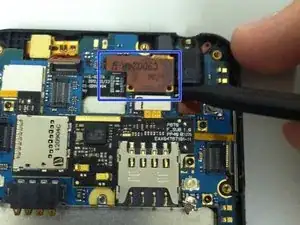
Release the back camera's flex from its connector
-
-
-
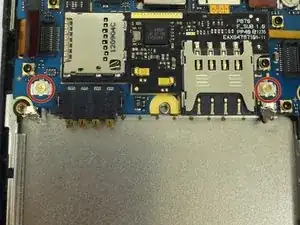
Release the charging port flex from its connector
-
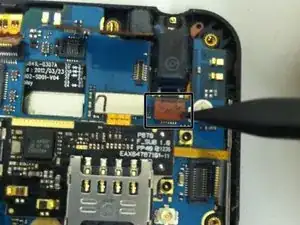
Release the front camera's flex from its connector
-
Release the touch screen/digitizer's flex cable from its connector
-
-
-
With a pair of tweezers, VERY carefully pull the volume button flex out of the rear housing
-
Repeat the process with the power button flex cable
-
-
-
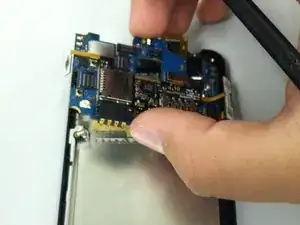
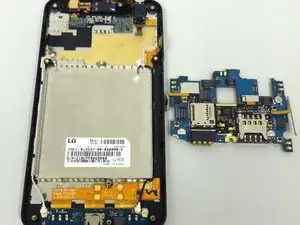
Lift the motherboard away from the housing, taking extra care not to snag any of the antennae or flex cables
-
Set the motherboard aside
-
-
-
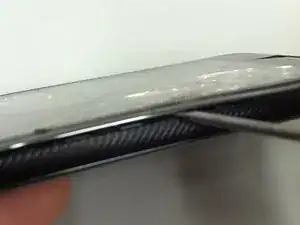
Insert a small flathead screwdriver or black plastic spudger between the front silver bezel and the black plastic mid-frame
-
Gently pry on the bezel to release the clips adhering the screen to the mid-frame
-
Work your way around the phone, still using the small flathead or spudger, until the screen is fully separated
-
Remove the screen, taking care not to tear the flex cable that is still threaded through the housing.
-
To reassemble your device, follow these instructions in reverse order.
