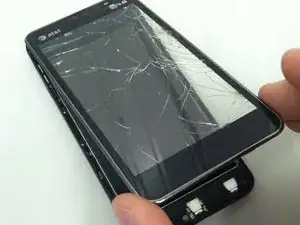
Einleitung
Werkzeuge
-
-
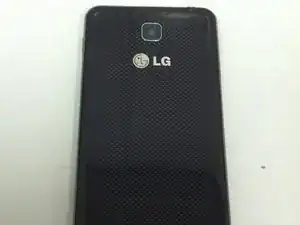
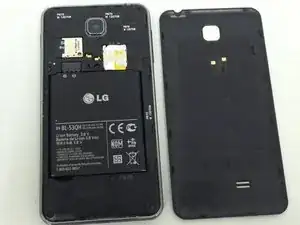
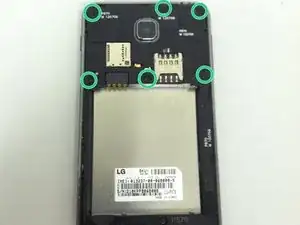
Turn the device over and pull the back plastic cover off by inserting your fingernail into the opening at the bottom of the phone and gently pulling.
-
-
-
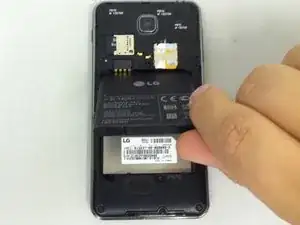
With your finger and from the bottom edge, lift the battery out of the phone and set it aside.
-
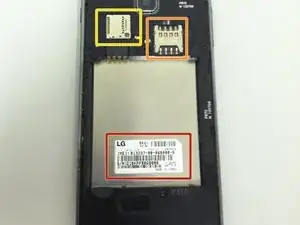
You now have access to:
-
Your SD card
-
Your SIM card
-
Your device's serial numbers
-
-
-
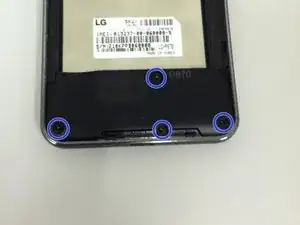
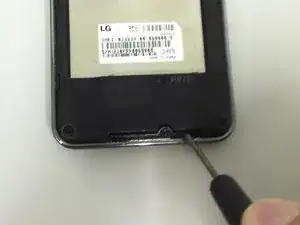
Carefully insert a small flathead screwdriver between the speaker assembly and the rear housing
-
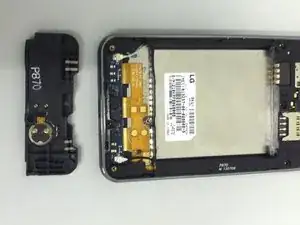
Pry the speaker assembly out of the phone and set it aside
-
-
-
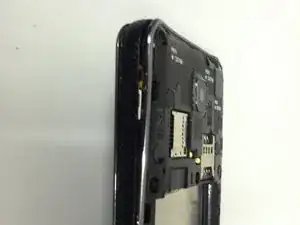
Insert a black plastic spudger or a small flathead screwdriver between the back silver bezel and the black area and begin prying the bezel away from the rest of the phone
-
Continue working your way around the phone, prying carefully with your prying tool
-
When you work the frame free, set it aside
-
-
-
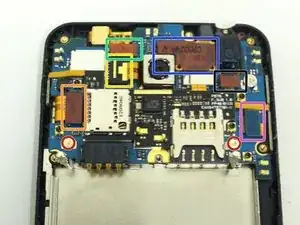
Wifi and cell service antennas
-
LCD connector
-
Back camera connector
-
Front camera connector
-
Touch screen/ digitizer connector
-
Charger port connector
-
Headphone jack connector
-
-
-
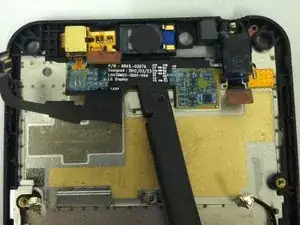
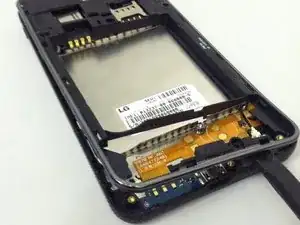
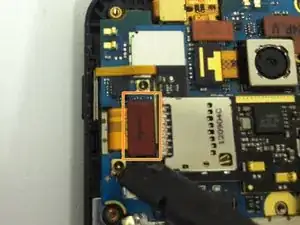
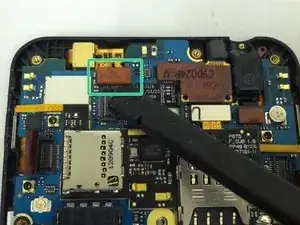
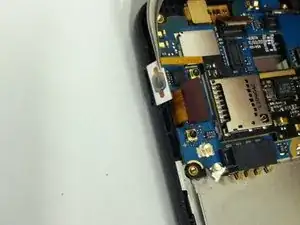
With a spudger or safe open pry tool, carefully detach the LCD flex connector
-
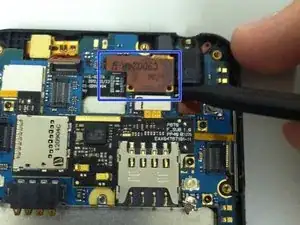
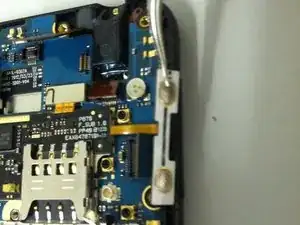
Release the two antennae from their connectors
-
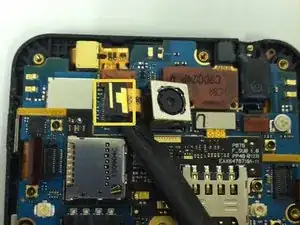
Release the back camera's flex from its connector
-
-
-
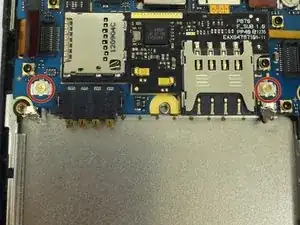
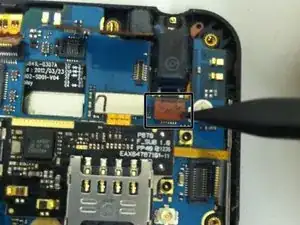
Release the charging port flex from its connector
-
Release the front camera's flex from its connector
-
Release the touch screen/digitizer's flex cable from its connector
-
-
-
With a pair of tweezers, VERY carefully pull the volume button flex out of the rear housing
-
Repeat the process with the power button flex cable
-
-
-
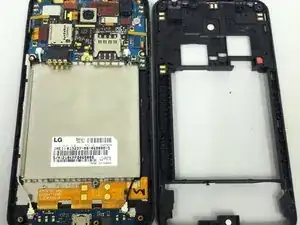
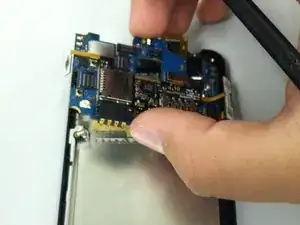
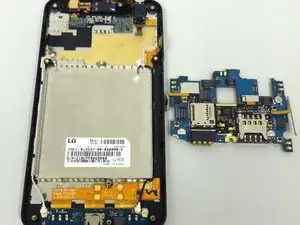
Lift the motherboard away from the housing, taking extra care not to snag any of the antennae or flex cables
-
Set the motherboard aside
-
-
-
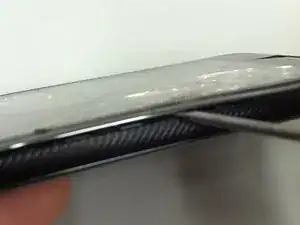
Insert a small flathead screwdriver or black plastic spudger between the front silver bezel and the black plastic mid-frame
-
Gently pry on the bezel to release the clips adhering the screen to the mid-frame
-
Work your way around the phone, still using the small flathead or spudger, until the screen is fully separated
-
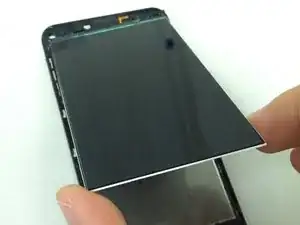
Remove the screen, taking care not to tear the flex cable that is still threaded through the housing.
-
-
-
Lift the LCD from its bottom edge and work the ribbon cable carefully through the hole
-
Set the LCD aside
-
To reassemble your device, follow these instructions in reverse order.
Ein Kommentar
Just replaced my broken screen by following these directions. Back together now and all works well except the camera. I'm just getting a fuzzy gray or green screen. Took apart a second time to make sure the camera connectors were installed properly and they seem to be. Put back together again but camera is still screwed up.
Any suggestions?
Chuck -
