Einleitung
This guide will walk you through the process of how to replace the motherboard for the LG G2.
Werkzeuge
-
-
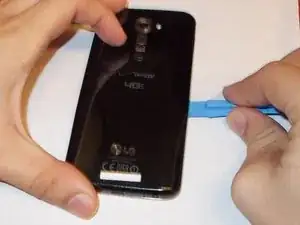
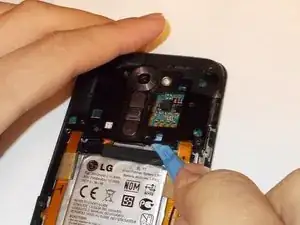
Using the plastic opening tool, or the thin side of the spudger to separate the back cover from the phone. Start at the bottom corner of the phone. Be gentle because it may cause cosmetic and internal damage if not done with care.
-
-
-
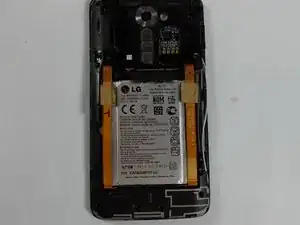
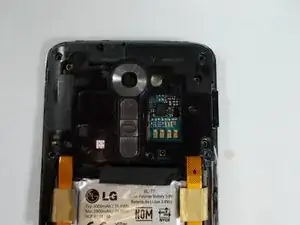
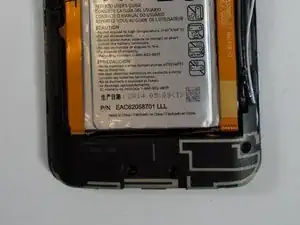
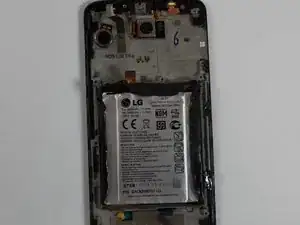
With the back cover removed you will get a view like this.
-
Use the Phillips 00 screw driver to remove all visible screws. Try to organize the screws so there is no confusion when reassembling the phone.
-
6 silver cross head phillips #1 4mm screws circled in red.
-
5 gold cross head phillips #1 4mm screws circled in yellow.
-
1 black cross head phillips #2 2mm screws circled in blue.
-
-
-
After all visible screws have been removed use the spudger to pop off the top plastic cover.
-
-
-
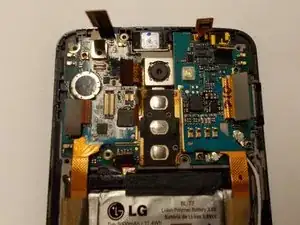
The motherboard should be full visible now.
-
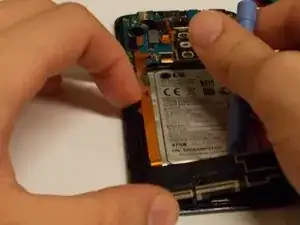
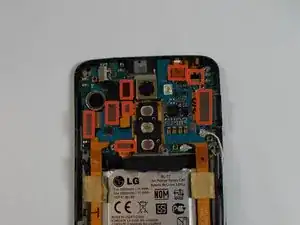
Start loosening all the connectors to the motherboard with the pointy side of the spudger. Look at picture to make sure all connectors have been disconnected.
-
-
-
After all connector are loosened up the motherboard should be free, but before removing it lets disconnect it a little further.
-
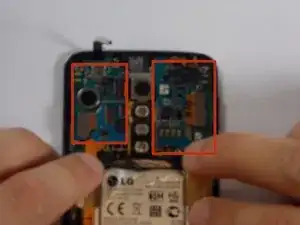
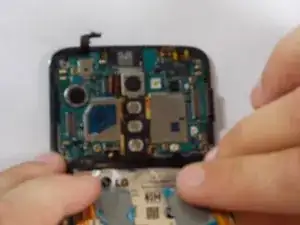
The flex cables running on the left and right side of the battery are connected to a smaller board connected which on their turn is connected with small amounts of adhesive materials to the motherboard. Use the spudger to carefully separate the smaller board of the motherboard.
-
-
-
Make sure you pay attention when removing the left flex cable because it is also connected to the side. Simply just peal this part away also. It may be a little more difficult than the upper connections, but just peel away. It may bend a little but be careful not to break.
-
-
-
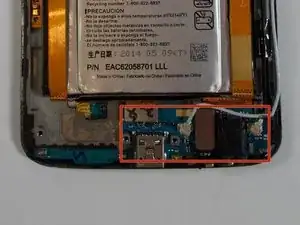
It may seem as if the flex cable are free to remove, but not yet. The two flex cable are both together at the bottom, and connected to a small control board. Therefore we need to remove the control board completely.
-
-
-
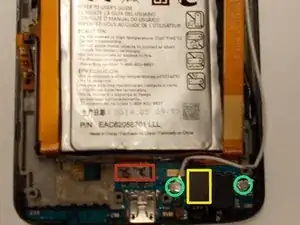
Disconnect the 2 connectors. The LCD connector (red color coded) and the Digitizer (yellow color coded). Together with these 2, remove the 2 antenna connections (green color coded) also.
-
-
-
The motherboard is also held down with some adhesive but carefully can be pried up. Make use of Spudger.
-
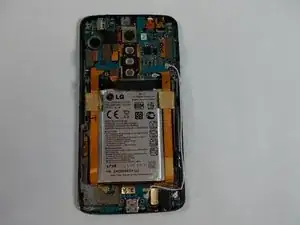
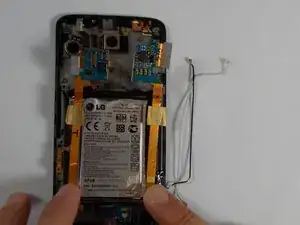
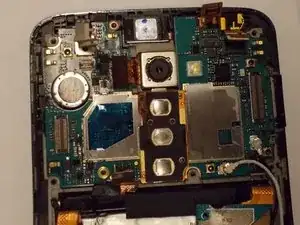
When motherboard is removed you will get a view like this.
-
To reassemble your device, follow these instructions in reverse order.
