Einleitung
Werkzeuge
Ersatzteile
-
-
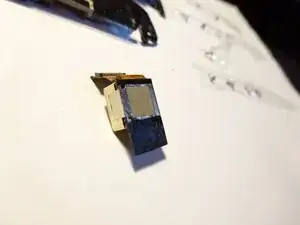
Notice the protective tape on the bottom insulating the contacts under the tape. Try not to tear or damage the tape or underlying contacts on the new camera module (But when you are removing the old, broken camera module, ignore.)
-
eBay has them for <$10 USD.
-
You can also buy a cheap broken or used LG G2 that has a working camera module and salvage the part from that.
-
Once you've done this replacement, you'll know just how easy it is and it'll take just minutes. But for the first time, especially being careful, it may take up to half an hour to disassemble. Relax - as long as you don't manhandle it and break a cable or connector, it's easy as can be.
-
-
-
0. Optional - backup phone data
-
1. Power down
-
2. Eject SIM
-
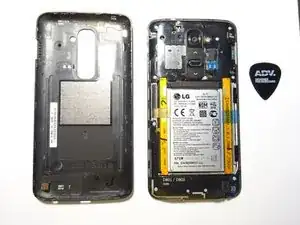
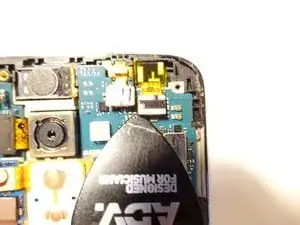
3. Using a Spudger or Guitar Pick, pry the plastic back off. Start around the SIM slot, gently nudge in, pry up, go around the entire unit. Note the location of the clip claws on the back cover -- this is where you will meet resistance. These are tough to break so feel free to pry harder, making sure you don't break the LCD.
-
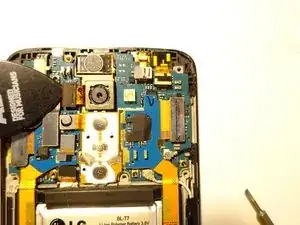
Note the cable areas and such on the inside of the phone. When you pry, take care to avoid damaging these areas as you pry. You can leverage off the black plastic areas top and bottom to pry the back cover off.
-
Because the back cover will curve up in the middle if you start down the long edge to open up the back, this will increase the clamping force of the claw clips on the top and bottom, making it harder to get it off. A strategy is to release either the top or bottom short edge first, then work your way down the long edge.
-
-
-
Do this on a well-lit, flat surface. Use clear tape to hold the loose screws in order of reassembly on a piece of paper or on the table while you work.
-
4 on top row, 3 on middle row. 1 middle row screw is shorter, black.
-
Pry up gently on the left and right as shown in the photo - left and right middle edges - to get the back off if it sticks. Be gentle and careful because there is a motherboard under the black cover.
-
Back cover isn't held in place with tons of glue and such, so it should come off easily prying gently on the two locations noted, if it doesn't release by pulling off with just your fingers.
-
-
-
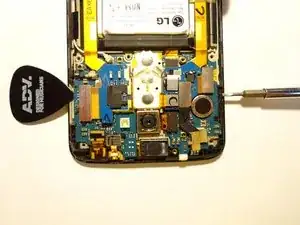
The motherboard will hinge up along the black horizontal bar as seen in the photo. You do not need to fully disassemble the motherboard, flex cables, etc. per other guides.
-
Although this lower connector and two black and white antenna cables can flex up when the motherboard is tilted up, it is smarter to disconnect just in case.
-
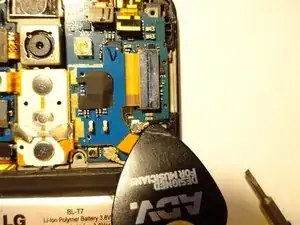
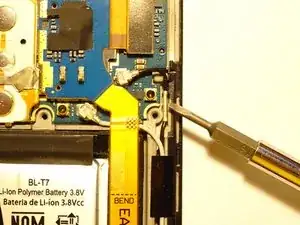
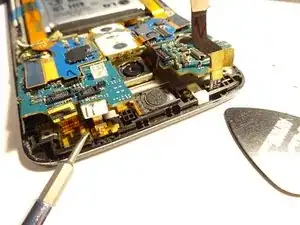
Disconnect the lower connector using the spudger/guitar pick. You may need to use a fine tip, flat screwdriver to very gently pry up the antenna connectors by the silver connector covers, then use the spudger/guitar pick/fingers to fully disconnect. Pull up and off. Try to avoid using the black and white antenna cables to pry.
-
The black antenna cable fits into a guide slot along the edge. It'll come out when you disconnect the connector, so upon reassembly, make sure the cable goes back into the guide slot.
-
-
-
Pry up gently using spudger/guitar pick. Gently pull up the tape holding the cable down to the motherboard. Then, you can flip the cable up when tilting the motherboard up later.
-
-
-
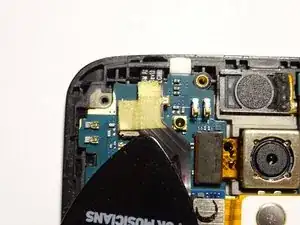
And finally, the 5th connector for the camera module. You'll flip this cable up, and the motherboard will slip past it in the open slot to the left of the camera when you tilt the motherboard up later.
-
-
-
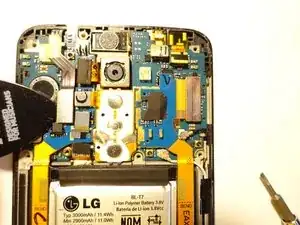
Using spudger/guitar pick/fingers, gently tilt the top of the motherboard up.
-
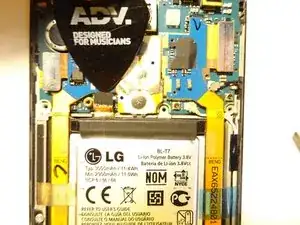
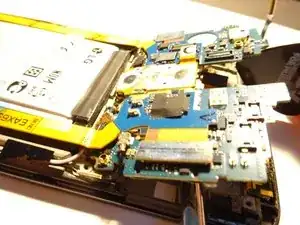
Watch out! Be careful to ensure the 4x flex cables that you see in the photo clear the motherboard - flip them up so they don't catch and tear. 3x come from the top edge, 1x is next to the camera module.
-
-
-
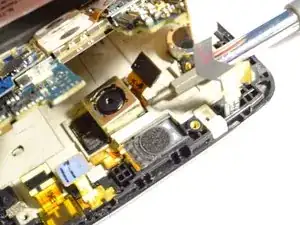
Here, you can use a flat head screwdriver to pry up as shown. No need to worry about breaking the camera flex cable since it is broken. (If you are salvaging from another G2, you'll want to be careful, use a plastic spudger if desired, gently insert and lift. Once the module is tilted a bit, breaking the tape under, you can pull it out by hand.
-
You will want to keep the top of the camera clean of dust. Same with the back, inside of the camera cover. No dust, better photos. Use an electronics duster spray as needed - be gentle with the camera module.
-
Make sure the 4 flex cables clear the motherboard when reassembling. Gently align,then press down to click each in place.
-
To reassemble your device, follow these instructions in reverse order.
