Einleitung

Use this guide to replace or remove a broken or worn out loudspeaker in the LG G3 (D855).

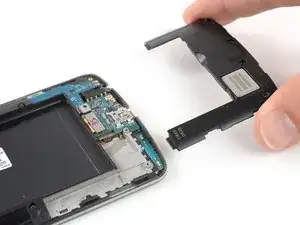
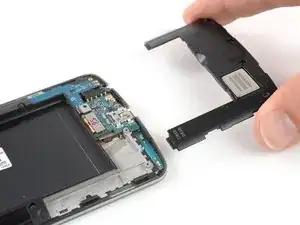
The loudspeaker in the LG G3 is attached to the bottom half of the plastic panel above the daughterboard. To replace the loudspeaker, it’s necessary to replace the panel as well.

  1. VM2hAhiPGBIMGWqR
    VM2hAhiPGBIMGWqR
    TotZaNFmWXGZc52U
    • Power off your phone before beginning disassembly.

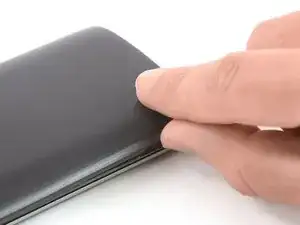
    • Insert a thumbnail, or a prying tool like a spudger, into the notch at the bottom left of the back cover.

    • Pry the back cover up to separate its plastic clips.

  2. QDLQjALsHEedUq1g
    QDLQjALsHEedUq1g
    DYRMfCNJAaCqXGIR
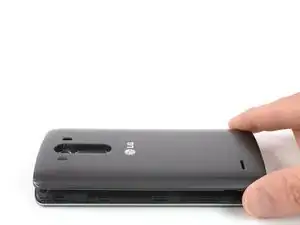
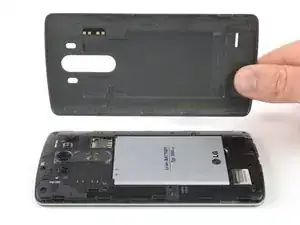
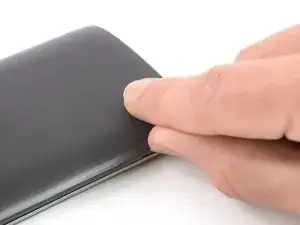
    • Lift the back cover to release the rest of the plastic clips and remove it.

    • In case you can't lift the back cover completely, slide your fingernail or your prying tool around the midframe to release the remaining clips.

    • To reinstall the back cover, press it firmly into place until you hear a snap from the plastic clips to form a seamless connection with the rear side of the phone.

  3. 2arfLhBLubLInUJL
    2arfLhBLubLInUJL
    vNIFxErUKETUJONX
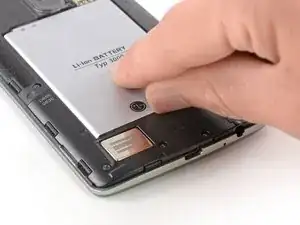
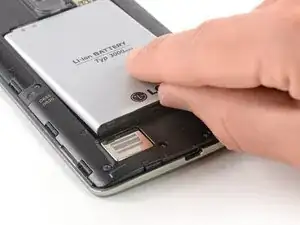
    • Use a fingernail or a prying tool at the marked notch to lever the battery out of its recess.

  4. aMIxUdvWMNygpHMX
    aMIxUdvWMNygpHMX
    I21aUEIStAM1ZFIW
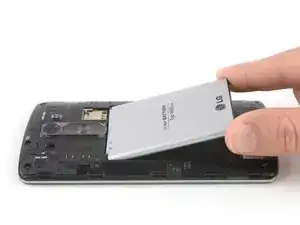
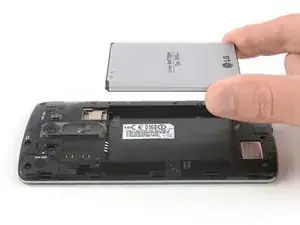
    • Lift the battery out of its recess and remove it.

  5. IVPlUGZGoe5Duhew
    • Remove the four Phillips #00 screws (4 mm length).

    Only the bottom 6 screws (below the battery contacts)need to be removed since your only removing the bottom panel.

    Alex Fefelov -

  6. vXFuP1ySVdFY4Amb
    vXFuP1ySVdFY4Amb
    n3jlyMCdPdVnRkvf
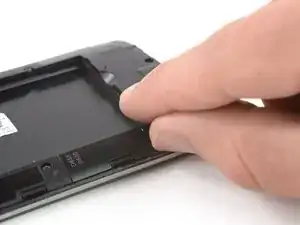
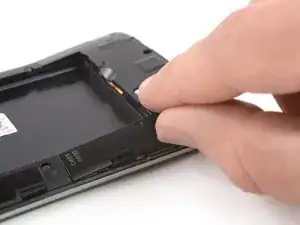
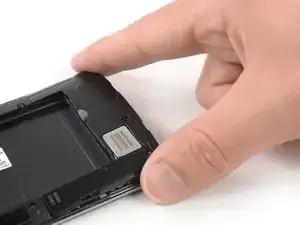
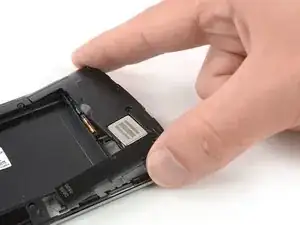
    • Insert a thumbnail, or a prying tool like a spudger, into the notch at the bottom left of the back cover you used earlier to remove the back cover.

    • Pry up the plastic panel, including the loudspeaker, until you can get a good grip.

  7. furk1eHvqBqWGqXs
    furk1eHvqBqWGqXs
    q1T4n3rxITpD41hA
    KsH1rImCtOkGcRef
    • Carefully remove the plastic panel including the loudspeaker by gently pulling it away from the phone assembly.

Abschluss

If possible, turn on your device and test your repair before installing new adhesive and resealing.

Take your e-waste to an R2 or e-Stewards certified recycler.

Repair didn’t go as planned? Try some basic troubleshooting, or ask our Answers Community for help.
Dominik Schnabelrauch

Mitglied seit: 23/11/16

167773 Reputation

0 Kommentare