Einleitung

Use this guide to remove or replace the motherboard cover assembly in the LG G3 (D855).

  1. VM2hAhiPGBIMGWqR
    VM2hAhiPGBIMGWqR
    TotZaNFmWXGZc52U
    • Power off your phone before beginning disassembly.

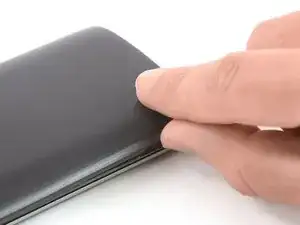
    • Insert a thumbnail, or a prying tool like a spudger, into the notch at the bottom left of the back cover.

    • Pry the back cover up to separate its plastic clips.

  2. QDLQjALsHEedUq1g
    QDLQjALsHEedUq1g
    DYRMfCNJAaCqXGIR
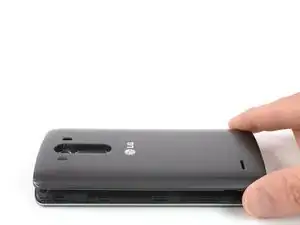
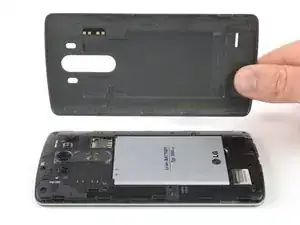
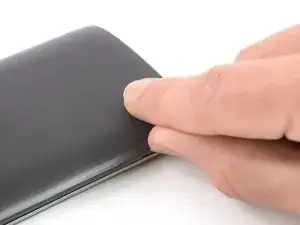
    • Lift the back cover to release the rest of the plastic clips and remove it.

    • In case you can't lift the back cover completely, slide your fingernail or your prying tool around the midframe to release the remaining clips.

    • To reinstall the back cover, press it firmly into place until you hear a snap from the plastic clips to form a seamless connection with the rear side of the phone.

  3. 2arfLhBLubLInUJL
    2arfLhBLubLInUJL
    vNIFxErUKETUJONX
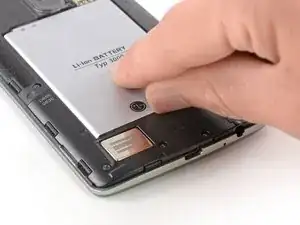
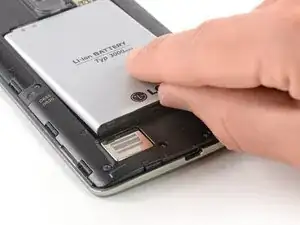
    • Use a fingernail or a prying tool at the marked notch to lever the battery out of its recess.

  4. aMIxUdvWMNygpHMX
    aMIxUdvWMNygpHMX
    I21aUEIStAM1ZFIW
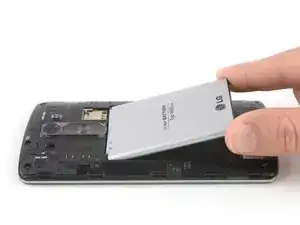
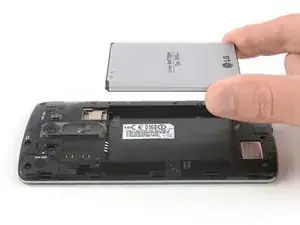
    • Lift the battery out of its recess and remove it.

  5. IVPlUGZGoe5Duhew
    • Remove the four Phillips #00 screws (4 mm length).

    Only the bottom 6 screws (below the battery contacts)need to be removed since your only removing the bottom panel.

    Alex Fefelov -

  6. vXFuP1ySVdFY4Amb
    vXFuP1ySVdFY4Amb
    n3jlyMCdPdVnRkvf
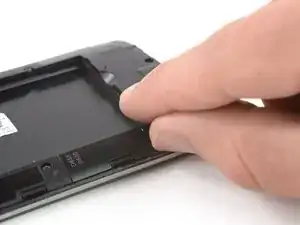
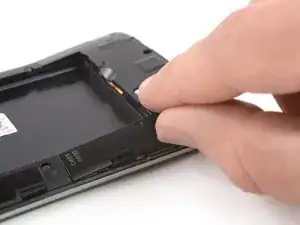
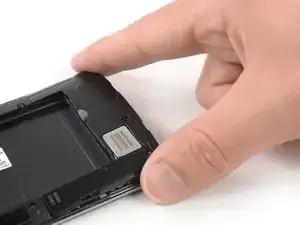
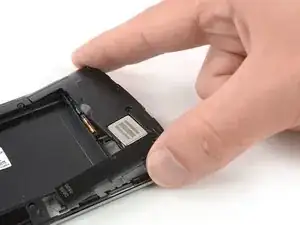
    • Insert a thumbnail, or a prying tool like a spudger, into the notch at the bottom left of the back cover you used earlier to remove the back cover.

    • Pry up the plastic panel, including the loudspeaker, until you can get a good grip.

  7. furk1eHvqBqWGqXs
    furk1eHvqBqWGqXs
    q1T4n3rxITpD41hA
    KsH1rImCtOkGcRef
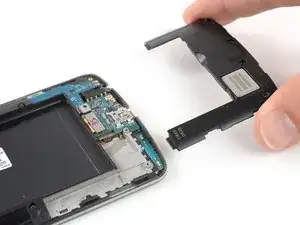
    • Carefully remove the plastic panel including the loudspeaker by gently pulling it away from the phone assembly.

  8. 2ukspItuxi5xCjwQ
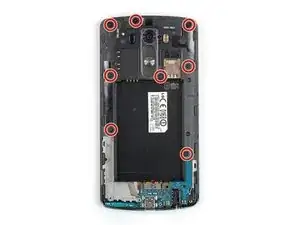
    • Remove the eight Phillips #00 screws (4 mm length).

  9. AoxCCFPAbcrL1SAT
    AoxCCFPAbcrL1SAT
    e1faF2MRDREuMqJ1
    jHxmFtsKwhllS3JP
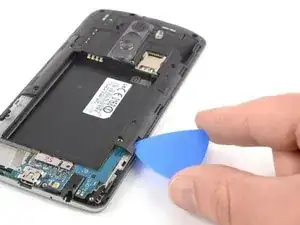
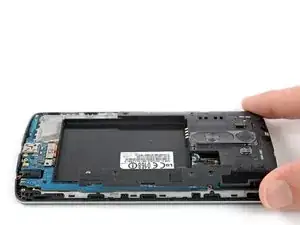
    • Insert an opening pick between the bottom right corner of the motherboard cover and the motherboard.

    • Pry up the motherboard cover to open the plastic clips which hold the cover in its place.

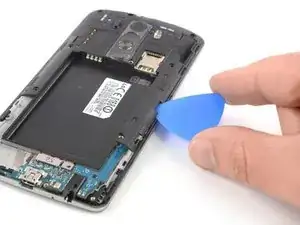
    • The clips can be a bit resistive. If you're having trouble prying up the motherboard cover, slightly rotate the opening pick sideways to make the process easier.

    • Work your way along the right edge.

  10. LWWZi2Q4eerqlkMO
    LWWZi2Q4eerqlkMO
    3oeUDoXthIQKUtZ5
    FwCORvCByL5U53It
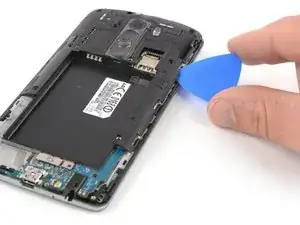
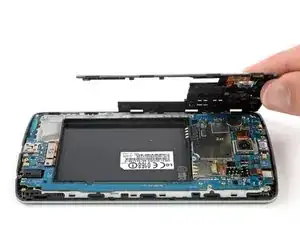
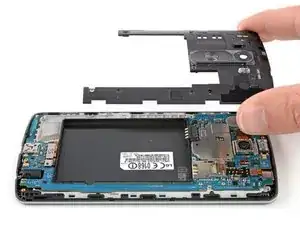
    • Carefully lift the right edge of the motherboard cover.

    • The remaining plastic clips should open during this process or can be unhinged easily by hand.

    • Remove the motherboard assembly.

Abschluss

If possible, turn on your device and test your repair before installing new adhesive and resealing.

Take your e-waste to an R2 or e-Stewards certified recycler.

Repair didn’t go as planned? Try some basic troubleshooting, or ask our Answers Community for help.
Dominik Schnabelrauch

Mitglied seit: 23/11/16

167812 Reputation

0 Kommentare