Einleitung

  1. Dm6AYHDyRJ4oetYG
    Dm6AYHDyRJ4oetYG
    c6L6UBjoUhUaXfcy
    QunDvvUS24YHj2JD
    • Unplug and power off your phone before you begin.

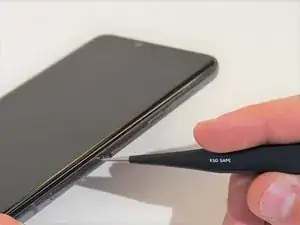
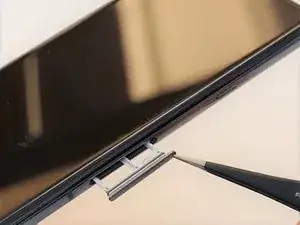
    • Insert the SIM card eject tool into the pinhole in the lower right side of the phone.

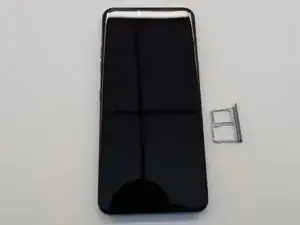
    • Remove the SIM card and tray.

  2. DjE4LjwjuSYCTvdq
    DjE4LjwjuSYCTvdq
    Hp1JOXt2WvBOqfDn
    rN4fFstKOvCmXSiE
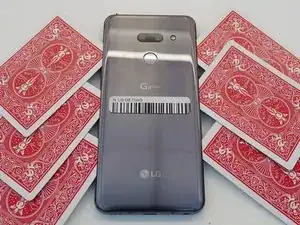
    • Place the phone so that the screen is facing down.

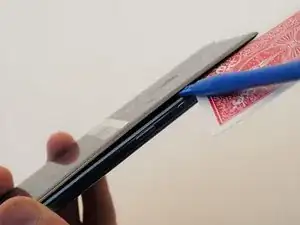
    • Insert opening cards between the back panel and frame of the phone to loosen the clips and adhesive.

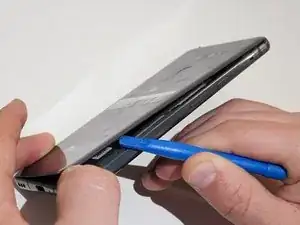
    • Using equal pressure, carefully pry the back panel away from the phone.

    • Once enough space has been created, use an opening tool to completely separate the back panel from the phone.

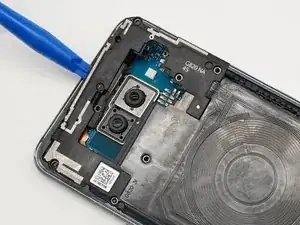
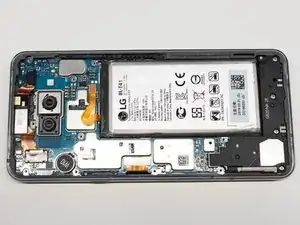
    This is where I started to ponder for the first time because my camera looks different.

    I also have a LG G8 ThinQ but maybe the european version

    Thomas Wiele -

  3. UBdsBxNSQ65LQSLG
    UBdsBxNSQ65LQSLG
    SM6lJIWNBcupSYN1
    VbrV14ZG24L3eDZb
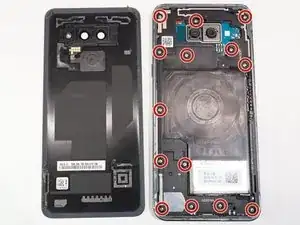
    • Remove all 14 screws from the midframe using a Phillips #000 screwdriver.

    • Work an opening tool around the perimeter of the midframe to pry and remove it from the phone.

    and here it is true, the screws are in a different place. The sound system on the bottom is also different

    Thomas Wiele -

  4. HT2saavn3AlUKChl
    HT2saavn3AlUKChl
    qtSYAGmWXNW6ou3T
    fvJEaDrXFupqqAHD
    • Using an opening tool, carefully pry out remove the speaker system from the phone.

  5. nAfMZjmKN5v2KhyS
    nAfMZjmKN5v2KhyS
    uiJ4VtAyKbMEEYHI
    JGLjsYBSPtTEQ3pj
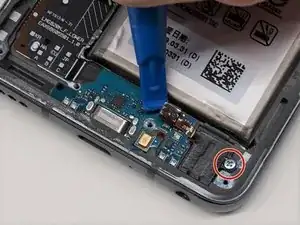
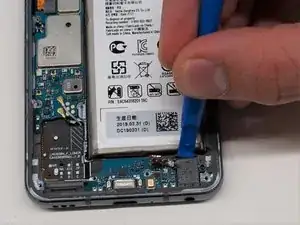
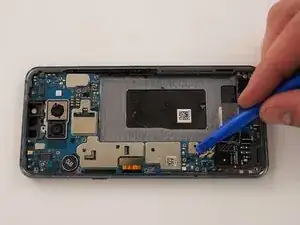
    • Using an opening tool, carefully disconnect the ribbon cable connecting the 3.5mm audio jack to the motherboard.

    • Remove the screw holding the 3.5 mm audio jack in place using a Phillips #000 screwdriver.

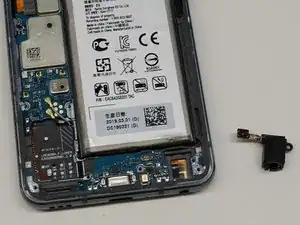
    • Remove the audio jack from the phone.

  6. GApKJtG5CJSQKMk1
    • Flip phone so that screen is facing up.

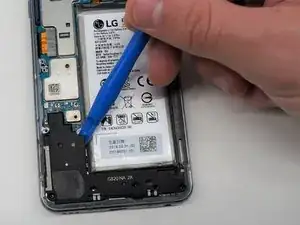
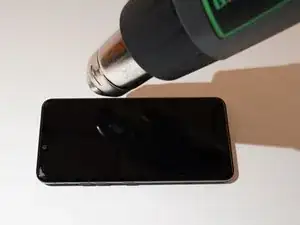
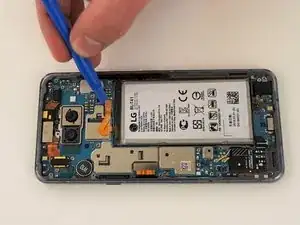
    • Using a heating pad, hairdryer, or heat gun, apply heat to loosen the adhesive beneath the battery.

    • Be careful to not overheat the phone; the screen and battery are susceptible to damage.

    • The adhesive can be difficult to soften; it may take many attempts.

  7. TOcZtFWibQYouDAp
    TOcZtFWibQYouDAp
    SZ2GwHLhomMAwWnh
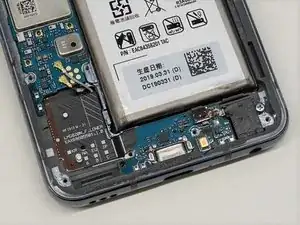
    • Using an opening tool, carefully pry up the ribbon cable to disconnect the battery.

    the battery type of my LG is "BL-T43"

    Thomas Wiele -

  8. lBZshqlXYHkQwJQO
    lBZshqlXYHkQwJQO
    XD3AOQOLw1GF3ta5
    WtbTAItY2wKmgBJA
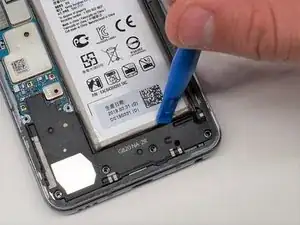
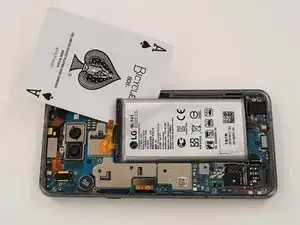
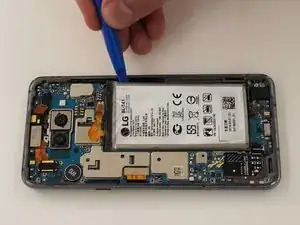
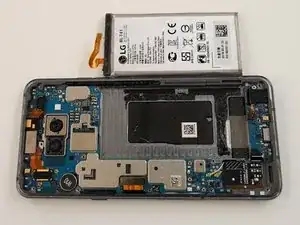
    • Using opening cards or an opening tool, carefully pry around the edges of the battery.

    • If you have trouble prying up the battery, the adhesive may not be loose enough. Re-apply heat, or use some isopropyl alcohol under the battery, allowing it to penetrate for several minutes to weaken the adhesive.

    • Remove the battery from the phone.

    Although it is a different phone, the instructions were helpful.

    Unfortunately, my battery exchange was pointless.

    I think my USB socket is defective and unfortunately I can't find any instructions for it at the moment.

    But if anybody want, i can send a few pics from the repairing

    Thomas Wiele -

  9. n2mXGOaHZcNkOErK
    n2mXGOaHZcNkOErK
    odwHXnTLGNoTMGyy
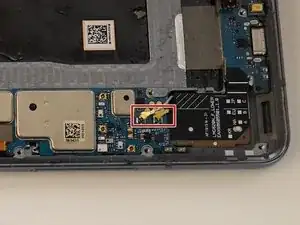
    • Use an opening tool to disconnect the two coaxial cables from the motherboard.

  10. tgJVfOaHUMqCwREC
    tgJVfOaHUMqCwREC
    kwfVkJhHXaKqf1PM
    oIfiJttLbdnAFlhr
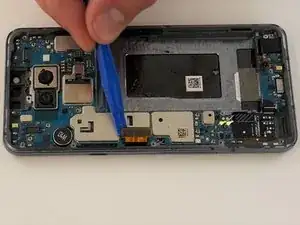
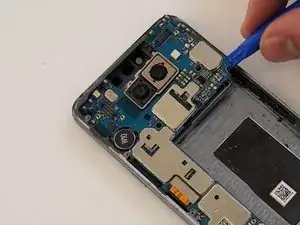
    • Using an opening tool, carefully disconnect the screen ribbon cable from the motherboard.

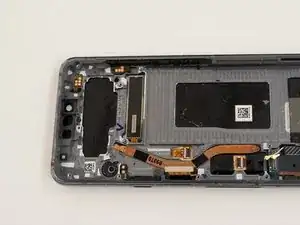
    • Using an opening tool, carefully pry up the motherboard from the frame and remove it from the phone.

Abschluss

To reassemble your device, follow these instructions in reverse order.
Kristen Gismondi

Mitglied seit: 12/11/14

71827 Reputation

0 Kommentare