Einleitung
If your camera fails or will not turn on, use this guide to replace your camera.
-
-
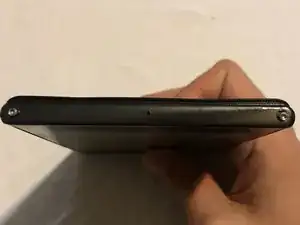
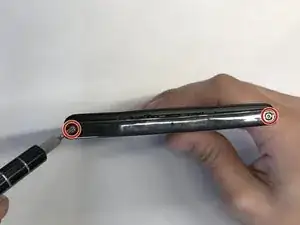
Remove the two 7mm screws holding the back panel of the phone using the P5 bit and magnetic driver.
-
-
-
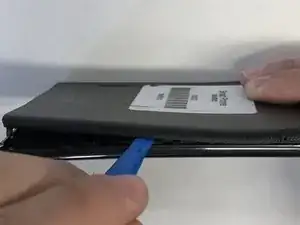
Carefully use the plastic opening tool to pry the back panel of the phone from the front screen. This will expose the battery and other parts.
-
-
-
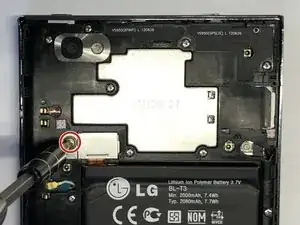
Use the Phillips #0 screwdriver to remove the 5mm screw holding the metal bracket that protects the battery's ribbon cable.
-
-
-
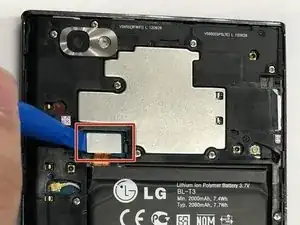
Carefully use the plastic opening tool to pry the ribbon cable connecting the battery to the motherboard of the phone.
-
-
-
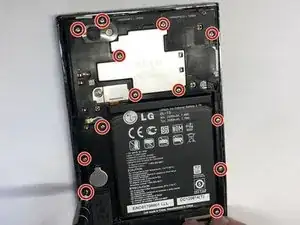
Remove the thirteen 5mm screws holding the plastic shield covering the motherboard using the Phillips #00 screwdriver.
-
-
-
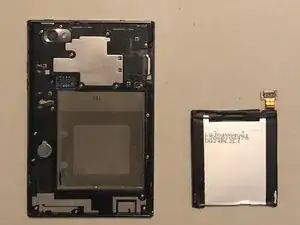
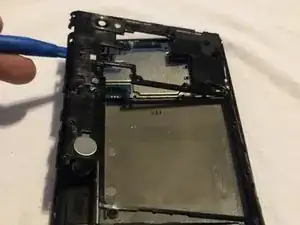
Carefully use the plastic opening tool to pry the plastic shield from the motherboard. This will expose the motherboard and ribbon cables for each component.
-
-
-
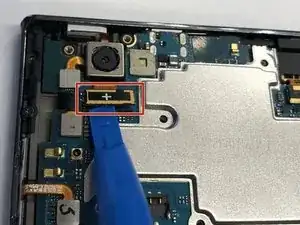
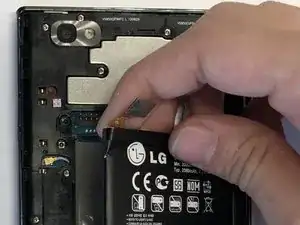
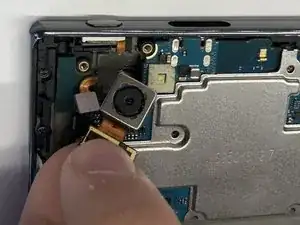
Carefully use the plastic opening tool to pry the ribbon cable below the camera itself from the motherboard.
-
To reassemble your device, follow these instructions in reverse order.