Einleitung
Werkzeuge
-
-
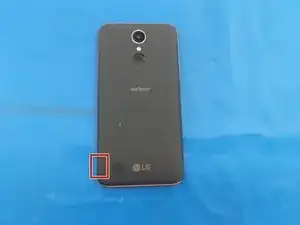
Remove the back cover by inserting a fingernail or opening pick here and disengaging the plastic clips.
-
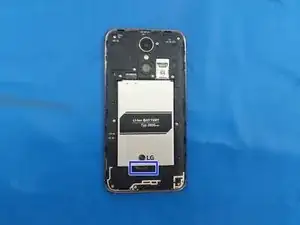
Lift battery up here
-
-
-
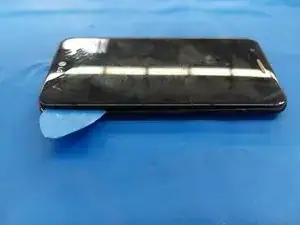
Use fingernails or insert an opening pick into the gap between the digitizer and the midframe and pull the midframe outwards to disengage the plastic clips.
-
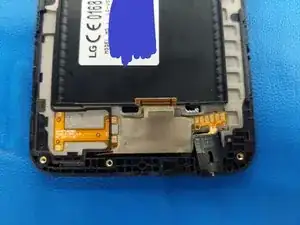
Carefully disengage the clips on the bottom as the headphone jack goes through the midframe.
-
Once all the clips have been disengaged, move the midframe outwards and downwards to disengage it from the headphone jack.
-
-
-
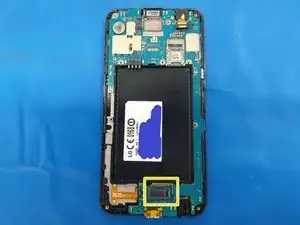
Use a Halberd spudger or an opening pick to disconnect the front camera flex from its connector on the motherboard.
-
-
-
Using the tip of a Halberd spudger or an opening pick, disconnect the display flex cable from its socket on the motherboard.
-
Starting from the bottom, insert an opening pick between the motherboard and frame and lever apart.
-
-
-
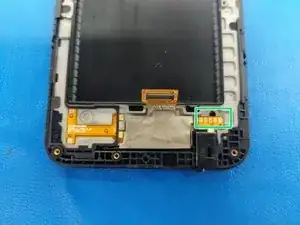
The headphone jack is adhered to the frame, and its flex cable is adhered to the frame and the strip of Kapton tape.
-
Use heat to soften the adhesive, then insert an opening pick here to separate the flex cable from the frame.
-
Use an opening pick to pry around the headphone jack to separate it from the adhesive in its housing.
-
To reassemble your device, follow these instructions in reverse order.
