Einleitung

Your rear camera may be broken, cracked, or otherwise not working. This guide will instruct you on how to remove your faulty rear camera.

  1. imIvNPowBrkvYEaJ
    imIvNPowBrkvYEaJ
    WxnSXeRYQEtAseXB
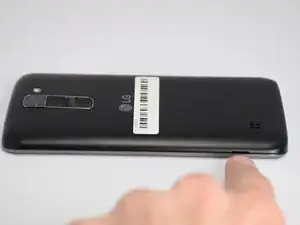
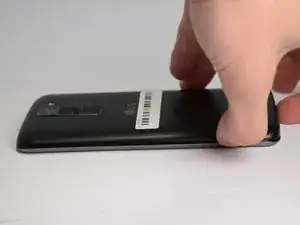
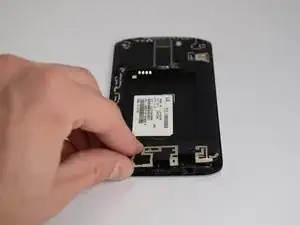
    • Place a fingernail in slot at in the bottom edge of the phone.

    • Pull up on the back panel while holding down the rest of the phone steady with your hand.

    • Do not to pull too hard on the back panel or you may break it.

  2. SMVNuuANv21SyJhP
    SMVNuuANv21SyJhP
    DmA1gKSbNDa4XhGk
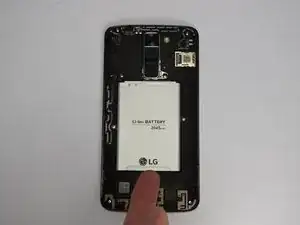
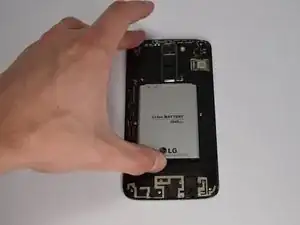
    • Place a fingernail in the slot at the bottom edge of the battery.

    • Pull the battery out.

    pull out then what

    Grace A -

  3. jxa1XteBilKumM3B
    jxa1XteBilKumM3B
    CBj3KwyAXnPnJwKu
    dhVZRjYAF5ZL1Dbm
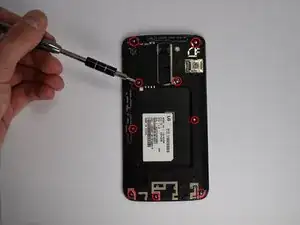
    • Remove the 9 frame screws with a JIS #00 screwdriver.

    • The bottom three screws release the port cover at the bottom of the phone. The cover should lift off easily once the screws are out.

    • Pop the camera button frame off with a spudger. The home button should come off along with the frame.

    • Be gentle with the frame when removing it. The plastic is very thin and can easily break.

  4. BtenqrVn1Fo1NwCC
    BtenqrVn1Fo1NwCC
    i52X5wN61ehwHKgD
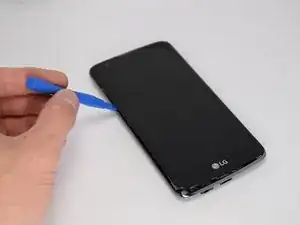
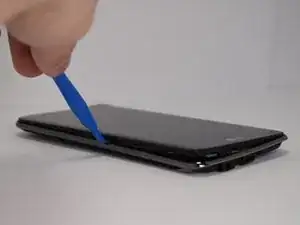
    • Use a plastic opening tool to separate the screen from the outer frame.

    • Do not to bend the outer frame or the screen to when separating them. This can severely damage the phone.

  5. RmctQXTDMm2wngx1
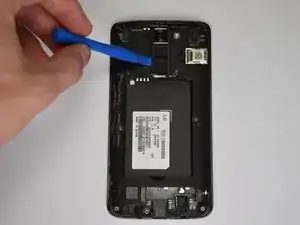
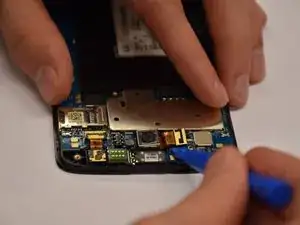
    • Insert the edge of a plastic opening tool underneath the camera connector that is attached to the camera by a flat, thin, and flexible sheet.

    • Slowly lever the connector free by pressing down on the opening tool's handle. The connector should be fairly solid and pop out by levering just one edge.

    • Be careful not to break or bend the connector or any part of the device you may be levering against.

Abschluss

To reassemble your device, follow these instructions in reverse order.
James Ngo

Mitglied seit: 19/01/18

461 Reputation

0 Kommentare