Einleitung

This guide shows how to disassemble and transfer the internal components of a LG K92 to a replacement display with a frame preinstalled. The parts used are a replacement screen installed into a frame, this is the most cost effective method, using just the display without a frame is not advised.

  1. itXYHdYepO3dHu1Q
    • Heat the plastic back panel with a heatgun or heating pad.

    • Use a thin metal pry tool or razor to separate the adhesive from the frame, and peel the back cover off.

  2. nwMYpT1KqoHqsCJP
    nwMYpT1KqoHqsCJP
    mQkSYPJWU4hVUUxT
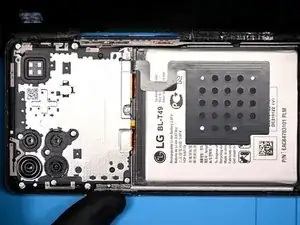
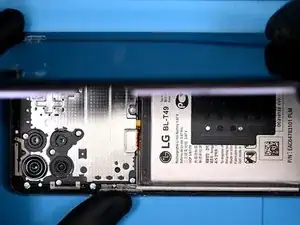
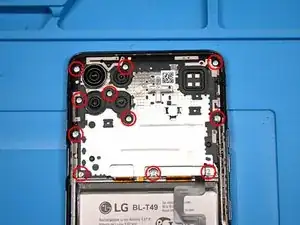
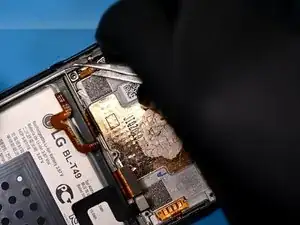
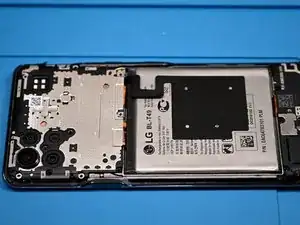
    • Remove 11 same-sized phillips screws from the top antenna panel.

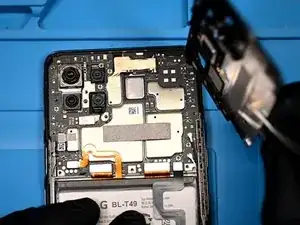
    • Using tweezers, forcefully pop the panel from a safe area up and out of the housing, the lower middle screw hole is a good area to apply leverage.

  3. 2kLWNt1TCdCbnwSQ
    2kLWNt1TCdCbnwSQ
    HbPQ3i516RDYfMRJ
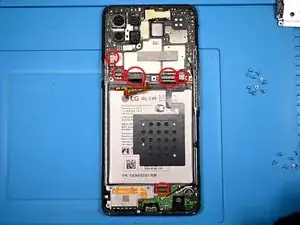
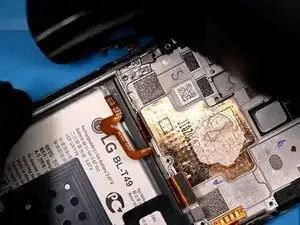
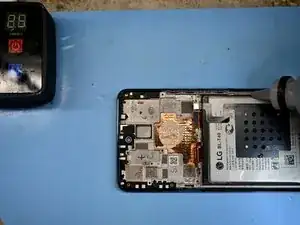
    • Remove 8 more identically sized phillips screws from the lower antenna and speaker panel.

    • Pop the lower panel off with tweezers, it should come off relatively easier than the previous panel.

  4. PFaBCl43wZDfskSM
    • Disconnect the battery first!

    • Then disconnect the other main lego style connectors and ribbons. There is no need to disconnect the cameras.

  5. iFTg6uAnJ2mFKXaU
    • Remove the main logic board by pulling from the top and lifting it out.

  6. VlNMTeF5waR5XSgM
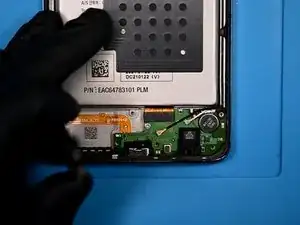
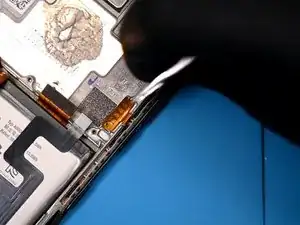
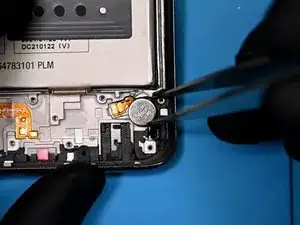
    • Remove the single Phillips screw from the charging daughterboard, and pull it out of the frame.

    • (Optional) Leave the antenna lines connected to reduce risk of breaking them.

  7. IsPBYwiOZAEd3OEe
    IsPBYwiOZAEd3OEe
    YcQKniUXnhyqPbOT
    • The power button has a small pressure connected ribbon that is adhered to the frame, carefully pry it up.

    • The fingerprint reader itself is on a separate lego style connector that can then be fished out.

  8. BXDVI5DkJjioZ3AF
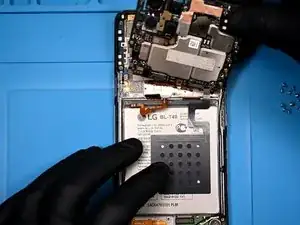
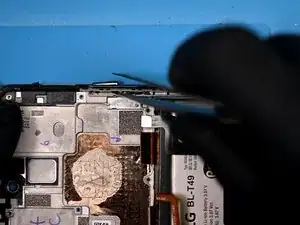
    • Gently pull the pressure connection pad up from the frame, then work the ribbon out from the trench.

  9. c6bBmQZcaP25F4KO
    • Using tweezers or a bent pry tool, push the buttons out from inside of the frame.

  10. 6PWOwHJrCA3CPGVG
    • Some small components like the vibration motor, antenna sticker, or earspeaker may need to be moved to the new frame.

  11. g342yNdIZwLpBGfS
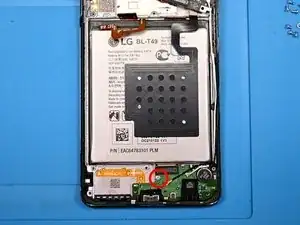
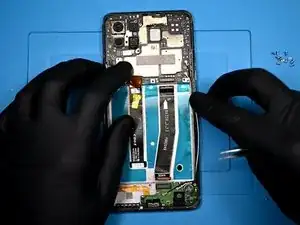
    • Use a heating pad to warm the device from the front, apply generous amounts of alcohol to the battery compartment and carefully lift it out.

    • Avoid bending the battery as this can compromise the internal cells.

  12. egJjCmWn2SFH5tSS
    egJjCmWn2SFH5tSS
    MPTtHxcJZQonpFao
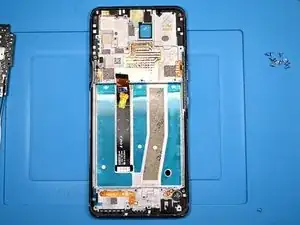
    • Remove protective plastics from the replacement frame.

    • Reinstall components in the order in which they were removed. Be sure to align the antenna wires carefully to prevent pinching issues.

  13. uMJZ3OywFxWXBhXo
    • Reinstall remaining components and tighten screws in their respective locations.

    • Always test the device prior to sealing the back panel on with new adhesive.

Abschluss

To reassemble your device, follow these instructions in reverse order.

Taptic Digital

Mitglied seit: 24/03/22

226 Reputation

0 Kommentare