Einleitung
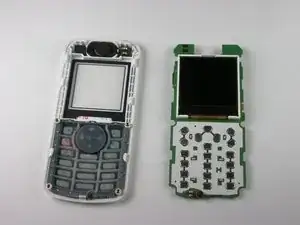
Sometimes your LCD screen may go bad, which will require you to follow this guide and replace the screen entirely.
Werkzeuge
-
-
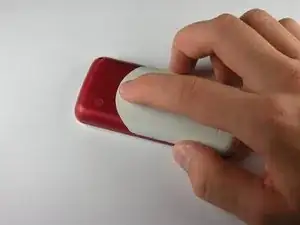
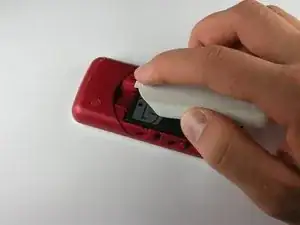
Begin by taking the back battery cover off.
-
Put your index finger on the white notch and apply pressure.
-
While applying pressure, move your hand backwards to slide the battery cover off of the body of the phone.
-
-
-
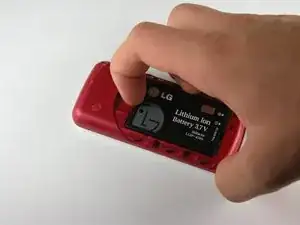
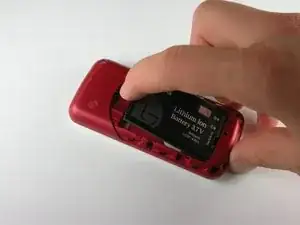
Remove the battery.
-
Put your index finger in the notch above the battery near the top of the casing.
-
While applying pressure against the battery, lift up and take out the battery.
-
-
-
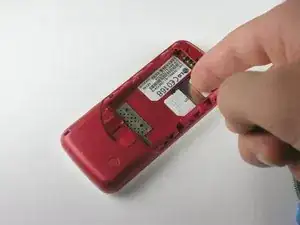
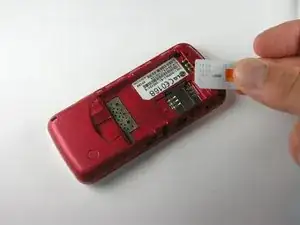
Remove the SIM card from its housing.
-
Put your finger in the provided notch below the SIM card and begin to push the SIM card towards the top of the device.
-
After it is out of the metal housing, it is free to be removed.
-
-
-
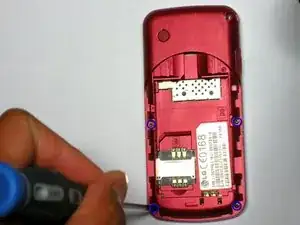
Remove the four screws along the edge of the phone body, as shown in the picture to the left.
-
-
-
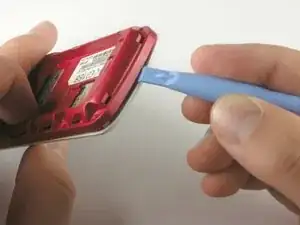
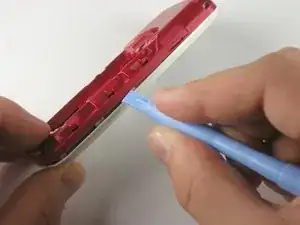
Using the plastic opening tool, pry open the body of the phone, starting at the bottom of the phone (this tends to be the easiest place to start).
-
Continue by sliding the opening tool around the perimeter of the phone. You should hear multiple clicking sounds as you complete this, indicating the clips are becoming unlatched.
-
-
-
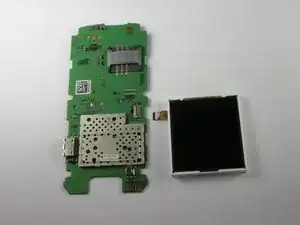
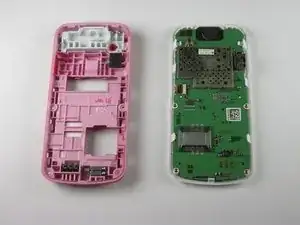
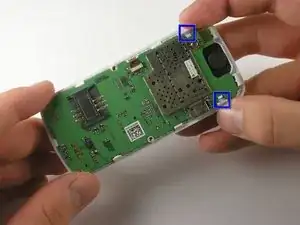
Put the red casing aside and remove the motherboard from the front casing of the phone by carefully dislodging it from its two clips near the top of the phone.
-
-
-
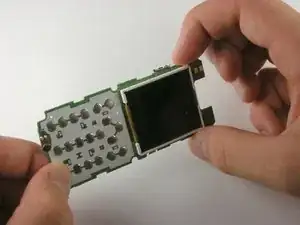
The upper left corner of the LCD display will be held in place with a small clip. Gently pull the small clip outwards, away from the surface of the motherboard.
-
-
-
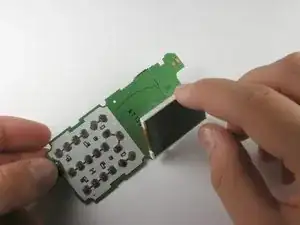
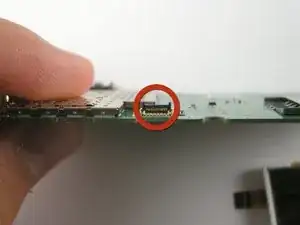
The LCD screen is attached by a small ribbon to the motherboard. Gently pull the screen out of the clip it is attached to.
-
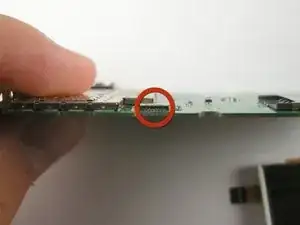
Notice: When re-installing a new LCD screen, make sure to prop up the black clip before installing the ribbon cord, as shown in the pictures.
-


To reassemble your device, follow these instructions in reverse order.