Einleitung
Hi there!
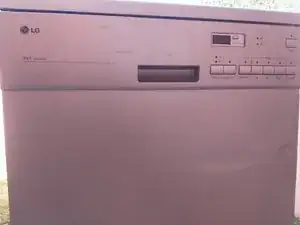
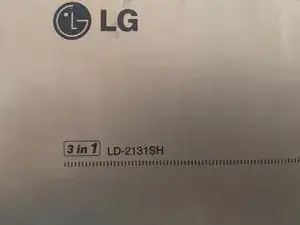
Today we(well you, since I had to wait for a new pump lol) will replace the Drain Pump on an LG LD-2131SH Dishwasher. Let's go!
CAUTION: Hand Safety: Machine has stamped metal parts - take care not to cut yourself! Here is a nice quick video on hand safety! Thanks to Safety Memos!
Ersatzteile
-
-
Apologies in advance for the poor pictures :P
-
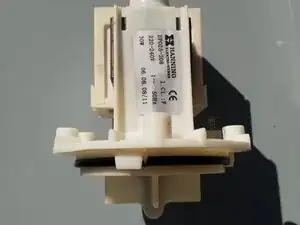
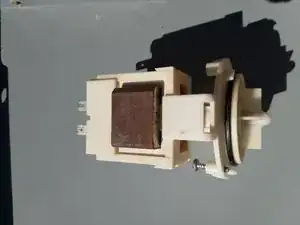
The photo shows the OEM part. I will replace it with a "generic" part, linked in the "Parts" area, and also below.
-
-
-
-
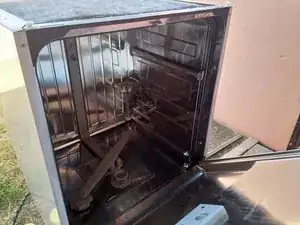
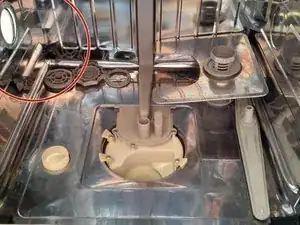
Remove and un-clip the regular maintenance parts from interior.
-
Red circle: Also remove the vent plug on the side.
-
-
-
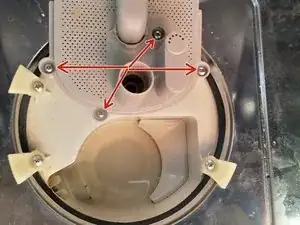
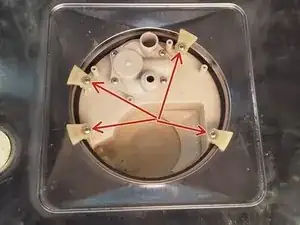
1st pic: remove the 4 screws that retain the discharge manifold (grey part).
-
2nd pic: remove the clips that clamp the machine drum to the sub-assembly.
-
-
-
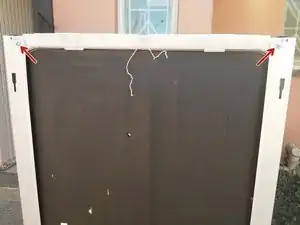
Now we disassemble the door. There are 10 screws around the circumference of the door, holding the front panel to the inside panel of the door. Remove them. (sorry I have lost the proper picture)
-
Make a note of where what wires go, and undo the harness.
-
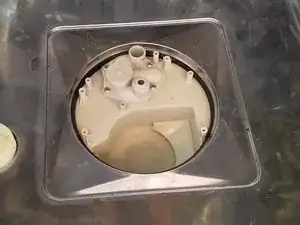
Door front panel is separated, clean and set aside.
-
-
-
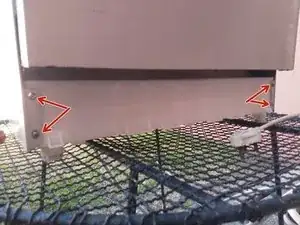
Undo all the screws holding the two side panels in place.
-
Both panels remained hanging there after all the screws were out, which makes for easy work, thanks random engineer at LG!
-
Anyways, lift panels off, clean and set aside.
-
-
-
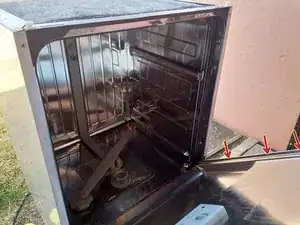
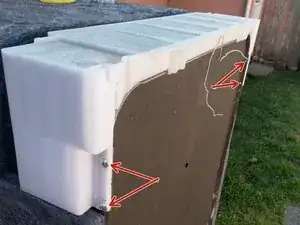
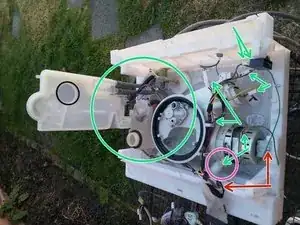
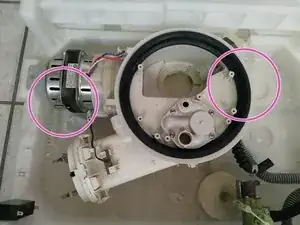
Here we go at separating the tub from the sub-assembly. Remove screws as shown.
-
Red arrows: screws
-
Yellow arrows: screws on front side of machine
-
Green arrows: Earth Wires
-
Get someone to assist with lifting the tub off very carefully, while constantly checking for any snags etc. Once tub is removed, clean and set aside.
-
-
-
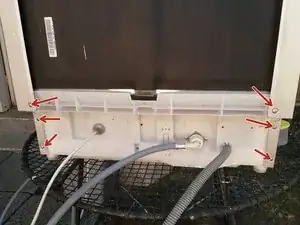
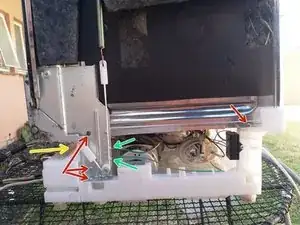
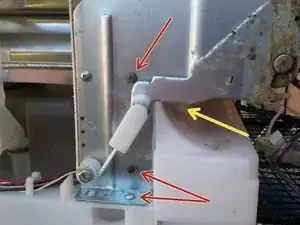
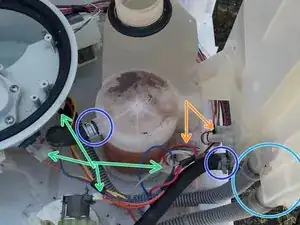
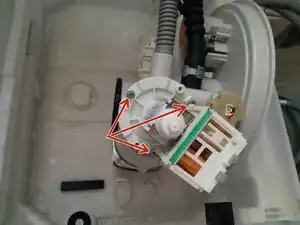
Red arrows: screws - the screw holding the harness-guide in place is accessed from the front of the machine.
-
Green arrows: unplug/disconnect
-
Purple circle: clip the zip tie
-
Green circle: next photo
-
Yellow arrows: flow sensors - they unclip from the housing or if you rather don't want to - they also have small connectors that you can unplug.
-
Light Blue circle: pull the pipes out from the housing - it is quite hard, but slow and steady wins the race. Wiggling helps too.
-
Dark Blue circles: undo the clips using pliers. I just moved the clips about an inch up the hose, easy storage spot. Then just wiggle the hoses off.
-
Carefully remove the harness, clean and set aside.
-
-
-
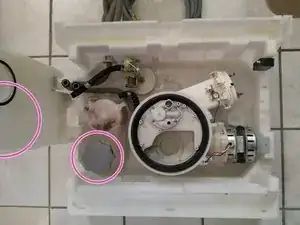
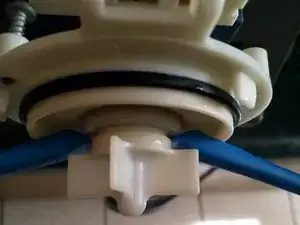
1st pic: circles show where I had my hands when lifting the salt bucket and water manifold out.
-
2nd pic: arrow points to the rubber foot that we need to wiggle free when lifting the plumbing assembly out of the frame.
-
3rd pic: Again position of my hands when pry-lifting the assembly out.
-
-
-
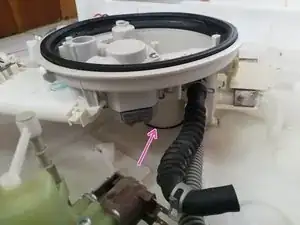
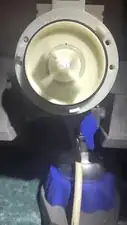
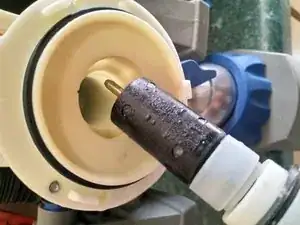
1st pic: Undo the screws and pull pump out of housing.
-
2nd pic: I just flipped the pump over to show the impeller.
-
-
-
Testing revealed fluctuating vibrations, kind of like "speed wobbles", indicating well worn bush(es).
-
This can point to the rotor being forced out of line(alignment) while being mechanically stuck(the small magnet of earlier). Judging by the soft appearance of the bush(no pic sorry), I would give this theory a solid "most likely".
-
Prying the rotor from the housing reveals nothing further of concern. The water inside may actually provide some cooling assistance, and through the pumps design (Magnetic Drive), poses no electrical risk. This also removes the need for a shaft seal. Sound Engineering!
-
The video clip is a "super slo-mo" shot with a Samsung Galaxy S20FE. It shows the speeding up and slowing down of the pump. If I take the noise it makes into consideration, this is not normal. *I may obviously be wrong*
-
-
-
The assembly should be the reverse of what we have done. However, I will update with any significant findings, if any occur, once I have the new pump and start assembling.
-


To reassemble your device, follow these instructions in reverse order.