Einleitung
This guide will assist you in replacing your phone's faulty camera.
Werkzeuge
-
-
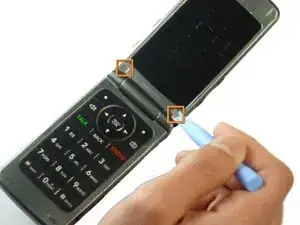
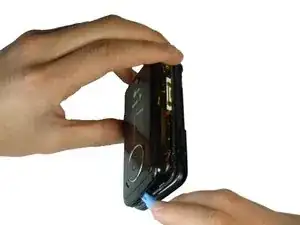
Use a spudger to remove the two screw covers below display.
-
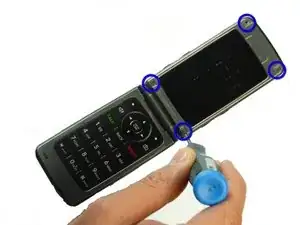
Use a screw driver to remove the four Phillips #00 (3.3mm) screws at corners of the display.
-
-
-
Note: Side buttons may fall out when removing the front case. Do not misplace them.
-
Note: Each side button will only fit in the side that it came from.
-
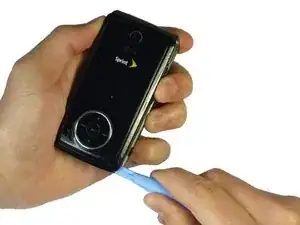
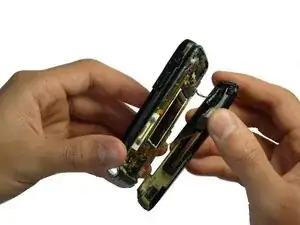
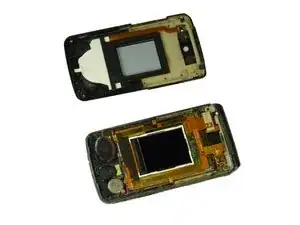
Insert a spudger between the black and grey casings and gently spread them apart.
-
Work around the device gradually, opening the gap further.
-
-
-
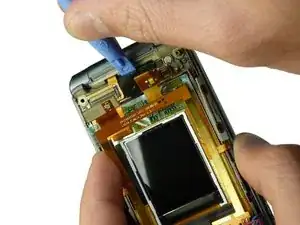
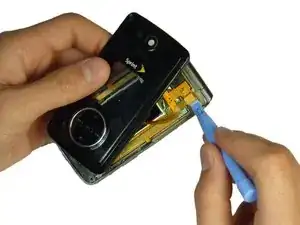
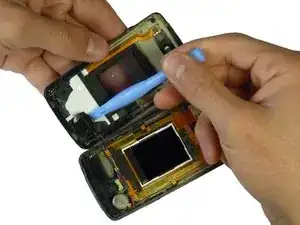
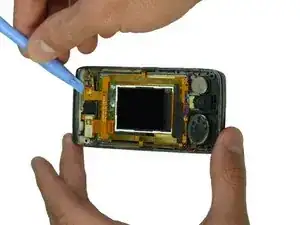
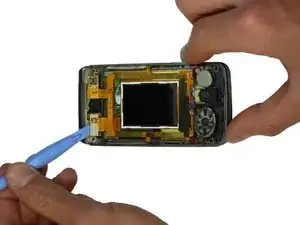
Use the spudger and lift upward to disconnect the ribbon from the main part of the phone.
-
Carefully remove any parts stuck to the front case such as speakers.
-
-
-
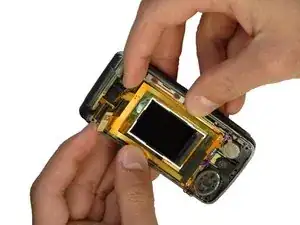
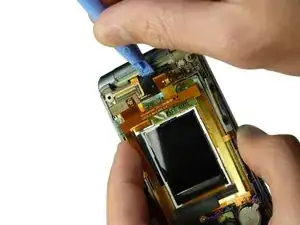
Hold the wiring out of the way and pull up with a spudger behind the camera.
-
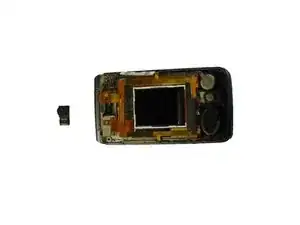
The camera unit should come unglued and separate from the phone.
-
To reassemble your device, follow these instructions in reverse order.
