Einleitung

For this guide make sure that you have correctly removed the back and the speaker before you begin the guide.

  1. rxlYSopE2oU3VBnn
    rxlYSopE2oU3VBnn
    hRPk2tkSmby2oRu5
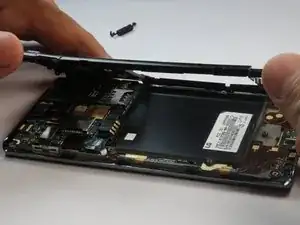
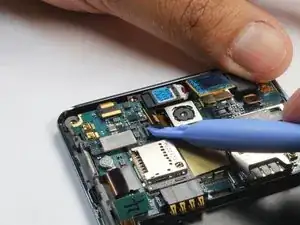
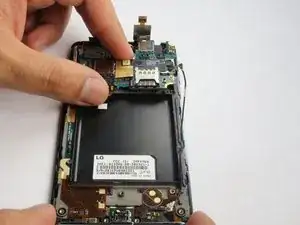
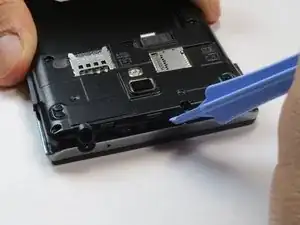
    • Pry the back panel from the frame of the phone to reveal the motherboard.

  2. 61MPoBgmQVEyeKHb
    61MPoBgmQVEyeKHb
    xyOoOQw5YeBhBc5N
    1SCJT2qcp3ZbUmMh
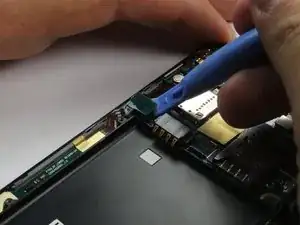
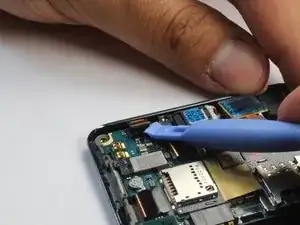
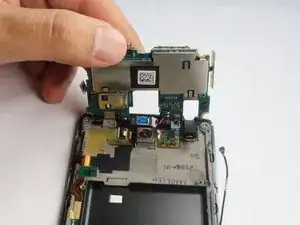
    • Detach the connectors on the motherboard.

  3. wNbJVATtv5XTCZwq
    wNbJVATtv5XTCZwq
    GDk4OIbV1WhWsUB6
    XswiueAHxHgONeTn
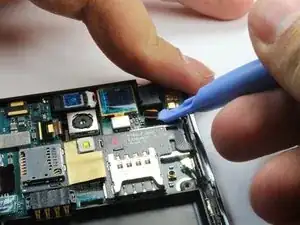
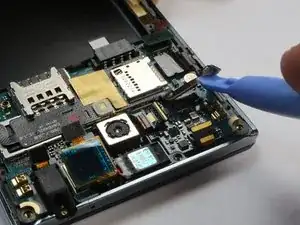
    • Continue to lift the connectors off the motherboard.

  4. R4DTHBQq1Gv6LnkV
    R4DTHBQq1Gv6LnkV
    FOuaO5SHJsYnDckT
    BGM2klg2wreflSYp
    • Lift the speaker cable off the motherboard.

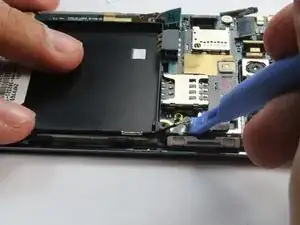
    • Lift the motherboard up. It will Still be connected to the frame.

  5. hv2JZMiRW2PjpJYF
    hv2JZMiRW2PjpJYF
    1ZofDWX25fIIDYKY
    ZjI32BELQZRAoCNy
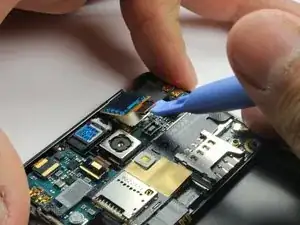
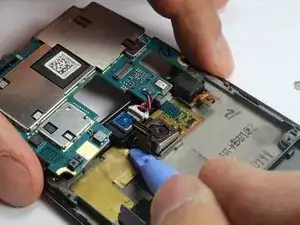
    • Pry under the camera to lift it off the frame.

    • There is some adhesive that will keep it attached to the frame, pulling the camera off will not damage the phone.

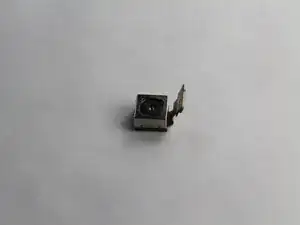
    • The camera should now be entirely separated from the phone.

Abschluss

To reassemble your device, follow these instructions in reverse order.
Paul

Mitglied seit: 07/10/14

145 Reputation

0 Kommentare