Einleitung
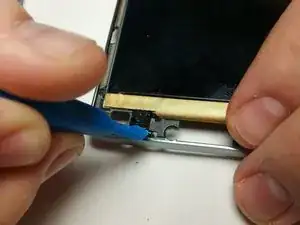
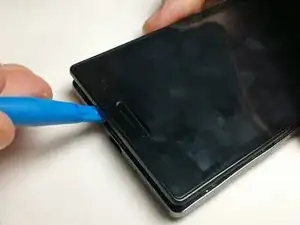
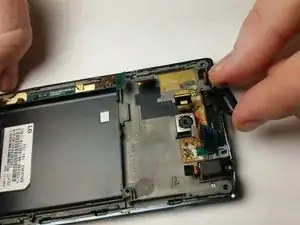
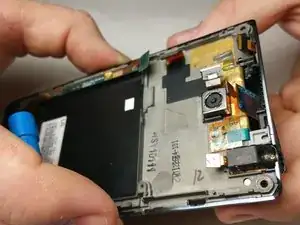
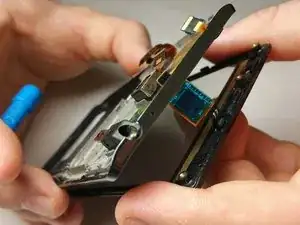
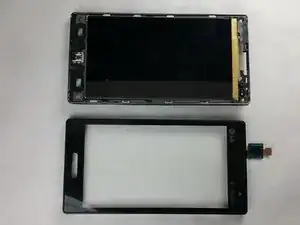
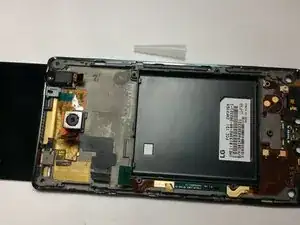
This repair requires the user to disassemble the device completely, removing the screen to reach the front facing camera. The user should be cautious when removing ribbon cables to ensure that they are not torn or broken. The user should also take extreme care when removing the motherboard as it is very delicate and easily damaged.
Werkzeuge
-
-
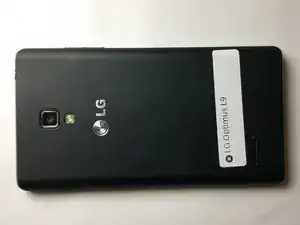
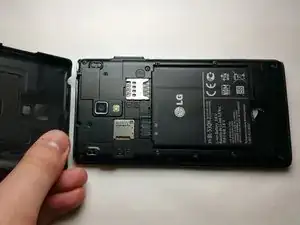
Start by placing the device face down and remove the back cove.
-
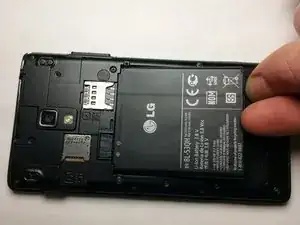
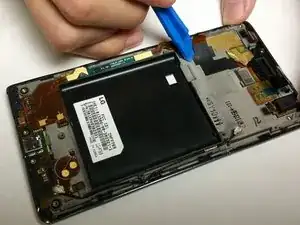
Remove the battery from the phone by lifting it using your finger or the prying tool
-
-
-
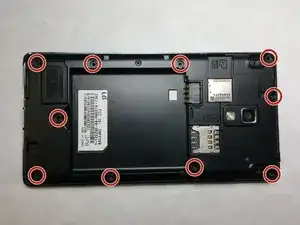
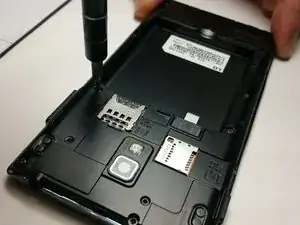
Remove all 10 of the 4.5mm Phillips screws that holds the back frame to the case of the phone
-
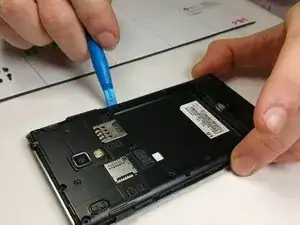
Using a small plastic prying tool, carefully remove the back frame by prying on the sides of the device.
-
-
-
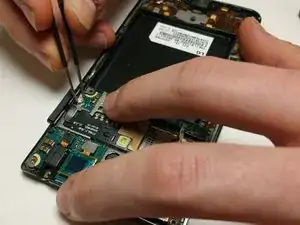
Using tweezers, pinch the sides of the antenna node and pull straight up.
-
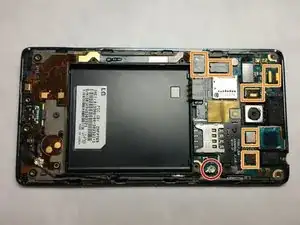
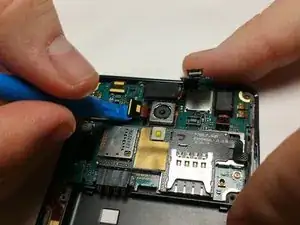
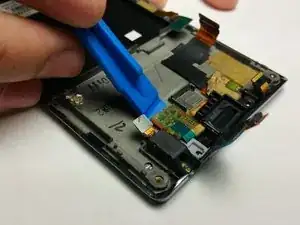
Using a small prying tool, carefully remove the ribbon cables attached to the motherboard.
-
-
-
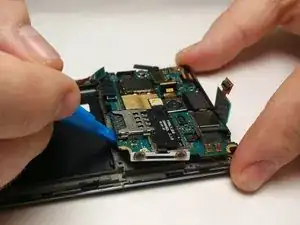
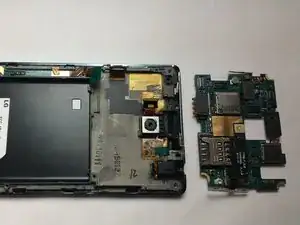
Using a spudger or small prying tool, lift up the motherboard from the chassis of the device.
-
-
-
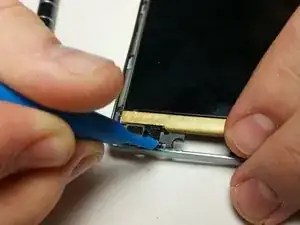
Using a spudger or small prying tool, pry off the latches that connects the digitizer to the chassis carefully.
-
-
-
Once the digitizer has been removed, turn the phone face down and remove the plastic housing for the front speaker. It should come off easily.
-
-
-
Remove the primary or rear camera using a small opening tool to remove the adhesive and lift the camera up using a pair of tweezers.
-
Using the same small opening tool, remove the connector that is taped to the chassis of the phone.
-
To reassemble your device, follow these instructions in reverse order.
