Einleitung
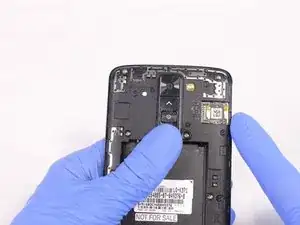
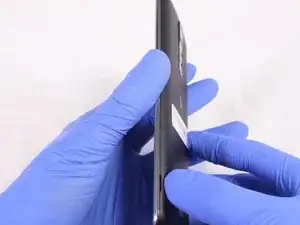
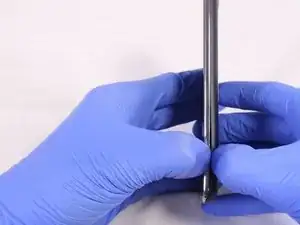
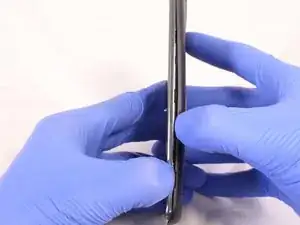
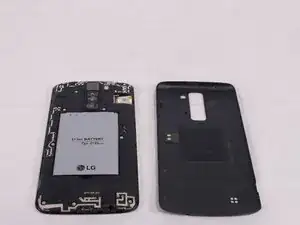
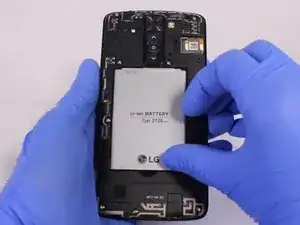
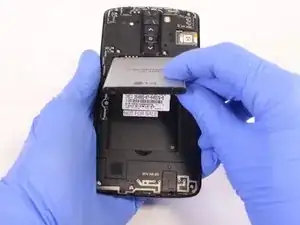
This guide will walk you through the process of replacing a camera in an LG Phoenix 2. This guide should be used if the phone does not take photos. This guide should also be used if the camera only takes blurry photos reguardless of the position of the camera or the object that is being photographed.
Werkzeuge
-
-
Place a fingernail in the notch at the bottom edge of the phone.
-
Pull on the back cover with one hand while keeping the rest of the phone steady, and run your fingernail along the edge.
-
-
-
Locate the SIM card in the top right corner on the back of the phone.
-
Remove the SIM card by pushing it with your thumb from left to right.
-
-
-
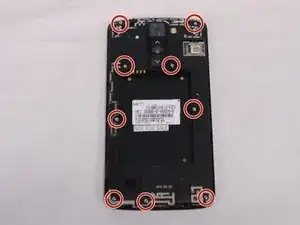
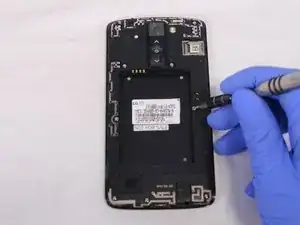
Remove all 9 screws on the back by using a Phillips head #00 screwdriver.
-
To remove the screws rotate them counterclockwise.
-
-
-
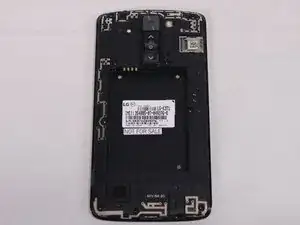
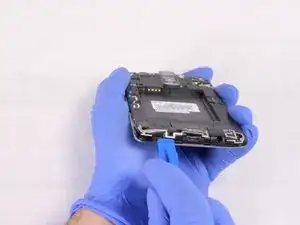
Insert a plastic opening tool in the split at the bottom of the phone (between the bottom shield and the rest of the phone).
-
Pry the bottom shield to separate it from the phone.
-
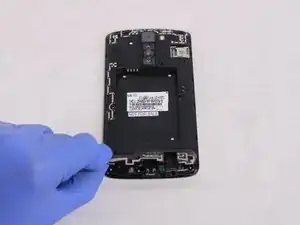
Once it is loose you should be able to remove it with your hand.
-
-
-
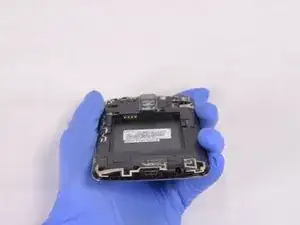
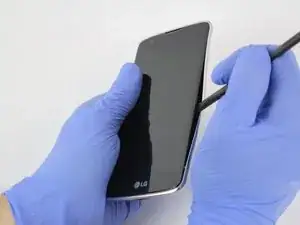
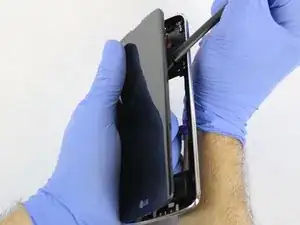
Insert the flat end of the Spudger between the screen and the chromed frame.
-
Once inserted, run the Spudger along the frame to separate the front part of the phone from the back shield.
-
-
-
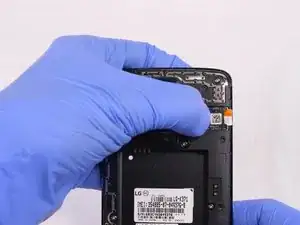
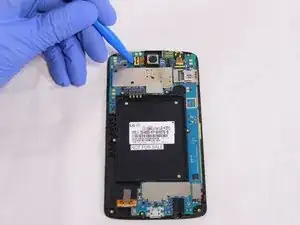
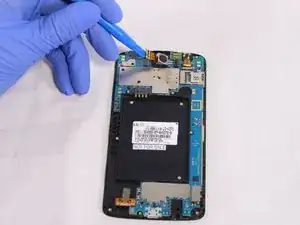
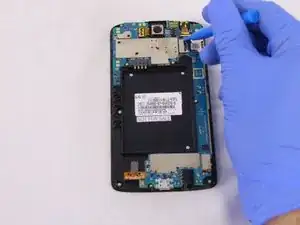
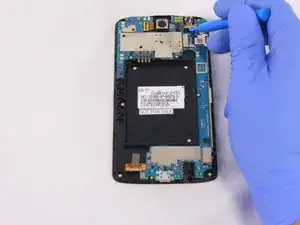
Insert the flat end of the Spudger or the plastic opening tool underneath the camera connector.
-
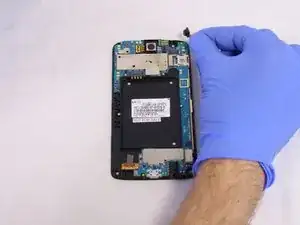
Gently lever the camera connector free.
-
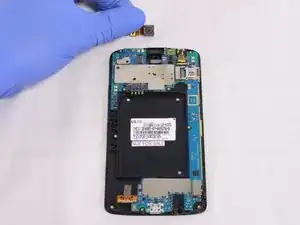
Once disconnected, take the camera out.
-
To reassemble your device, follow these instructions in reverse order.
