Einleitung
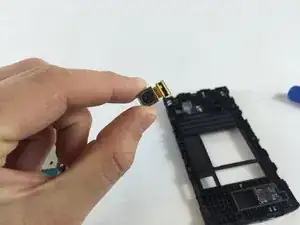
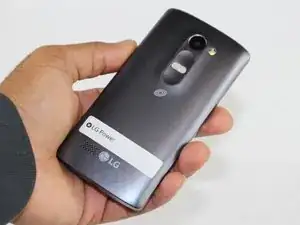
It will allow users to remove and install a new camera if their current one is broken. In cases where the currently installed camera is cloudy or needs cleaning, this guide will be helpful in doing so without effecting other parts of the device.
Werkzeuge
-
-
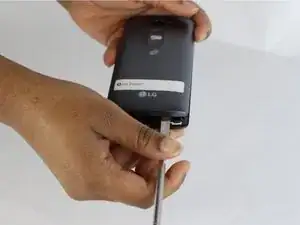
Remove the eight 4mm screws along the side of the mid panel using the Phillips #000 screwdriver head.
-
-
-
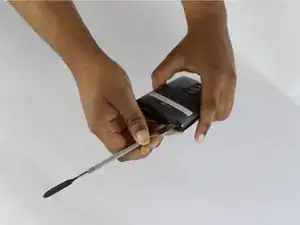
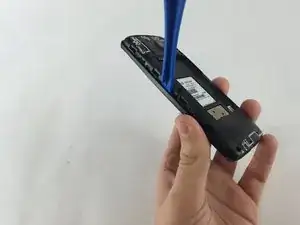
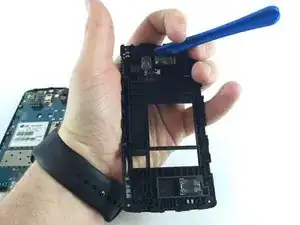
Slide a plastic opening tool between the mid-panel and front panel to remove the middle panel.
-
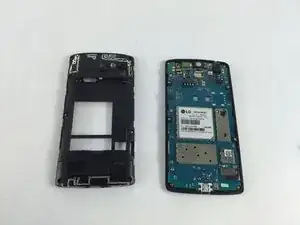
Place the mid panel to the side.
-
-
-
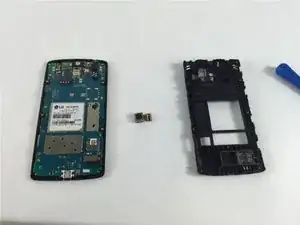
Detach the back camera from the back of the mid panel using a plastic opening tool, and remove it.
-
The camera will be completely free at this point.
-
Abschluss
To reassemble your device, follow these instructions in reverse order.
