Einleitung
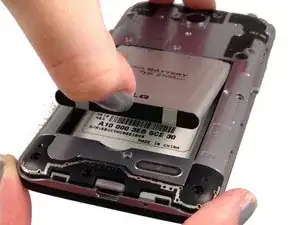
Before continuing, make sure the device is powered down. Also make sure that the battery and back casing are removed.
Werkzeuge
-
-
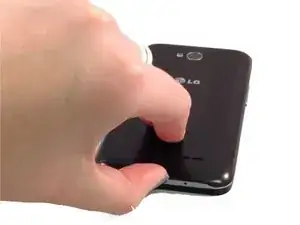
To remove the back, insert thumbnail into MicroUSB port, and pull up to loosen back.
-
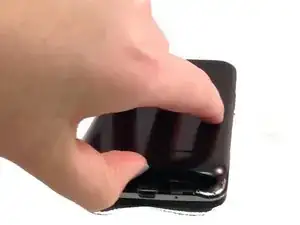
Use nail to loosen case on all four sides. Once loose, remove back case.
-
-
-
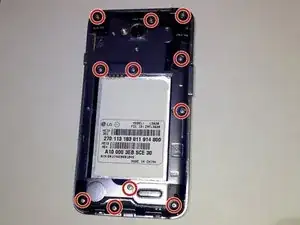
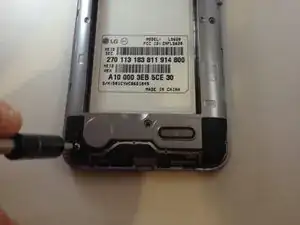
Once the back cover and battery are removed, use the Phillips #J000 screwdriver to remove all 11 screws located around the plastic midframe.
-
-
-
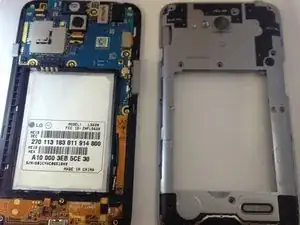
Using the plastic opening tool, carefully pry and separate the plastic midframe from the rest of the phone.
-
-
-
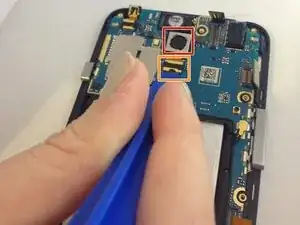
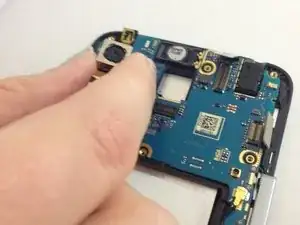
Locate the rear facing camera.
-
Using the plastic opening tool, pry apart the cable from where it connects to the phone.
-
-
-
After removing the ribbon cable, the camera should be easy to remove with your fingers. Remove the rear facing camera.
-
To reassemble your device, follow these instructions in reverse order.
