Einleitung
BEFORE STARTING, note that this repair guide requires soldering experience!
Werkzeuge
Ersatzteile
-
-
Turn off the cellphone by pressing down on the red "END" button for 3 seconds.
-
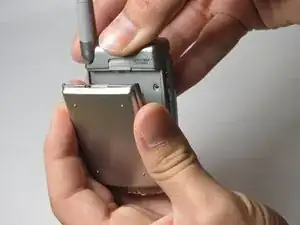
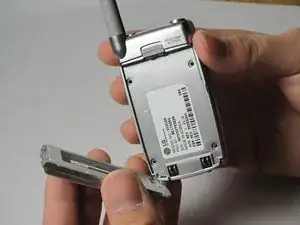
Flip cellphone over and press up on the gray sliding mechanism towards the top of the phone. At the same time, pull on the large silver battery and it should come right off.
-
-
-
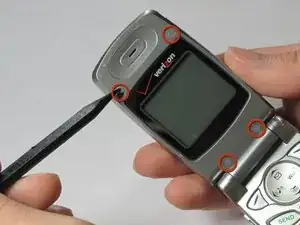
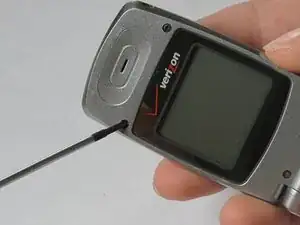
Using the spudger, carefully push off the gray caps as shown.
-
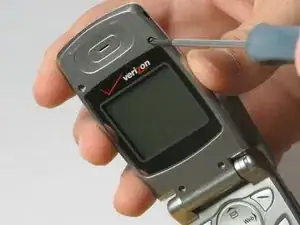
Use the Philips screwdriver to remove the screws underneath the gray caps.
-
-
-
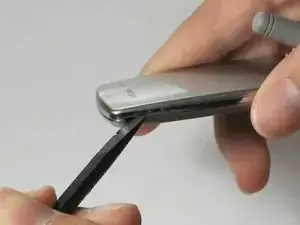
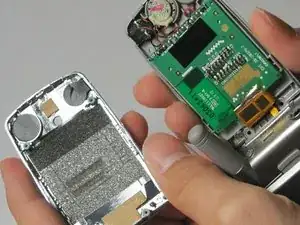
Locate the small gap at the top right corner of the phone as shown. Use the spudger to gently pry the back casing off.
-
-
-
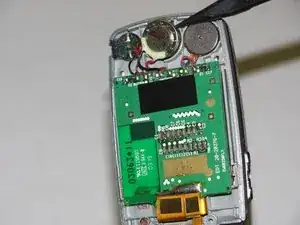
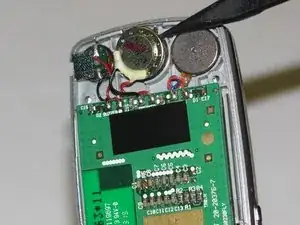
Remove the speaker using the sharp end of the spudger. Removing the speaker may require more effort if the speaker is stuck to the phone.
-
-
-
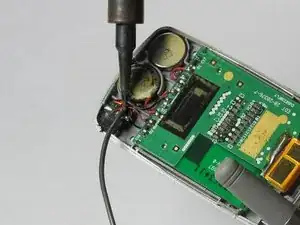
Desolder the connection between the logic board screen and the black wire.
-
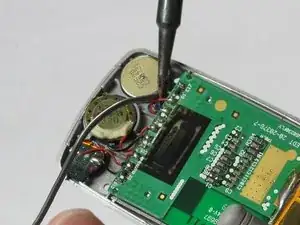
Desolder the connection between the logic board screen and the red wire.
-
To reassemble your device, follow these instructions in reverse order.
