Einleitung

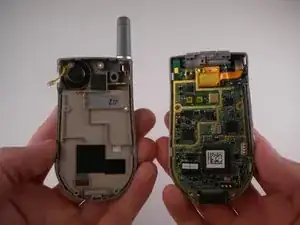
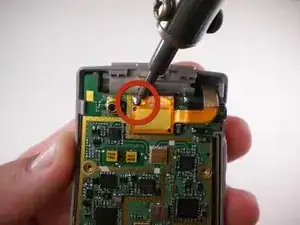
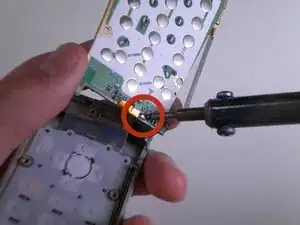
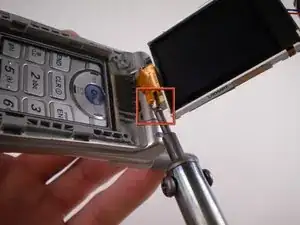
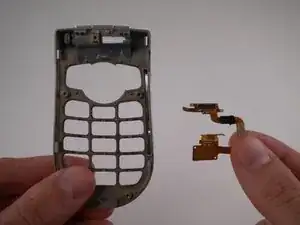
Replacing the ribbon cable.

  1. ohT1vlqSxrOAdC5y
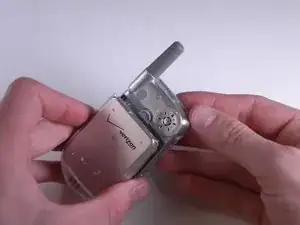
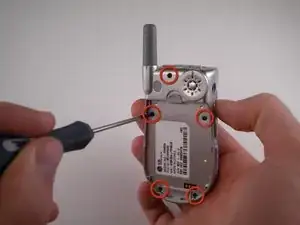
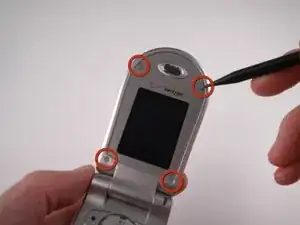
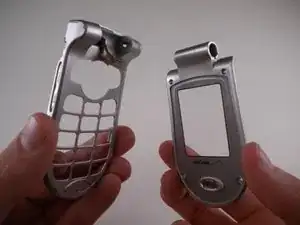
    • Turn the closed phone so that the back panel is facing you.

    • Press down and forward firmly on the gray tab in the middle of the phone.

  2. ACd62H4DpVReZaXb
    ACd62H4DpVReZaXb
    VQvYZ5fXOMC2dbQx
    • Now just lift up on the battery and remove it from the phone.

  3. uYNrOQUgl541HkbN
    • Remove the rubber grommet using a Spudger.

  4. EdyHnK5CZWhtGYQM
    • Be sure not to lose the screws. They are small!

    • Remove the five screws using a Phillips #00 Screwdriver.

  5. XshLOkMrK3rYqjR3
    XshLOkMrK3rYqjR3
    vJ1oDroZYaVryoD4
    AYUiXChrxXxxQHRk
    • When removing back cover, be careful not to break the speaker wires.

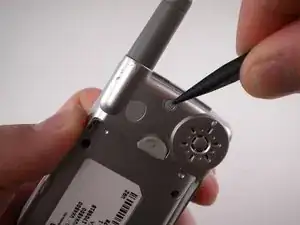
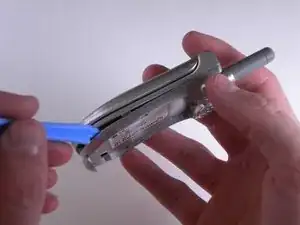
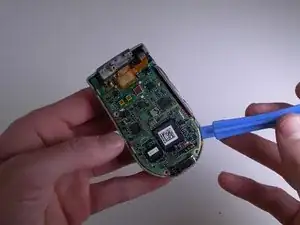
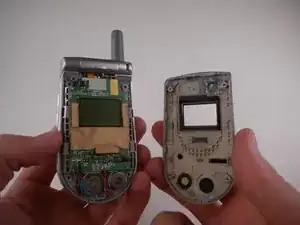
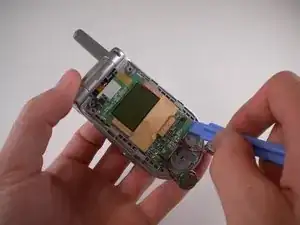
    • Using an iPod Opening Tool, carefully pry off the back cover.

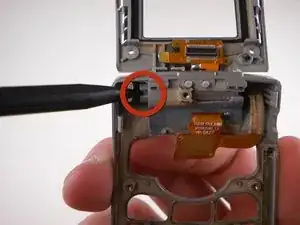
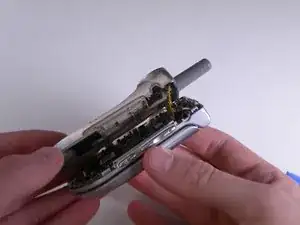
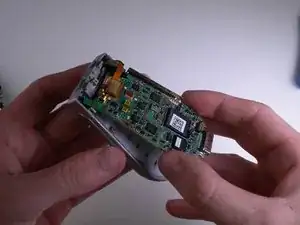
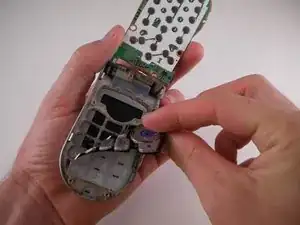
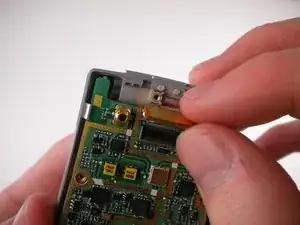
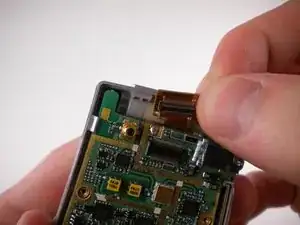
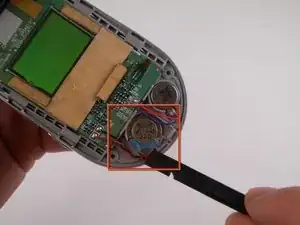
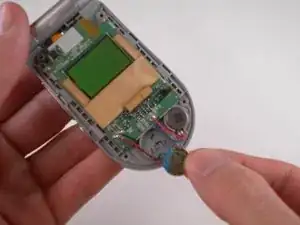
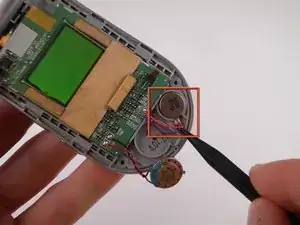
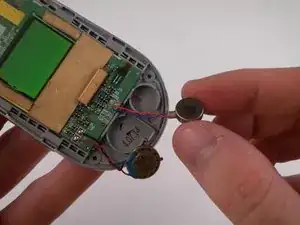
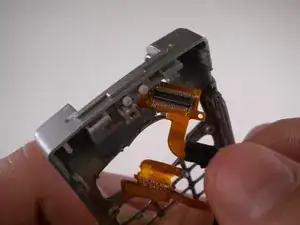
    • Using Tweezers, gently pull speaker wires out.

  6. kNBesMtWdpIalaUJ
    • Separate the two halves.

  7. ChVJW3bfmQ6hKR6Q
    ChVJW3bfmQ6hKR6Q
    tIwehvTFrZprYHfG
    FiXQPCibPFDucpQT
    • Carefully pry and lift up on the logic board using an iPod Opening Tool.

  8. JJWbtqEBlxMHmJPR
    • Carefully flip the logic board up and out of the way.

  9. RQCkCYIpviY4O4sm
    RQCkCYIpviY4O4sm
    LvhIUKqFRHO4UYFK
    1OrdJhkiw1ekZSL1
    • Use an iPod Opening Tool to lift up on the keypad and pull it out.

  10. gxiJYTQxABnIBPDR
    • DO NOT TOUCH SOLDERING IRON. IT IS EXTREMELY HOT.

    • De-solder solder joint on front using Soldering Iron.

  11. aYpItesKZNyD1oNR
    • De-solder solder joint on the back using Soldering Iron.

  12. XNScLXogyNnFfN5N
    XNScLXogyNnFfN5N
    gPCXEEPhAlkAgbQb
    ZEbKSjHJOERUNdTB
    • Carefully detach ribbon cable and remove logic board.

  13. OKZkQUp5oOtTZoXG
    • Remove 4 rubber grommets using the Spudger.

  14. KDwvnZhssAbSLa5G
    • Remove 4 screws using the Phillips #00 Screwdriver.

  15. IADSm6pAqXPTCmeu
    IADSm6pAqXPTCmeu
    V1uLBqbmJRRYRAHt
    bXVSNMAiri2KDbkC
    • Carefully pry off outer cover using iPod Opening Tool.

  16. KXLEAaRROHTSbRfk
    KXLEAaRROHTSbRfk
    QGQqFsRiSQIsfBA2
    • Remove speaker using the Spudger.

  17. EMQNRWLBdQeY4EMH
    EMQNRWLBdQeY4EMH
    yosQpNgf3fWNimCZ
    • Remove vibrator using the Spudger.

  18. bZx3EqCobITsVQrE
    bZx3EqCobITsVQrE
    2pBv6uPIZ6hmhsGI
    • Lift up LCD display using iPod Opening Tool.

  19. UEUHHUpjqFH2biuK
    • DO NOT TOUCH THE SOLDERING IRON. IT IS EXTREMELY HOT!

    • De-solder solder joint using Soldering Iron.

  20. paD3royYLcIRlwxi
    paD3royYLcIRlwxi
    1BtrvYUiR5eCZ4S1
    • Pry off ribbon cable using iPod Opening Tool.

  21. xGPboncRDY5ZlhVl
    xGPboncRDY5ZlhVl
    Kta1jqxtFJp4ZmIE
    sJkQ5QhaapbDuHxV
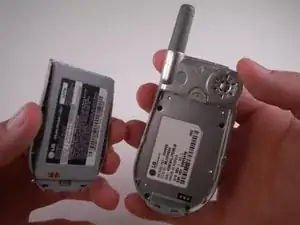
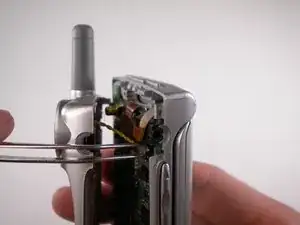
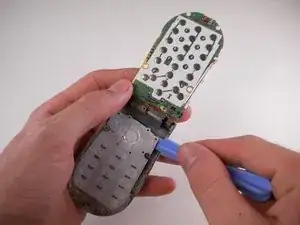
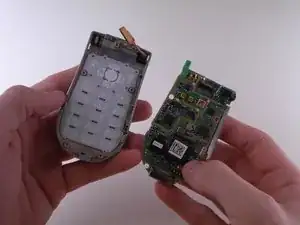
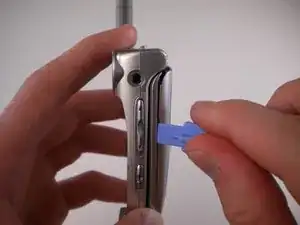
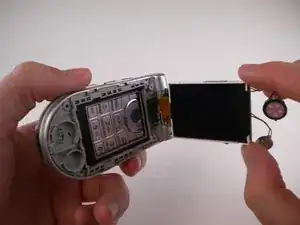
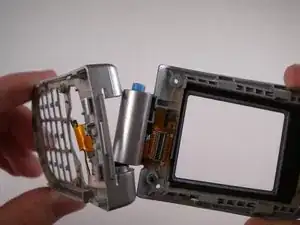
    • Turn phone so that the back side is facing you.

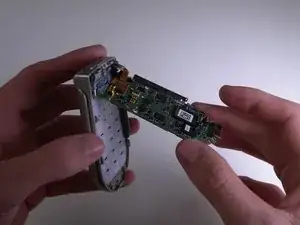
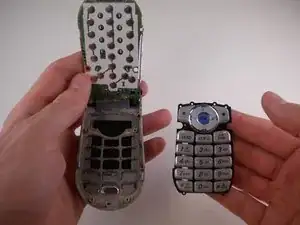
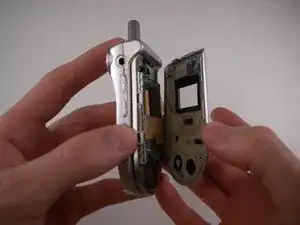
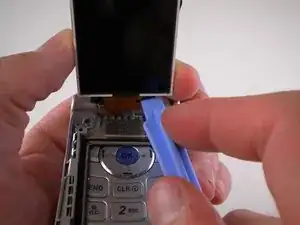
    • Press blue button and remove top half using Spudger.

  22. CoQOFruJHQ3EOXWW
    CoQOFruJHQ3EOXWW
    nJEQKKoEOIT6obyR
    • Remove cable from bottom section.

Abschluss

To reassemble your device, follow these instructions in reverse order.

David Foster

Mitglied seit: 12/04/10

1 Reputation

0 Kommentare