Einleitung

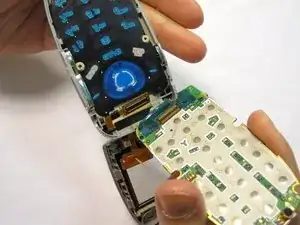
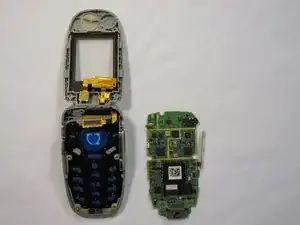
A guide to removing the phone's main PCB.

  1. 3FGQqKIbONjxcQlu
    3FGQqKIbONjxcQlu
    PYjtnPdQhq5AddAc
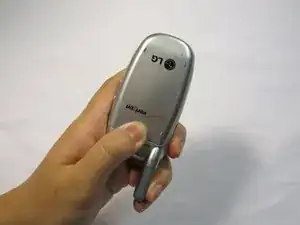
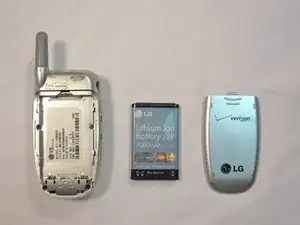
    • Turn the phone on its back.

  2. yV6k6qxaFP1qA3uR
    yV6k6qxaFP1qA3uR
    RBGAxspYELKXEiCT
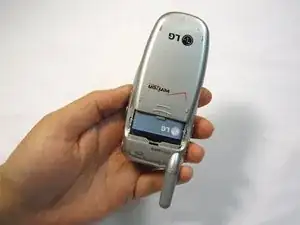
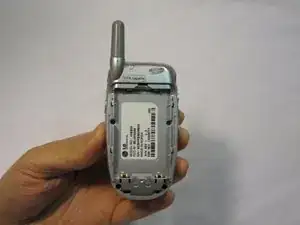
    • Orient the phone as shown.

    • Remove the battery cover by pushing upward with your thumb.

  3. P16HdF3qGTBtWi6n
    P16HdF3qGTBtWi6n
    3tGyKFZHq6FLo2ZK
    • Place your fingernail at the top of the battery and pry the battery out towards you.

  4. JKAxFwvUqmgkLlbT
    • Orient the phone as shown with the battery already removed.

  5. 41T3ZAAShUFvEpio
    41T3ZAAShUFvEpio
    CLitcewSEkGSyLlZ
    AVRTOwaDPYMquLri
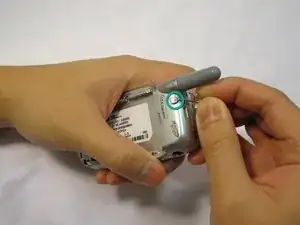
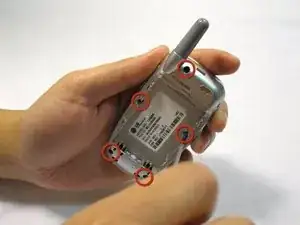
    • Remove the 2 plastic plugs located on the side and upper quadrant of the rear body panel by using the push-pin and lifting outwards.

    • Use a Phillips #00 screwdriver to remove the 5 screws as shown here.

  6. VftayKma5c3SSZZn
    VftayKma5c3SSZZn
    BMFwfhXYktcHXZvt
    55jJCGq3ogwkWDCA
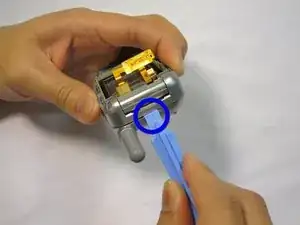
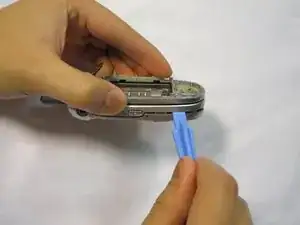
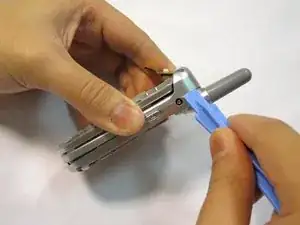
    • Place an iPod opener tool in the seam above the antenna.

    • Run the tool around the perimeter of the entire phone.

  7. GmT2SAo1FpYd6SmA
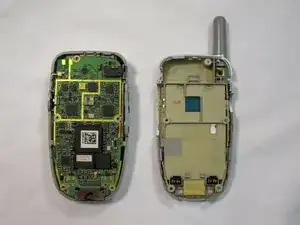
    • Check to see that your device looks like the attached photo.

  8. uDppvuUyZwAR2MWD
    uDppvuUyZwAR2MWD
    ZAKXEnSjb3bkDlqH
    HMgKjqtmpOKwKbAL
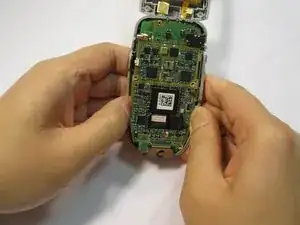
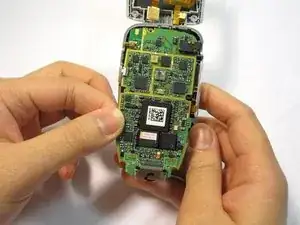
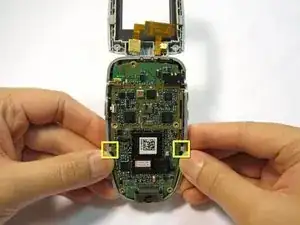
    • Locate the tabs that hold the logic board in place.

    • Pull the outer frame of the phone outwards to release the board from the tabs.

  9. SVEG2XEe1LTahjFg
    SVEG2XEe1LTahjFg
    pHKZXPFceGO2d3yM
    oiocYHCdkAx52ola
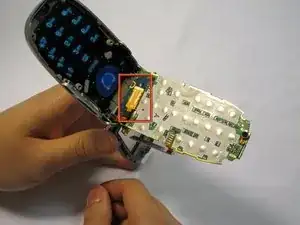
    • Locate the copper connection (orange-colored) on the back of the board.

    • Pry the connector free from the board with your fingernail.

  10. kge2ADQR6k1pnYtX
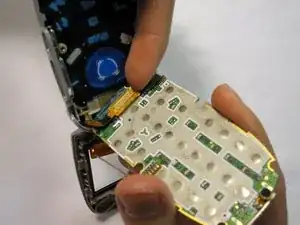
    • Check to see that your device looks like the image shown.

    • Note: The image is shown with the LCD screen removed. This is not necessary for logic board removal.

Abschluss

To reassemble your device, follow these instructions in reverse order.
Douglas Blaalid

Mitglied seit: 13/01/10

282 Reputation

0 Kommentare