Einleitung
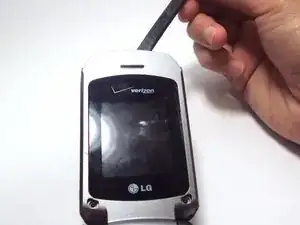
The screens for the LG VX5600 come together as a single unit inside the phone therefore to replace one you will be replacing the other.
Werkzeuge
-
-
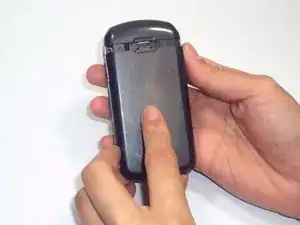
Hold your phone with the back casing facing you and the bottom of the phone towards the sky.
-
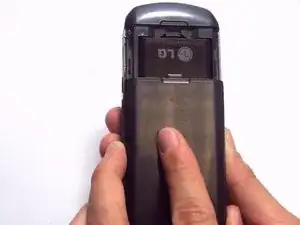
Push down on the cover and slide down to remove. You should only have to apply minimal pressure.
-
-
-
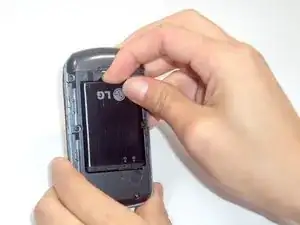
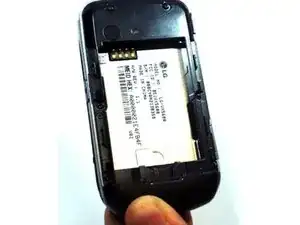
Insert your finger into the small indentation above the battery.
-
Push down on the battery and pull it away from the phone; it will pop out.
-
-
-
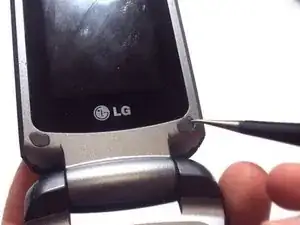
Use tweezers to remove the two rubber covers found at the left and right corners below the inside screen.
-
-
-
Grasp the phone and rotate it 90 degrees counterclockwise for a better grip.
-
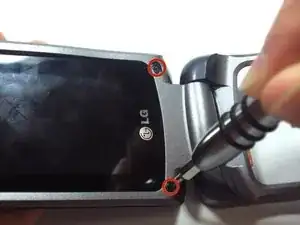
Unscrew the two 3.0-mm Phillips #000 screws, found under the rubber covers at the bottom left and right corners.
-
-
-
Hold the opened phone upright.
-
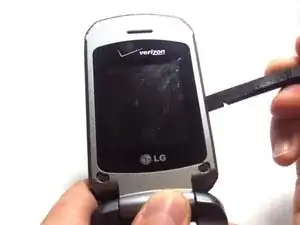
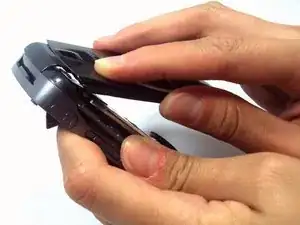
Use the spudger to pry around the edges of the phone and detach the tabs.
-
-
-
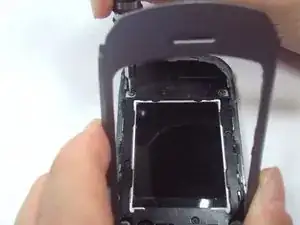
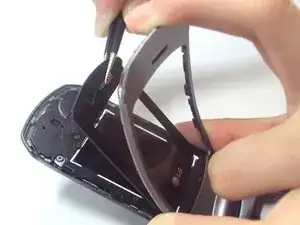
Use your finger to lift up the grey plastic cover.
-
Use the tweezers to grasp the plastic screen, and pull the plastic screen protector up and out of the phone.
-
-
-
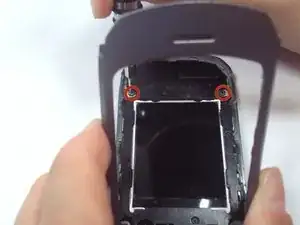
Use one hand to grasp the phone and prop the inner grey casing up.
-
Unscrew the two 3.0-mm Phillips #000 screws located in the upper left and right hand corners.
-
-
-
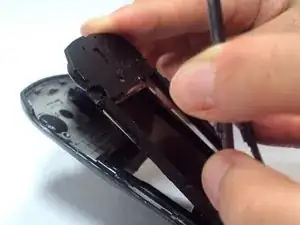
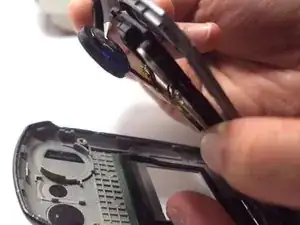
Using your hands hold the inner grey casing up and pull on the black plastic that surrounds the screen away from the outer grey casing.
-
-
-
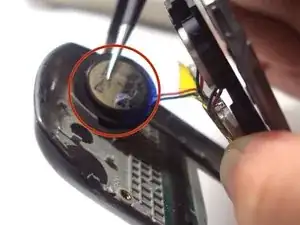
Using tweezers, pull the vibration motor away from the outer grey casing and towards the black plastic surrounding the screens.
-
-
-
Flip the phone closed so that the top outer casing is facing you.
-
Lift up on the the outer grey casing, completely removing it from the phone.
-
-
-
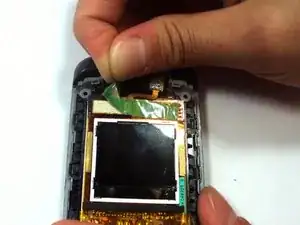
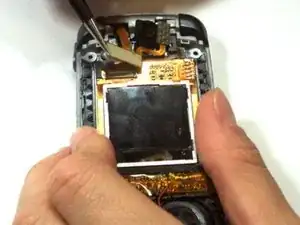
Grasp the phone with one hand, and use the tweezers with the other hand to pull up on the flex cable disconnecting it from the screen.
-
-
-
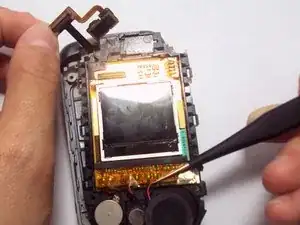
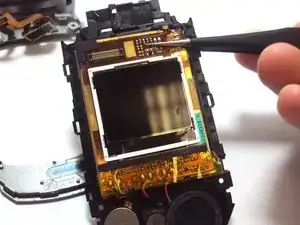
Use your fingers to lift up the detached flex cable and use the tweezers to lift the LCD screen component out of the phone casing.
-
To reassemble your device, follow these instructions in reverse order.
Ein Kommentar
just swapped screens Perfect. step 5 is harder than it look but take time and go easy, I used a 1/8 in blade screwdriver.
