Einleitung
Werkzeuge
-
-
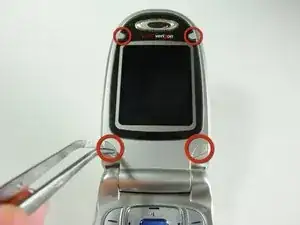
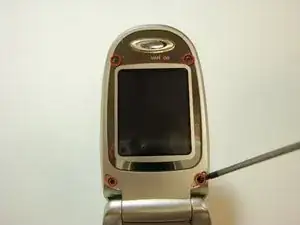
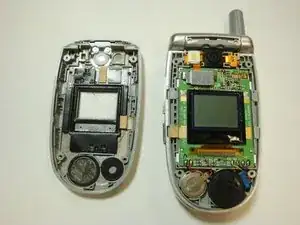
Once all the screws have been removed, use a plastic opener tool to pry the case from the rest of the phone.
-
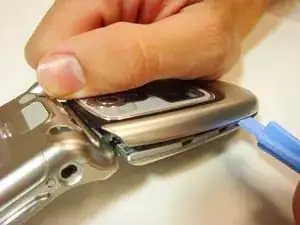
Insert the opener tool into the seem between the case and the phone. Apply pressure to separate the two pieces.
-
Do this across the entire length of the seem until the case is no longer attached to the phone.
-
-
-
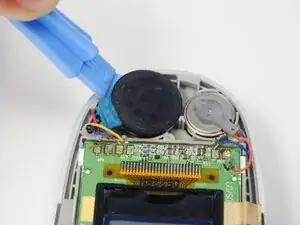
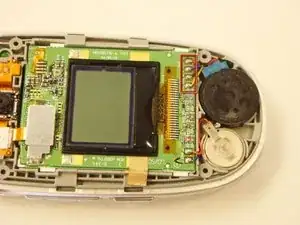
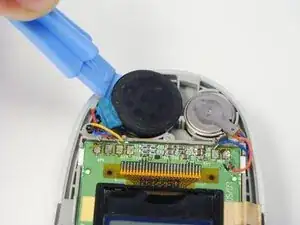
Locate the four solder joints (connected to the yellow, black, blue, and red wires) on the bottom part of the phone, connected to the speaker. It will appear as a black circular part with some holes in it.
-
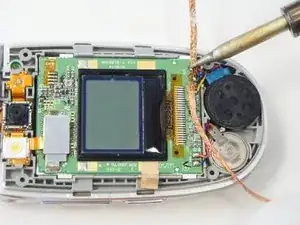
Place a piece of solder wick on top of the solders.
-
Very carefully, place the tip of the soldering iron on top of the solder wick. Hold it steady until the solder is soaked up into the solder wick.
-
Cut off the used solder wick with pliers and repeat this step if any solder remains.
-
To reassemble your device, follow these instructions in reverse order.
