Einleitung

Steps to remove the LG VX8550 scroll wheel

  1. 1Odlp5IH5XkrlhZ3
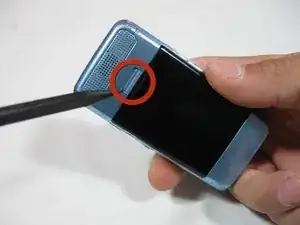
    • Slide the battery release up.

  2. hdWRAHV2ODpJtEqP
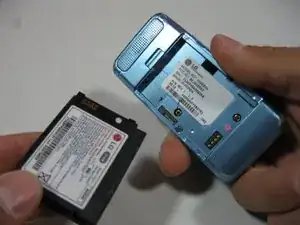
    • Remove the battery by lifting away from the case.

  3. LRArl2IYUKx32jbe
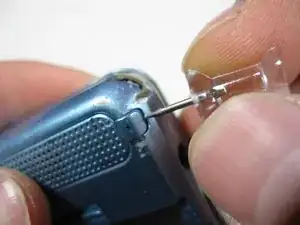
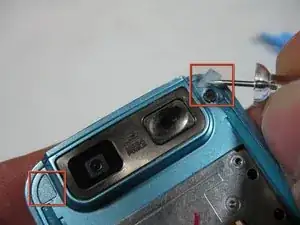
    • Remove the 2 screw covers next to the rear speaker with a Push Pin.

  4. QsEVGZERHrcnwckp
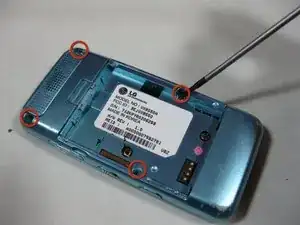
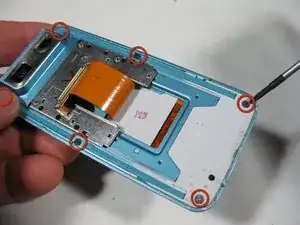
    • Remove the 4 cover screws with a Philips #00 screwdriver.

  5. sGHSYuZOc2RC5tG1
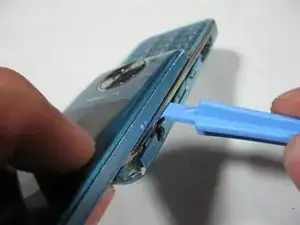
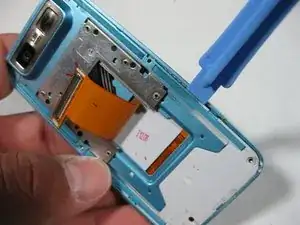
    • Use the iPod opening tool to pry off the back casing.

  6. qH2F3yCTpbKMduNE
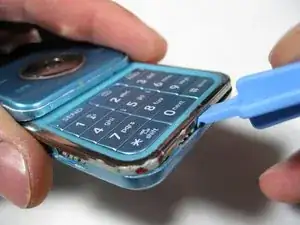
    • Continue sliding the iPod opening tool around the seam of the casing to separate the front and back casings.

  7. iqMZZq33EBq2Gi6n
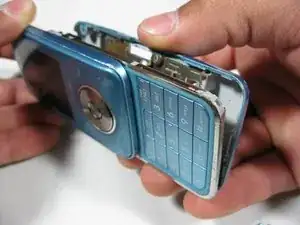
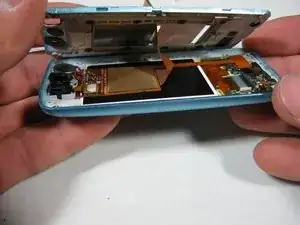
    • Separate the casing halves.

    • Be sure to keep track of the side buttons as they fall out.

  8. IiINC1uarlenmKQW
    • Remove the 2 screws from the back of the phone with a Phillips #00 Screwdriver.

  9. 1EYfltPiDRSytPDN
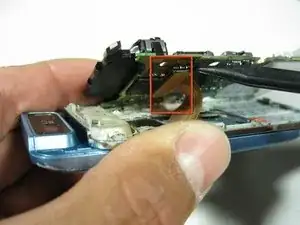
    • Carefully lift up on the motherboard to see the ribbon cables underneath.

    • Use the spudger to carefully disconnect the ribbon cable from the motherboard.

  10. CA4ImIAiiY6SOSKO
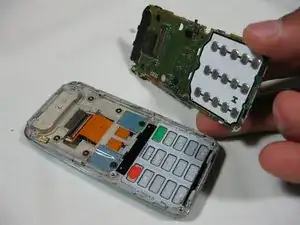
    • Remove the motherboard from the front casing by lifting straight up.

  11. IXuWeMRoFQnmrYvY
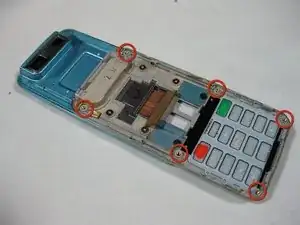
    • Lay the phone with the screen facedown.

    • The 6 slider screws are visible.

  12. 2PxrQPFRPgaYSOdV
    • Peel back but don't remove the blue tape to access the 2 center screws.

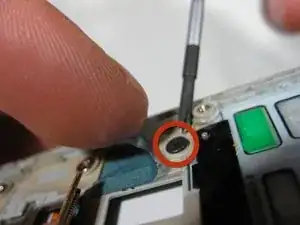
    • Remove the 6 slider screws with the Phillips #00 screwdriver.

  13. DqiIpiVY2LKNXVea
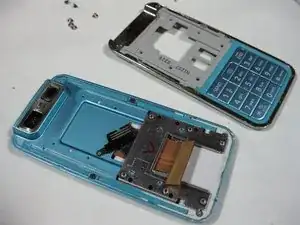
    • Lift the keypad housing away from the slider.

  14. ZuDJnsjevCALODQQ
    • Remove the 2 screw covers next to the speaker with a push pin next to the camera.

  15. CSt4A6cQ6dF11t4a
    • Remove the 6 screws with a Phillips #00 Screwdriver.

  16. QjjYHJvCHSeMPQH1
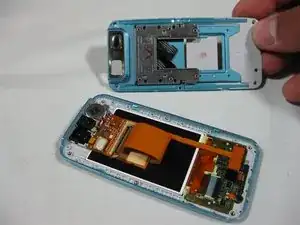
    • Use the ipod opening tool to pry the screen casing and the slider mechanism apart from each other.

  17. EG5VZPcPea6kGhhh
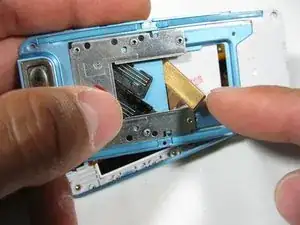
    • Carefully lift the slider mechanism to see the ribbon cables underneath.

  18. 2uHP25NrCwehrhOD
    • Slide ribbon cable through the slider mechanism.

  19. M6MNEdpVNPEKfOlK
    • Separate the two halves.

  20. eDsVYj3qqnxGCbf1
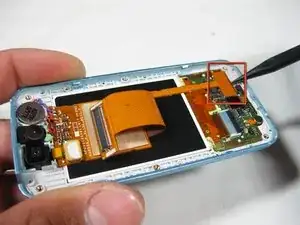
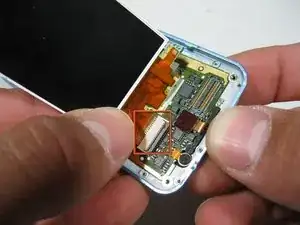
    • With the spudger, lift up under the connector to unplug it from the circuit board.

  21. BUMQ5YyyyhinRpNF
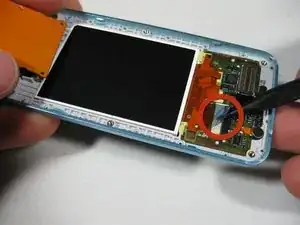
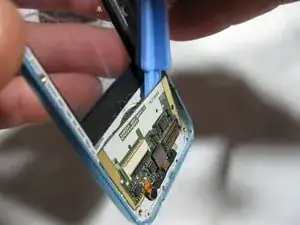
    • Lift and remove the blue tape from screen connector.

  22. nacrkjbH2ZOZP1On
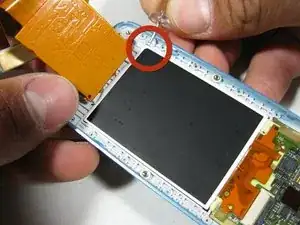
    • Lift the top edge of the screen using a pin to pry under the corner.

  23. MMPxBfvGlLb2ekDg
    • Grasp the ribbon cable near the connector and carefully slide it out of the white connector.

    • It is helpful to gently wiggle the ribbon cable from side to side.

  24. CrXmoKiTXtubu6yI
    CrXmoKiTXtubu6yI
    Avs35ZWNDS6NDBbU
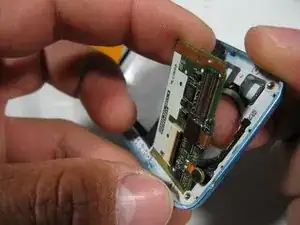
    • Carefully lift the circuit board away from the screen casing using Ipod Opening Tool.

    • Peel the circuit board away from the adhesive backing with your finger.

  25. FqUeMKju2oItKbdg
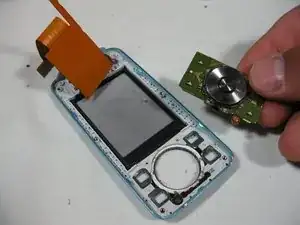
    • Remove the scroll wheel from the casing with your hands.

Abschluss

To reassemble your device, follow these instructions in reverse order.
Nathan Jones

Mitglied seit: 10/04/10

89 Reputation

0 Kommentare