Einleitung

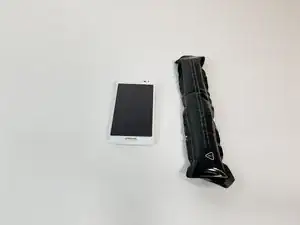
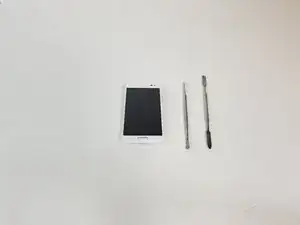
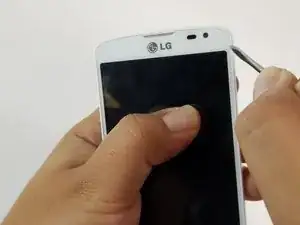
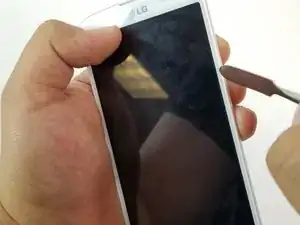
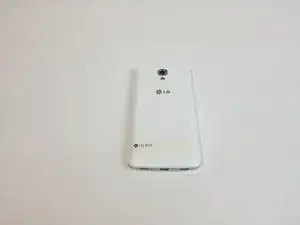
When the screen is not responsive or it has been damaged by an accidentally dropping the phone, the screen will have to be replaced. In this guide you will learn how to replace the screen for the LG Volt.

  1. bYGpuMTCqi6mPwyR
    bYGpuMTCqi6mPwyR
    GxTcrmxvZF6NBpIx
    NDOCZjSvmF33Vg6A
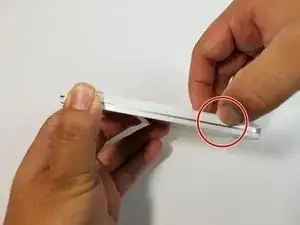
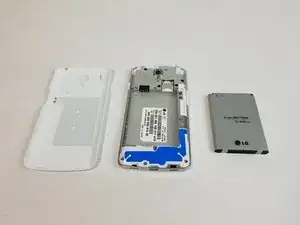
    • Pry back cover with finger in the crease.

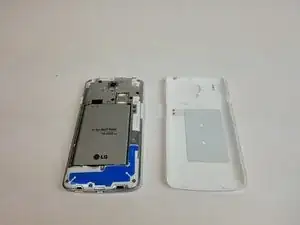
    • Remove back casing.

  2. sh1HuZIbnBGpVxis
    sh1HuZIbnBGpVxis
    I6pBWxxnqC16Q6mA
    eUBm2LZm1NXdeevP
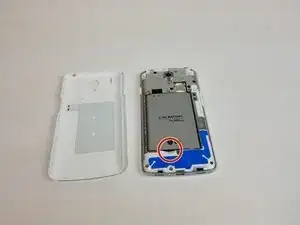
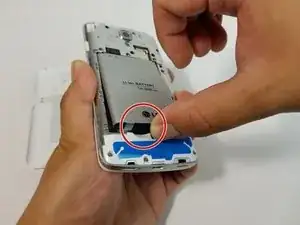
    • With your finger, pry the battery out through the crease made for removal.

  3. G4Z1rBOjgjfbOsxW
    G4Z1rBOjgjfbOsxW
    sLHJkUOnDPgXOpru
    5RyRCLsq61YQurbX
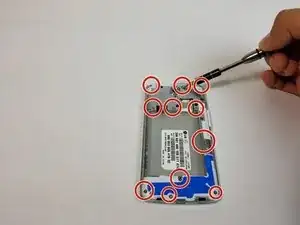
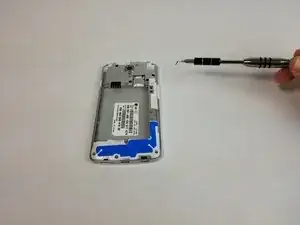
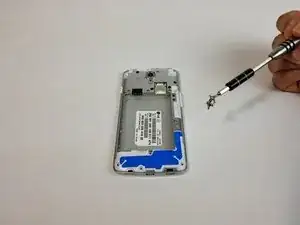
    • Remove all 11 (4mm) screws with the JIS #000 screwdriver.

    • There are three screws on top, three above the battery, one next to the battery, one under the battery and three at the bottom of the phone.

  4. vPVTguvlOexBKNBe
    vPVTguvlOexBKNBe
    G35YkWQRWbNbWKpa
    kxe644oWro2lYdSb
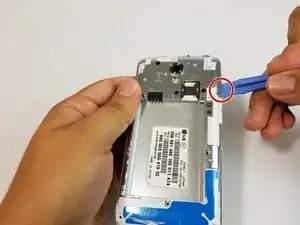
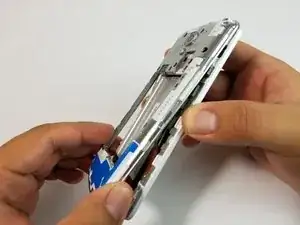
    • Use the plastic opening tool to remove the back housing from the frame of the phone.

  5. yUcWFo16ZVGMDyLk
    yUcWFo16ZVGMDyLk
    NNS2Rgyft2lFURuG
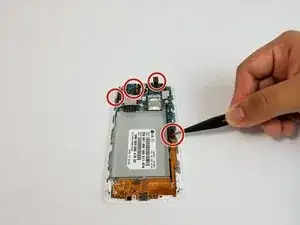
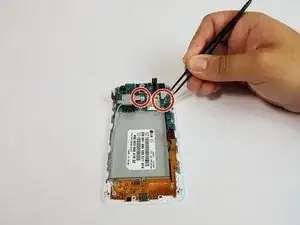
    • Carefully lift all the indicated tabs.

    • Carefully unplug the marked cables.

  6. bpiNJZSZoQ4BHUOY
    bpiNJZSZoQ4BHUOY
    YERgAjoAhUkhkVg3
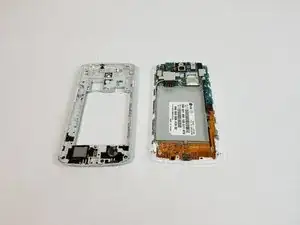
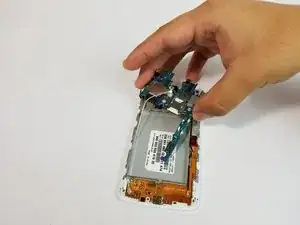
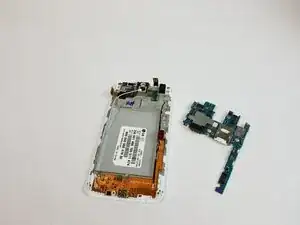
    • Remove motherboard carefully.

  7. U3OIPfMYbAbOJOcb
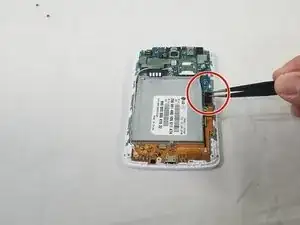
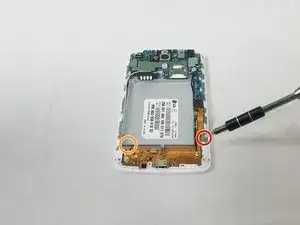
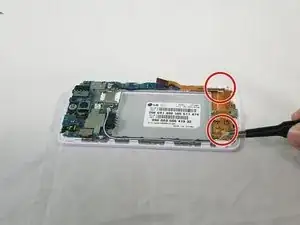
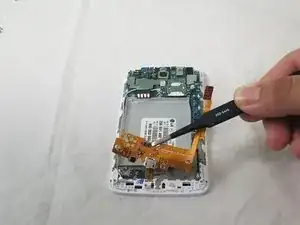
    • Using the precision tweezers set lift the copper tab located on the right side of the device.

  8. TZCX3mYYkt6BZBpm
    TZCX3mYYkt6BZBpm
    adQRJ35LMIxOFEO3
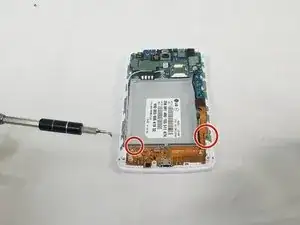
    • Using a JIS #000 screwdriver, remove the 1 (4mm) screw on right side under copper tab.

    • Using a JIS #000 screwdriver, remove the 1 (4mm) screw on bottom left under battery tray.

  9. eMps6bFGgJNmD1wD
    eMps6bFGgJNmD1wD
    ZB4DIfKRuIWrAJYS
    YweqOx6AApcDMSWO
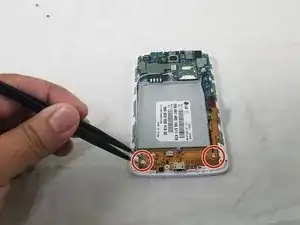
    • Disconnect the white and black cables as indicated using the precision tweezers set.

    • Lift indicated flap as shown.

  10. wdLc5JRFyMCXukA3
    wdLc5JRFyMCXukA3
    rqVtYehCEcQMgKDg
    OsX1cWCV2MNsFc6Q
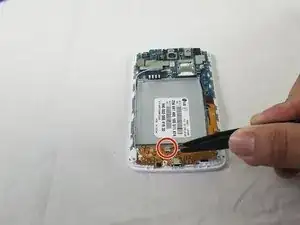
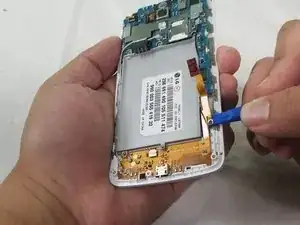
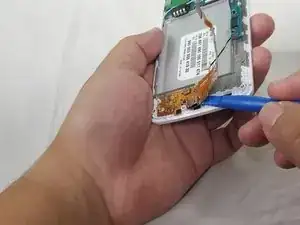
    • Use the plastic opening tool to carefully lift the charger assembly from the phone.

    • Start from the copper tab and continue in a clockwise direction.

    • Once it is loose remove the assembly from the phone.

  11. gJTVuORCVt6QhYsJ
    • Heat up iOpener for 30 seconds in the microwave.

  12. PXhnbTXeQvOgcdZk
    PXhnbTXeQvOgcdZk
    EcwNRF6ELrKPiKF2
    • Place iOpener on right side of the screen with the phone facing up for 90 seconds.

    • If necessary, heat up the iOpener for an additional 30 seconds in the microwave.

    • Place iOpener on left side of the screen with the phone facing up for 90 seconds.

  13. 6uqxHwnT2jLNrPRs
    6uqxHwnT2jLNrPRs
    RTJvBtSChpjOlG6Z
    UFjQaOSOk56G5Z3t
    • Once the phone is hot, use the small, pointy tipped metal spudger to remove the adhesive.

    • Once removed, use the large, flat tipped metal spudger to pry the screen off carefully.

Abschluss

To reassemble your device, follow these instructions in reverse order.
Adrian Soldan

Mitglied seit: 25/09/17

464 Reputation

0 Kommentare