Einleitung
Follow the initial Disassembly of LG Vortex guide before you start the replacement of the screen. This guide gives step-by-step instructions on how to replace the LCD screen.
Werkzeuge
Ersatzteile
-
-
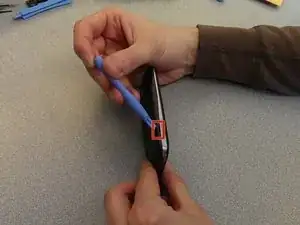
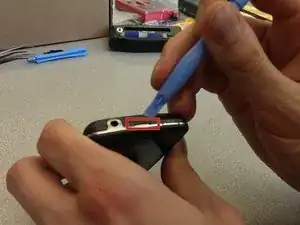
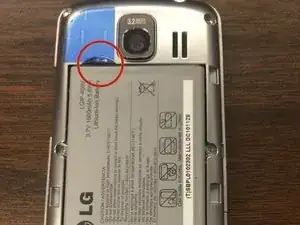
Find the two thumbnail ridges on the side and top of the phone.
-
One is next to the micro SD slot and the other at the top of the phone
-
Once the ridges are located, use the blue plastic opening tool to pry the back cover away from the rest of the phone.
-
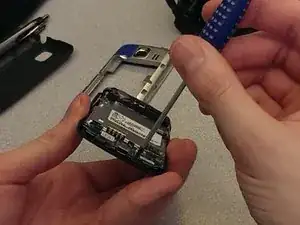
Remove the back cover and set it to the side.
-
-
-
Remove the battery using the blue plastic opening tool.
-
There is a small thumbnail ridge at the top left corner of the battery for ease of removal.
-
Put the battery aside.
-
-
-
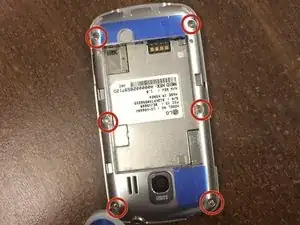
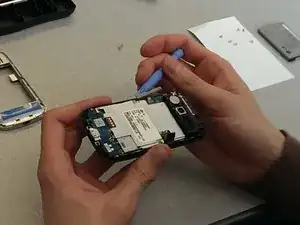
NOTE: All screws are the same size
-
Use the precision screwdriver head #00 to remove the 6 screws along the edges of the phone.
-
There are 2 screws at the top in each corner, 2 in the middle on the sides, and 2 in the bottom corners.
-
Place the screws in the small container to ensure they aren't lost.
-
-
-
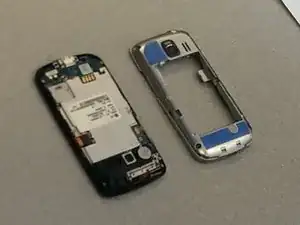
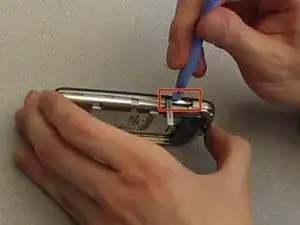
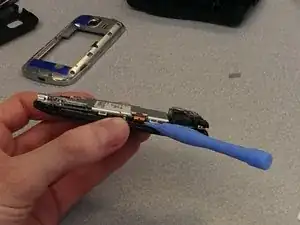
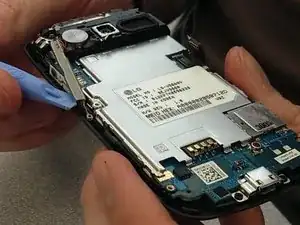
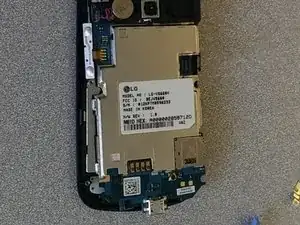
Use the blue plastic opening tool to remove the back frame from the rest of the phone.
-
Pry at the micro SD slot. Push the cover for the SD slot away from the front of the phone and pry the back frame away from the rest of the phone.
-
Pry your way around the entire phone to separate the face from the frame.
-
-
-
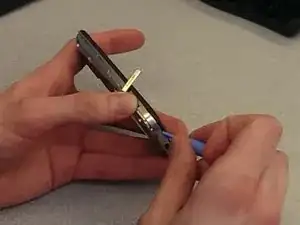
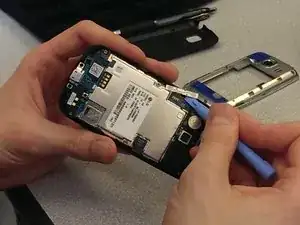
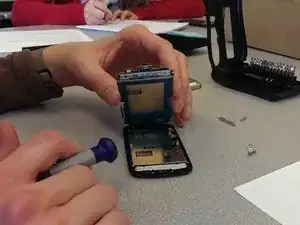
Unclip the screen tab that is connecting the screen to the system board. It is on the right side of the phone, and looks like a thin piece of bronze plastic.
-
-
-
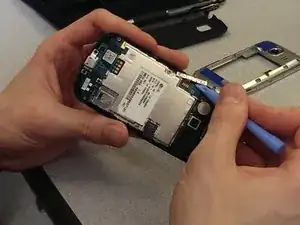
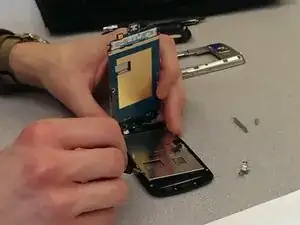
Pull the volume button away from the case and set aside. It is located on the left side of the phone, and is held to the frame by a small nub.
-
-
-
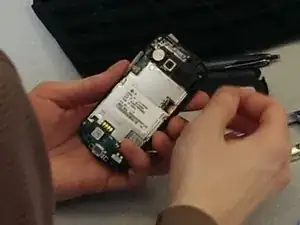
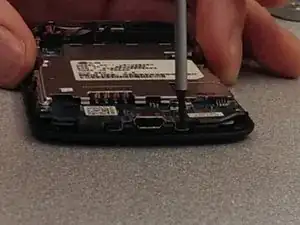
Unscrew the two short black screws at the bottom of the phone, which are holding the USB port to the frame.
-
Place the screws in a safe place
-
-
-
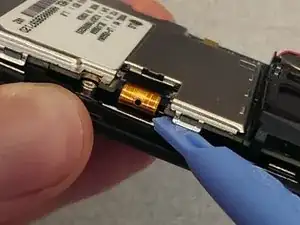
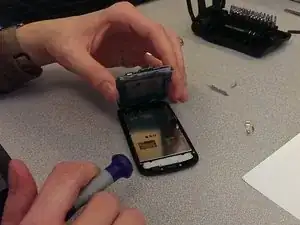
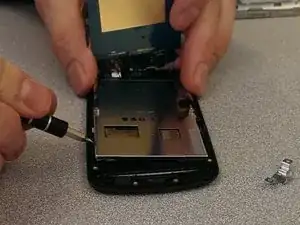
Loosen the screen from the frame at one of four corners using a flat head screwdriver.
-
Look for small rectangle holes and use these to pry the LCD screen away from the face of the phone (the frame).
-
Remove the LCD screen.
-


To reassemble your device, follow these instructions in reverse order.