Einleitung
In this guide, you will be shown step-by-step how to replace your broken Le Pan II screen. This screen is attached to a plastic casing with adhesives and this should be kept in mind during the following steps.
Werkzeuge
-
-
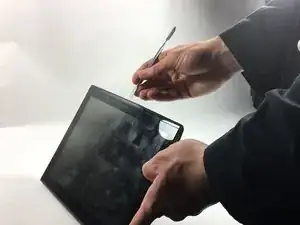
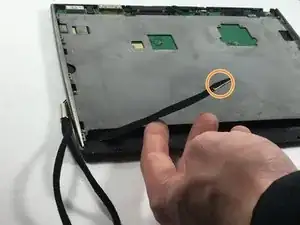
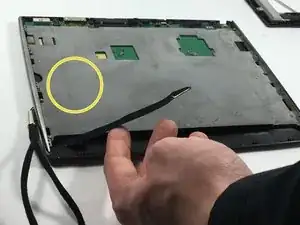
Insert metal spudger between front and back panel to pry apart.
-
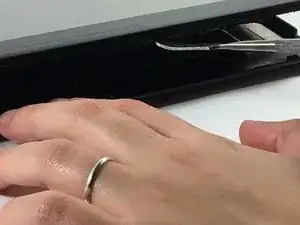
Continue to pry while moving the metal spudger along the crevice to completely separate two panels.
-
-
-
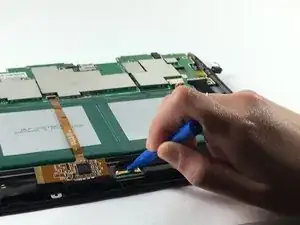
Use the plastic opening tool to disconnect the flat ribbon cable from the motherboard connector.
-
Disconnect the flat ribbon by gently pulling it out from its connecting port.
-
-
-
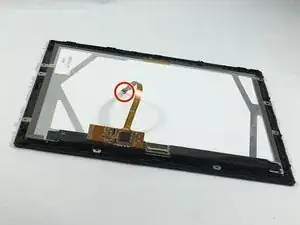
Use the plastic opening tool to disconnect the display cable from its motherboard connector.
-
Disconnect the display cable by gently pulling it out from its connecting port.
-
-
-
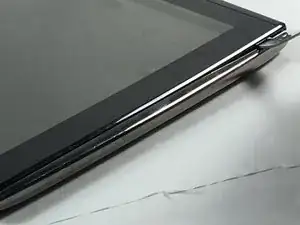
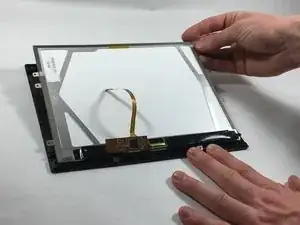
Flip the tablet so the screen is facing upward, and use the metal spudger to pry apart the screen from the side pieces.
-
To reassemble your device, follow these instructions in reverse order.
