Einleitung
This guide will show you how to replace the rear camera in your LeapFrog LeapPad 2.
Werkzeuge
-
-
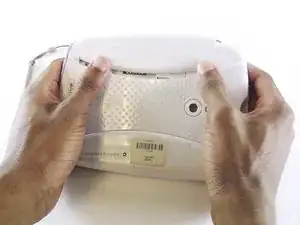
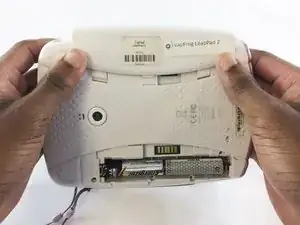
Turn the tablet so the back is visible.
-
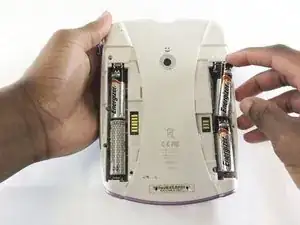
One at a time, remove the battery covers by sliding them towards the sides and away from the center of the device.
-
-
-
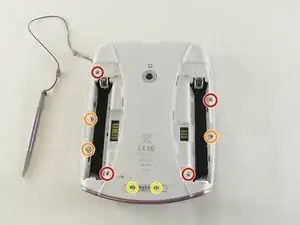
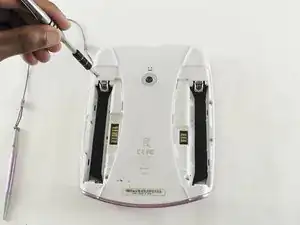
Use a Phillips #1 screwdriver to remove the following screws from the device:
-
Four 7.0mm Phillips screws
-
Three 6.0mm Phillips screws
-
Two 10.0mm Phillips screws
-
-
-
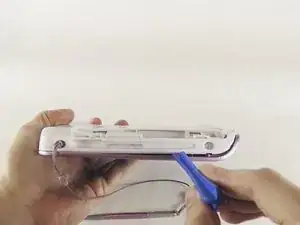
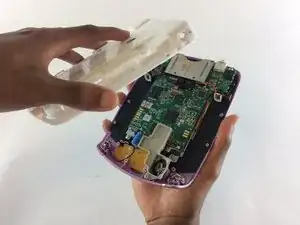
Use a small plastic opening tool to begin separating the colored front cover from the white rear cover of the device.
-
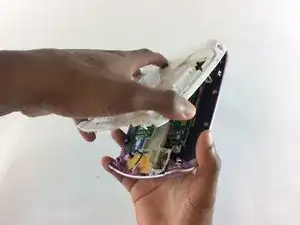
With one hand on the front cover and one hand on the rear cover, start from the bottom of the device and begin pulling the pieces apart.
-
Once only the top edge remains connected, simultaneously pull the rear cover backwards away from the front cover and upwards towards the top of the device. This should release the last remaining tabs holding the pieces together.
-
-
-
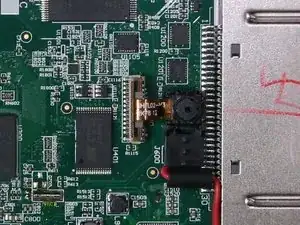
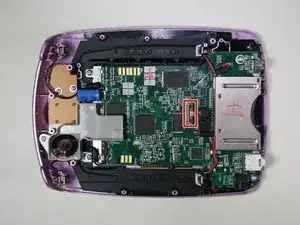
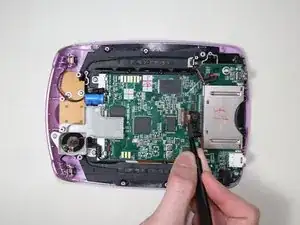
Open the camera ribbon cable connector by lifting on the brown latch with a plastic opening tool or a finger until it is in a vertical position.
-
-
-
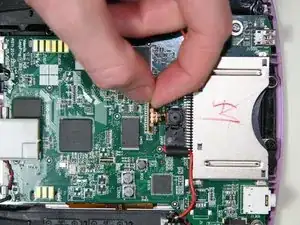
Use flat tweezers or fingers to pull the rear camera ribbon cable out of the motherboard's camera connector.
-
-
-
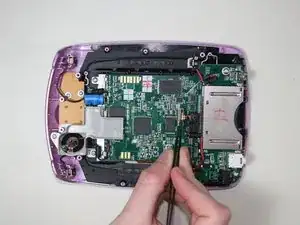
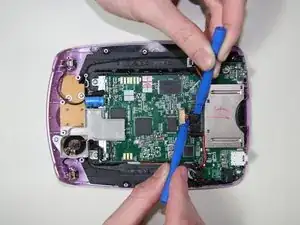
Lift the camera body out of the plastic frame by using two small plastic opening tools as follows:
-
Place one opening tool directly under the base of the camera ribbon cable and camera body, applying upward pressure.
-
At the same time, use the other tool to release one of the clips on the left or the right of the camera body.
-
To reassemble your device, follow these instructions in reverse order.


I have changed batteries but it still don't turn on I press the power button it flashes white on screen but goes off please help
kim30449 -
The battery cover wont budge!
Sunny Sky Official -